IKEA HACK: The Easiest Floating TV Console
After one year of living in our new home we’re finally at the point where we’re ready to begin furnishing our basement area. The main design challenge with this area is it’s 700 square feet of completely open space —with absolutely no storage whatsoever.
When we purchased our home my husband and I immediately knew the basement area would be the equivalent of our family room. Upstairs our living room is a bit more formal, so downstairs we hoped to maintain a more casual, relaxed space where our kids could play games and have a lot of space for fort building, running and jumping — you know, all those activities that kids love!
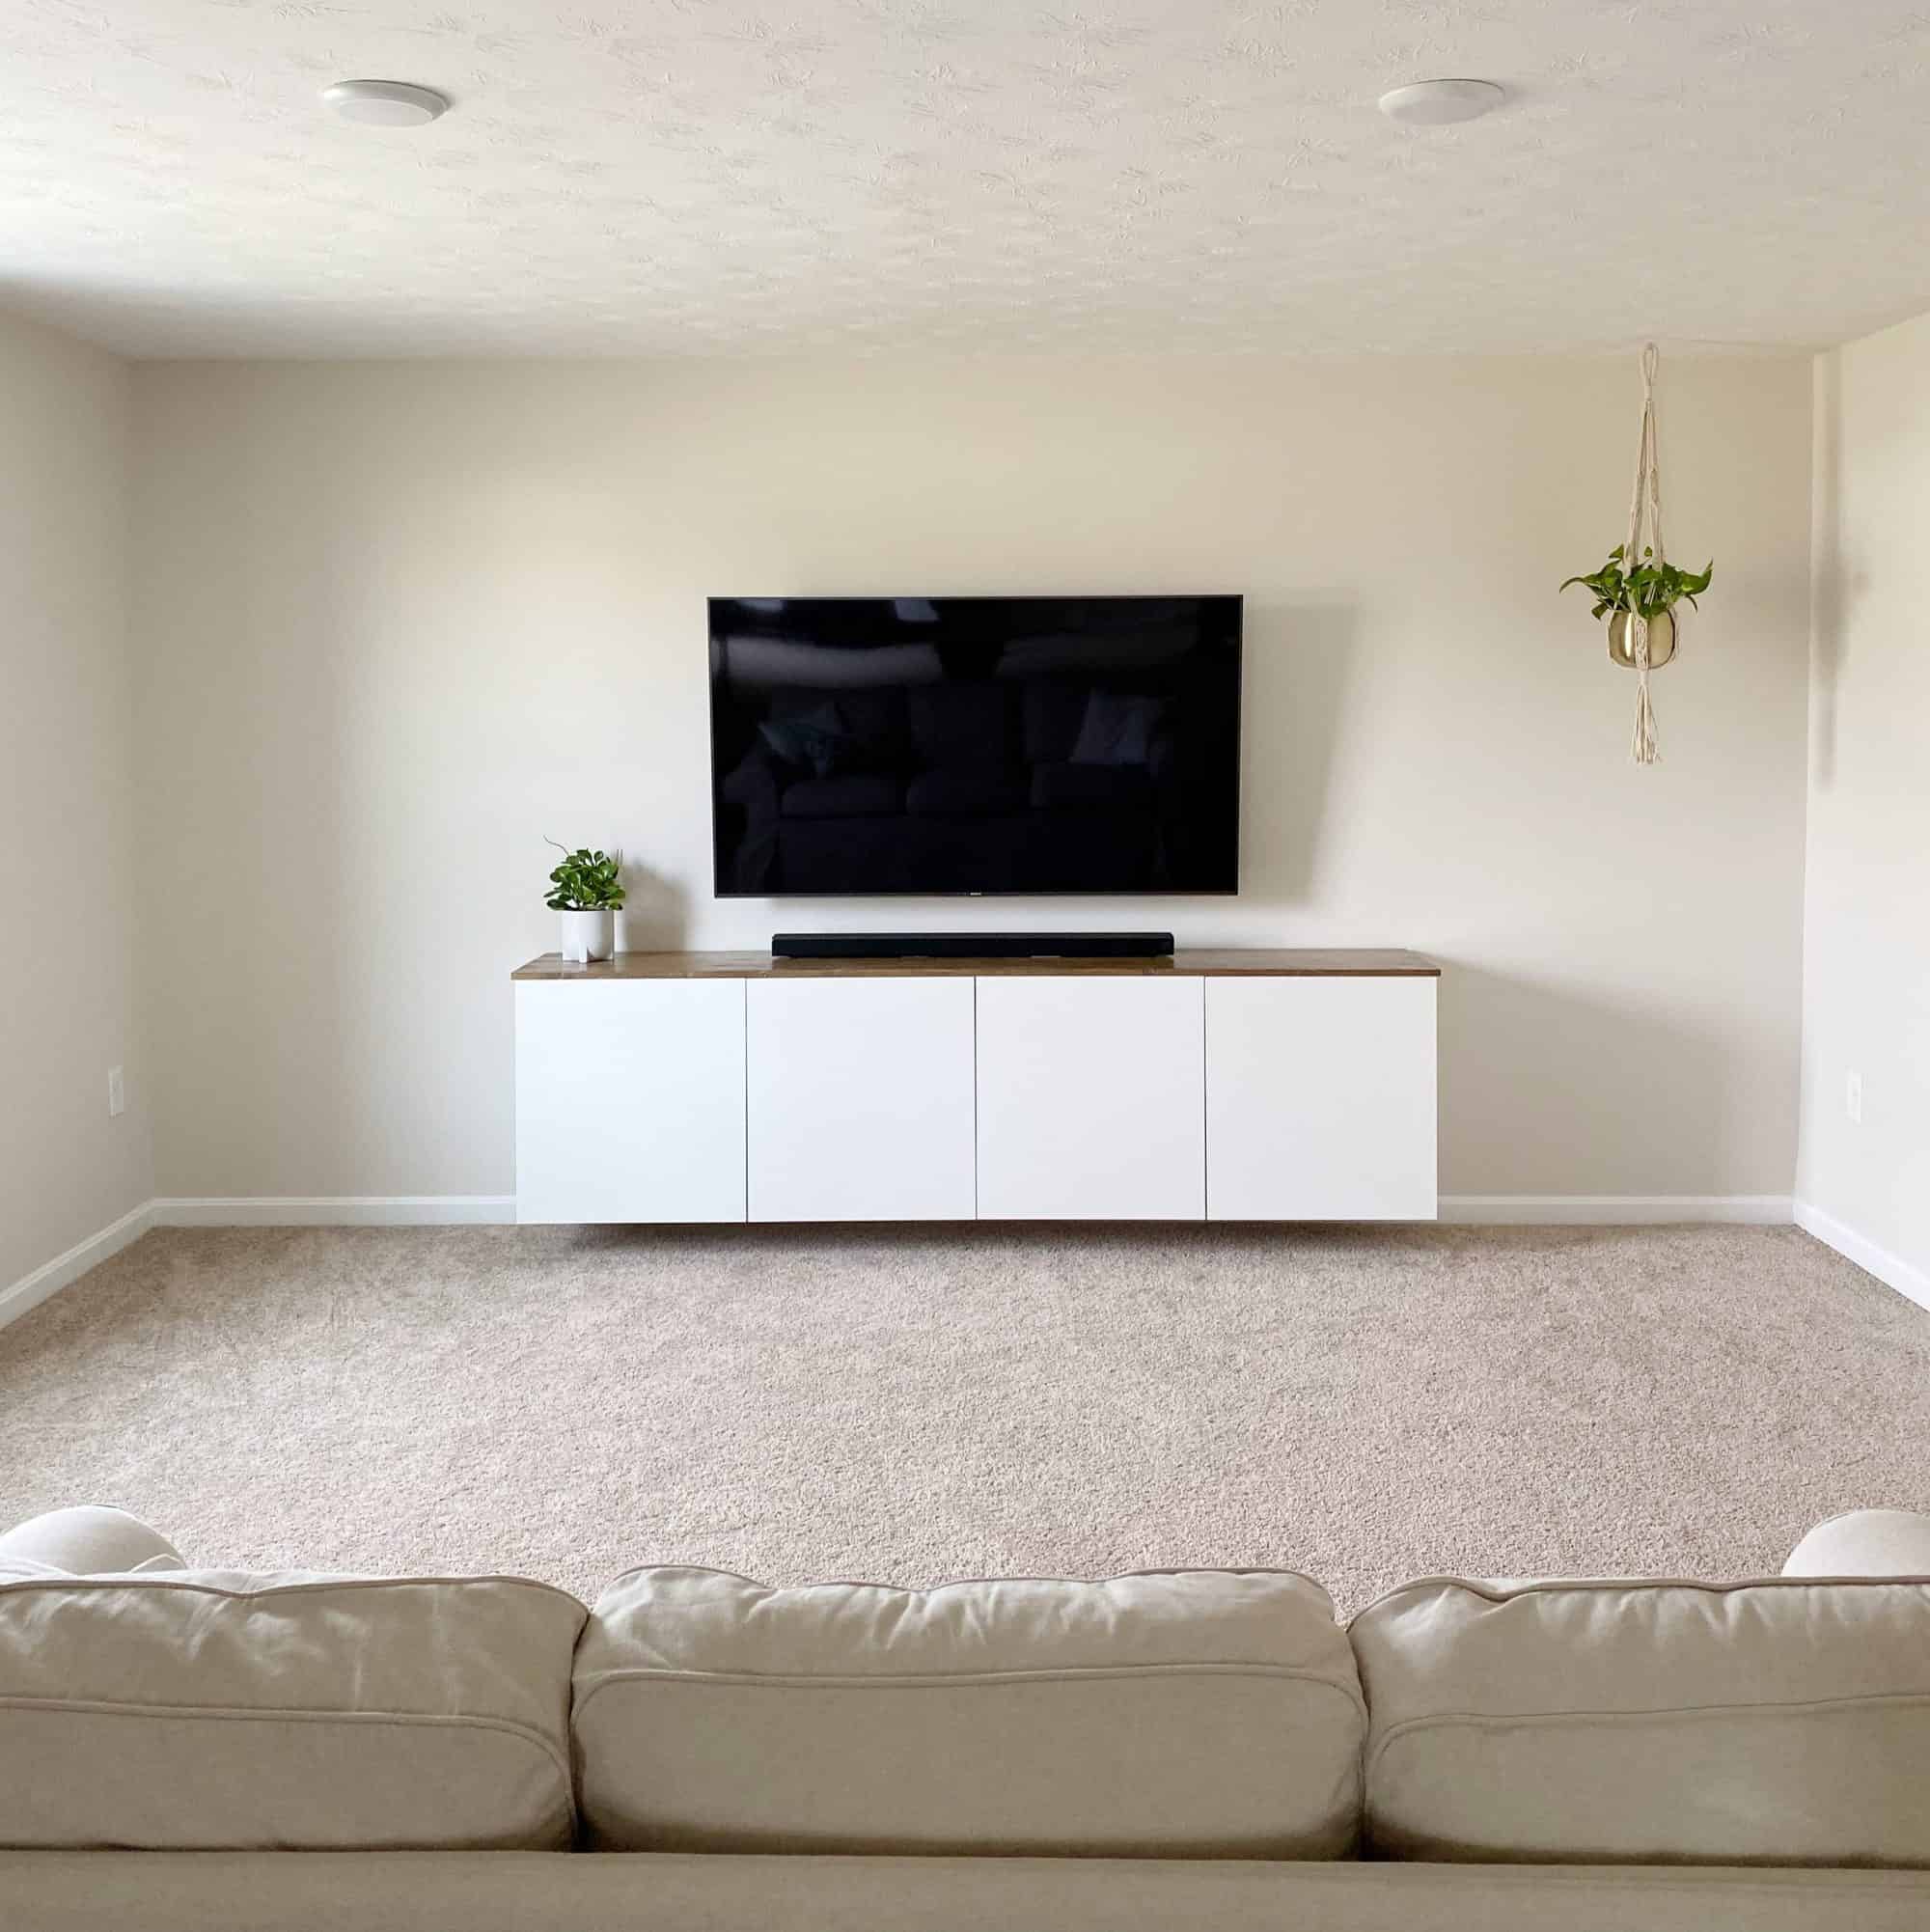
My husband is a big movie fan, so one of his first priorities was to purchase a television for the space, and I scoured Facebook Marketplace until I found an amazing deal on a barely used IKEA Ektorp sofa. And that’s how our basement sat until we recently finished installing our new floating console under the television. And it’s seriously so easy to put together and so, so very practical, especially if you have children. I’m really happy with how it turned out, and I love all the storage it adds to the space.
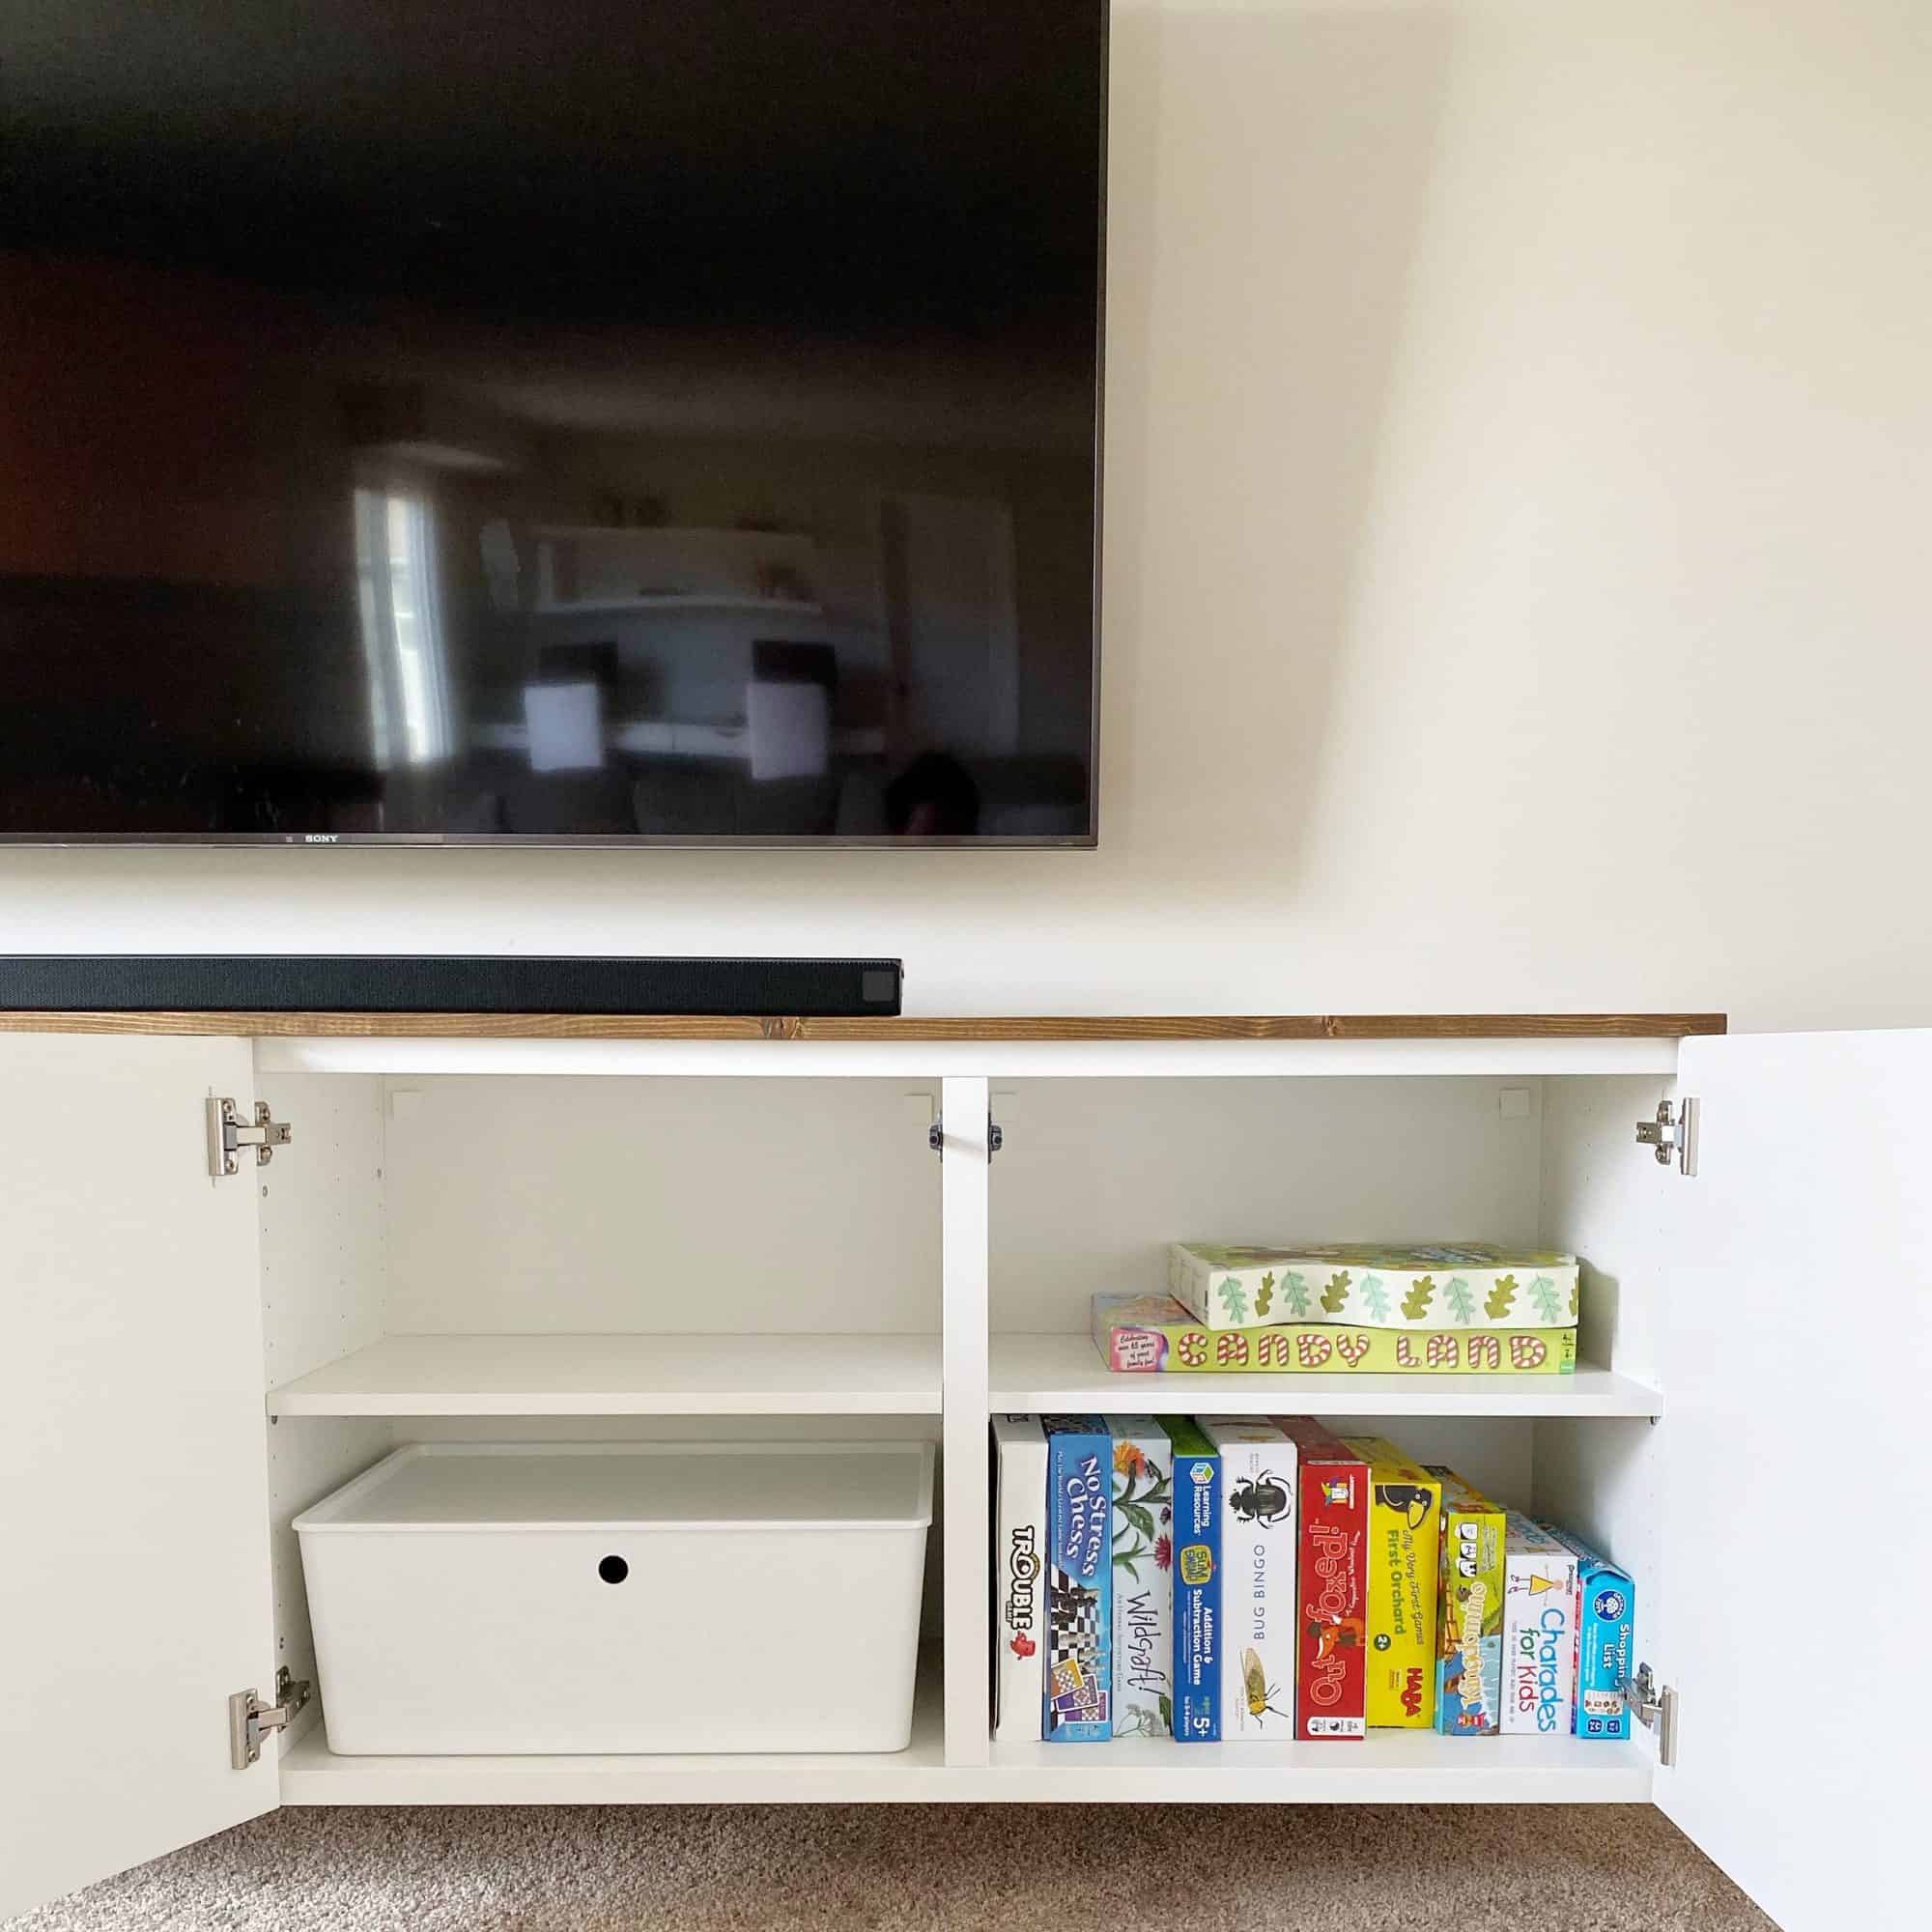
The right side of the console now provides storage for our board games and eventual LEGO collection, while the left side gives us a spot to keep the kids’ karaoke microphone and fort-building blankets neatly stored away.
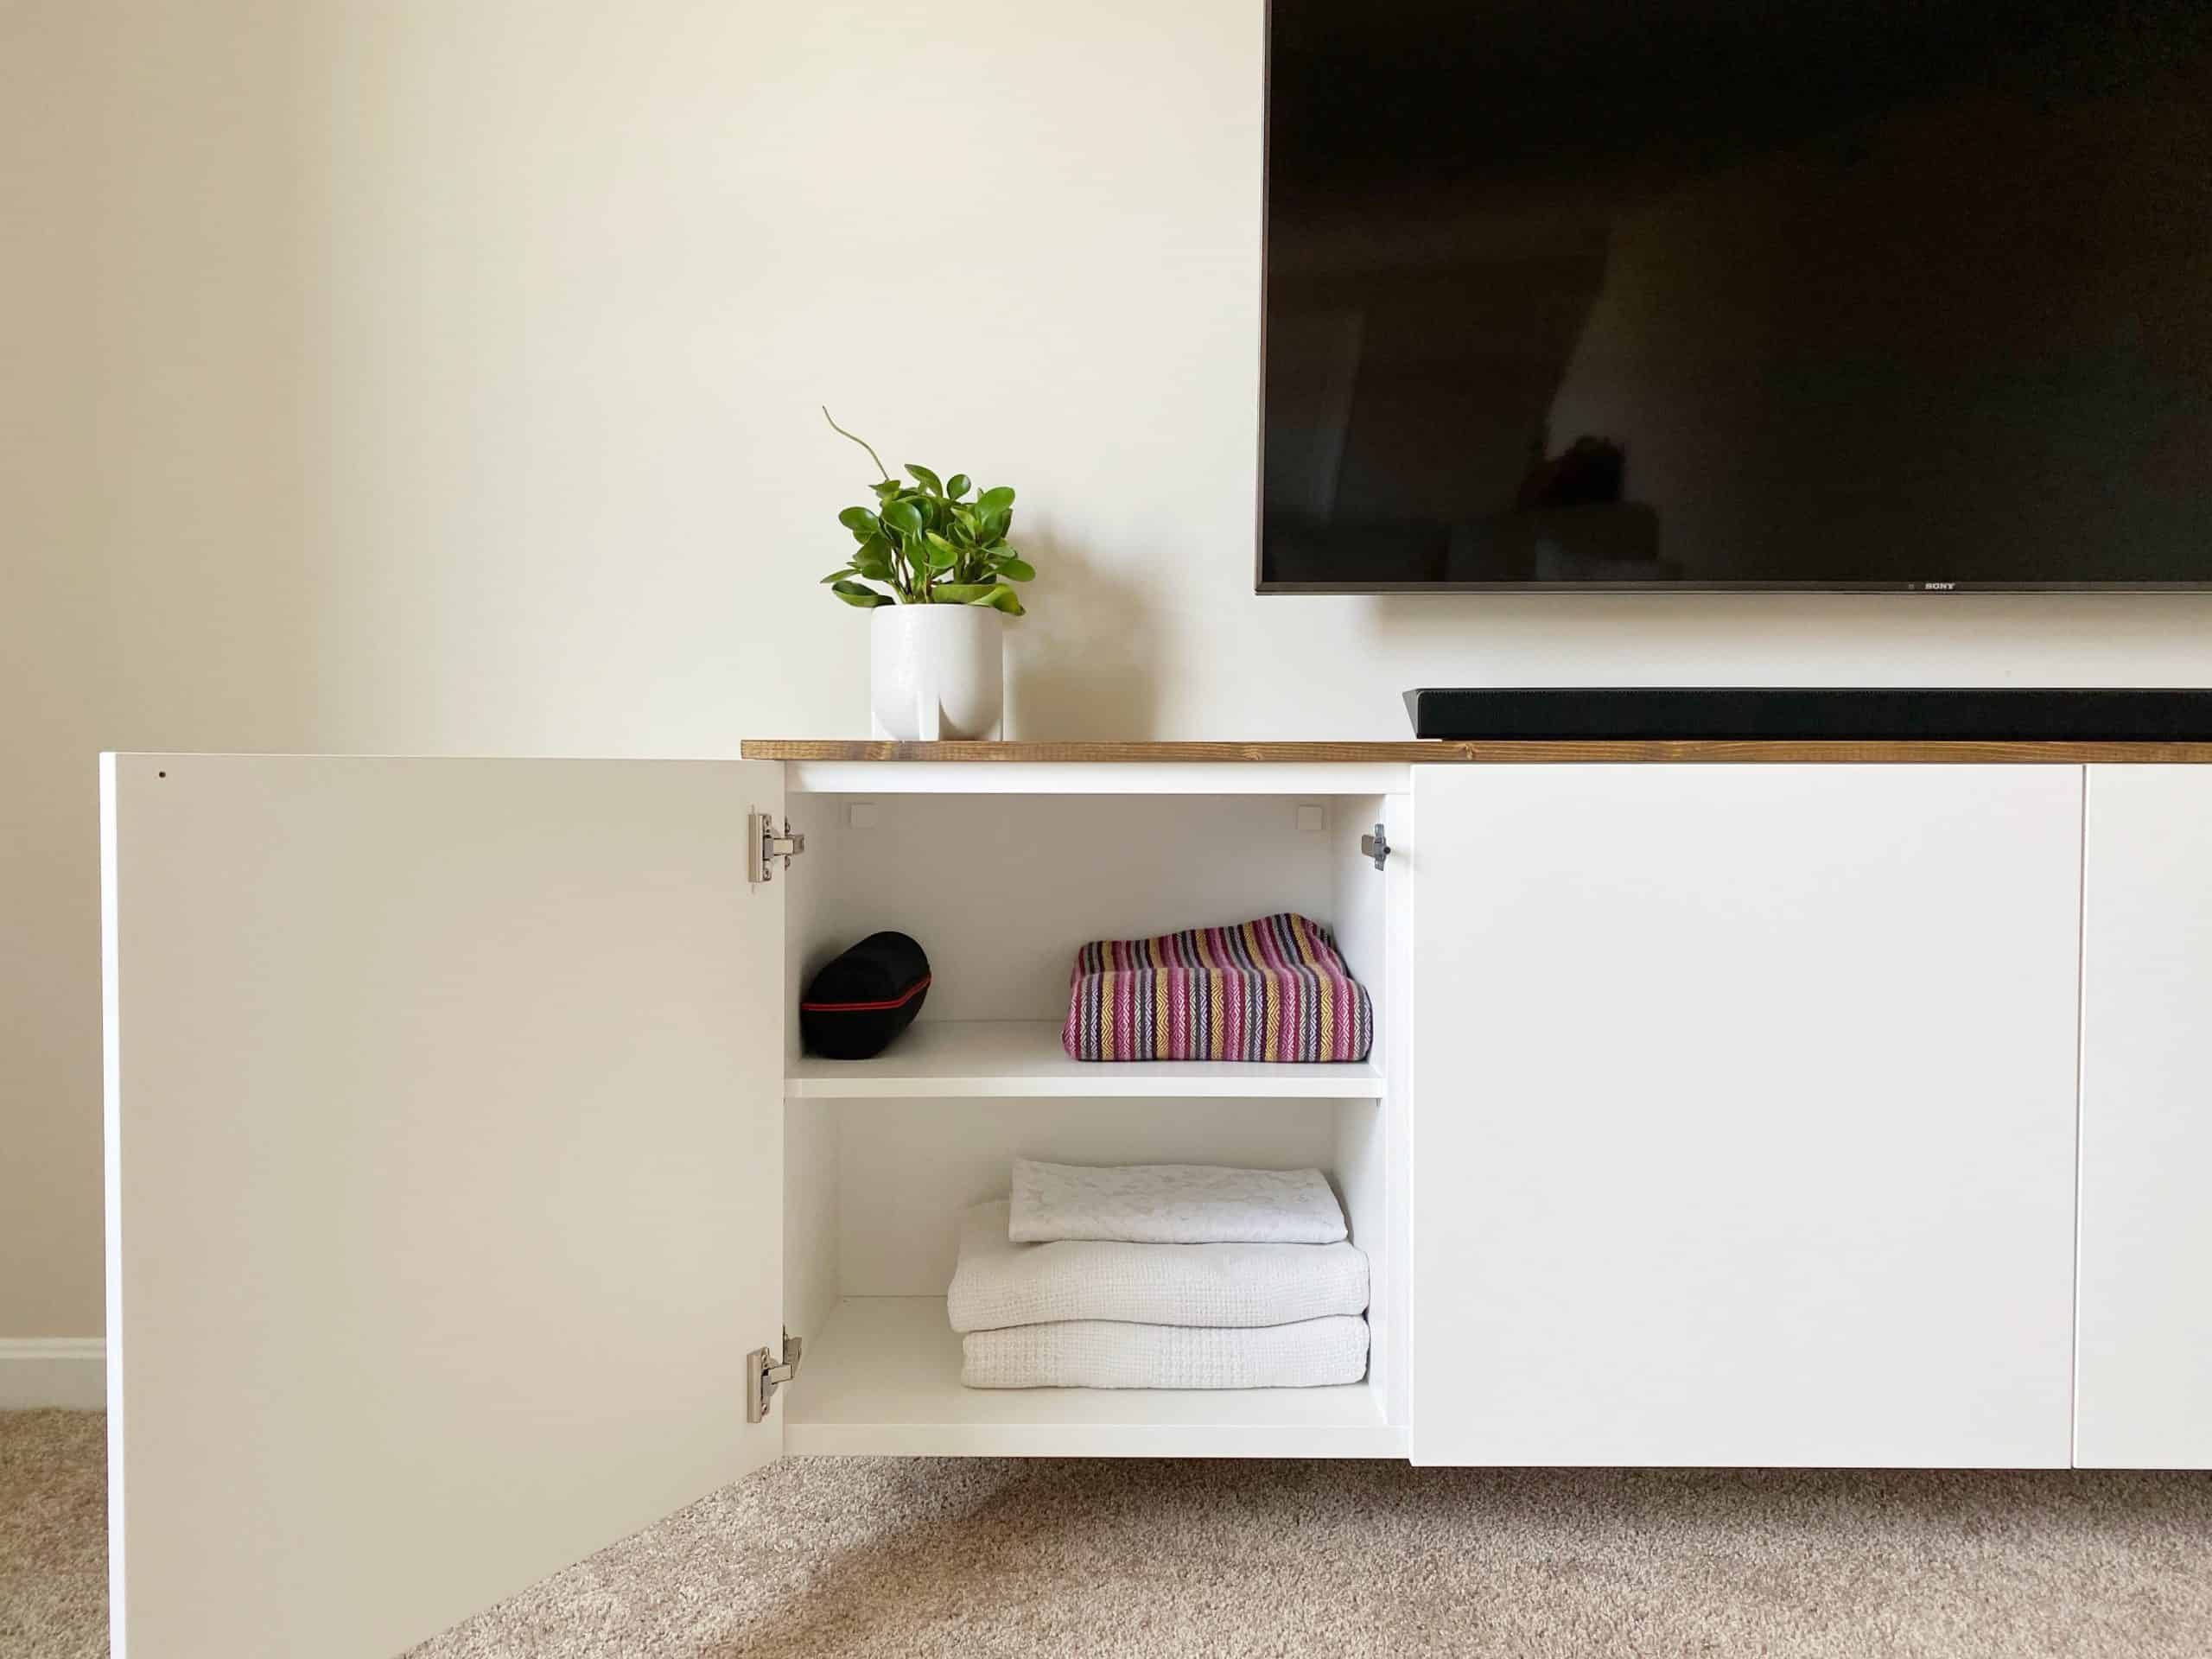
If you’ve seen the corner desktop we made for our kids in the schoolroom, then this project will look extremely similar. We opted to use the same BESTA cabinets, except this time we mounted them to the wall and added doors. In order to add a bit more warmth to the room, we lined the top of the console with wood.
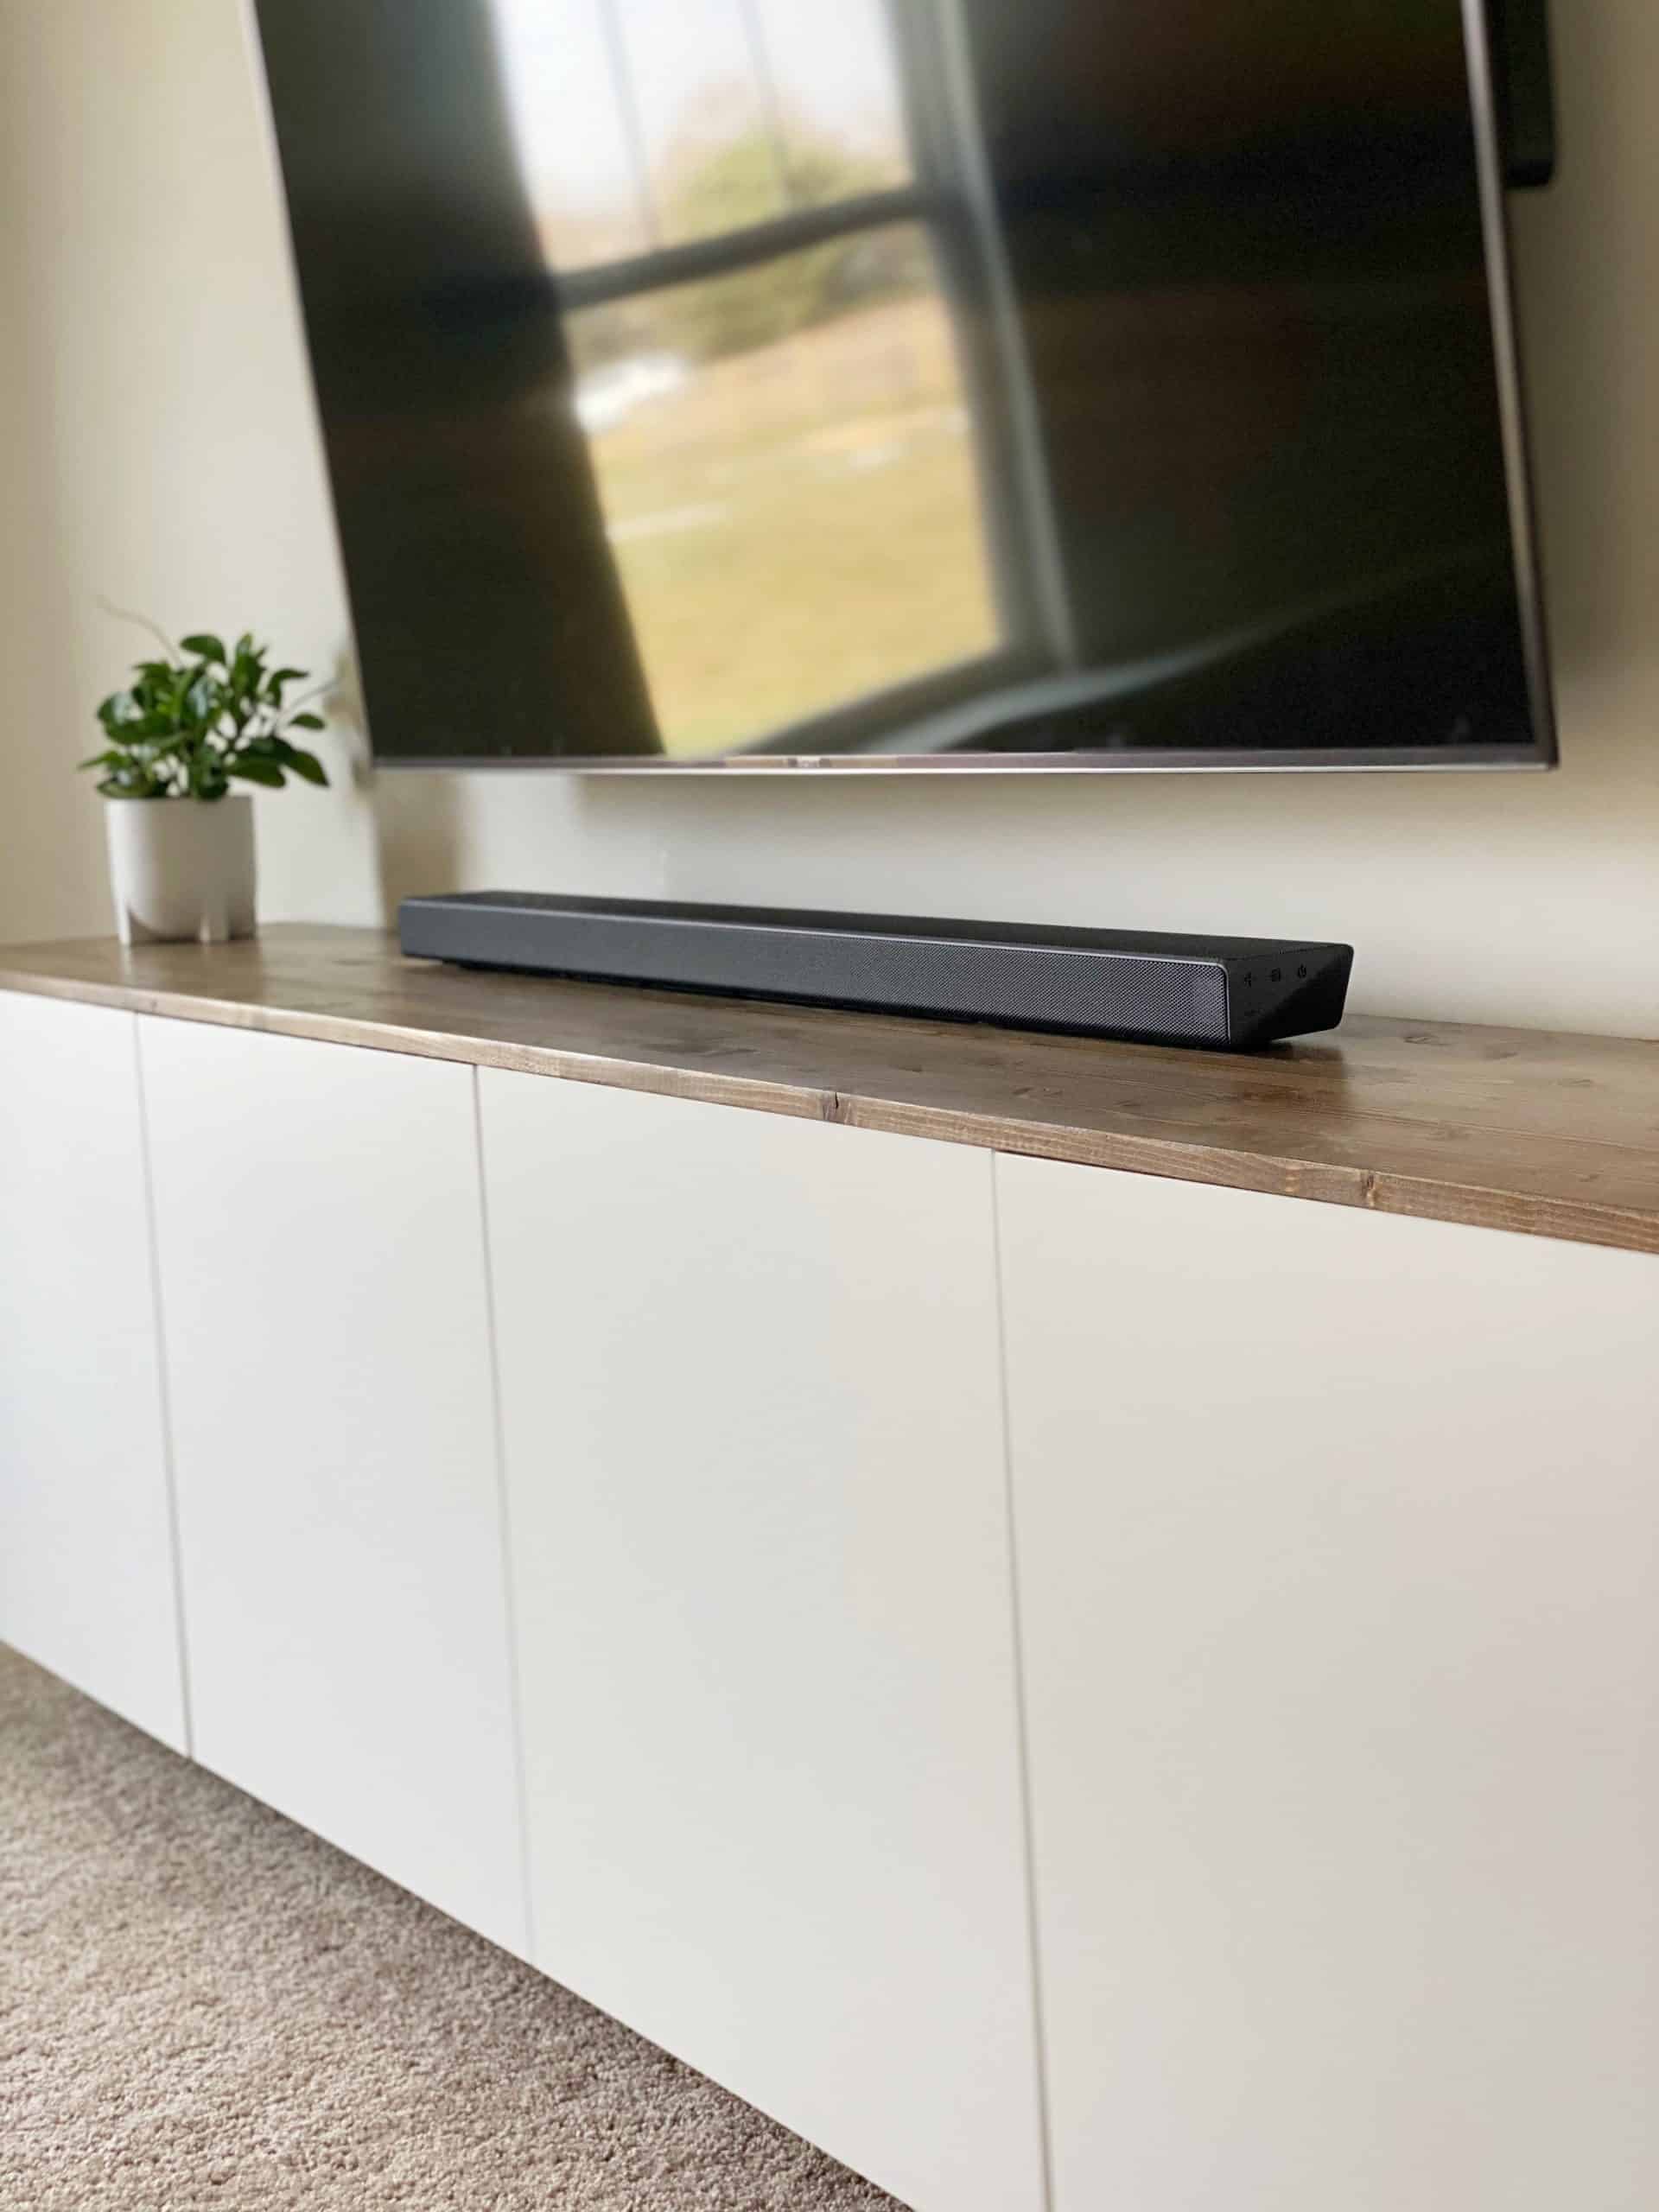
Don’t let the wooden top scare you. It’s literally an off-the-shelf board that you trim the length to size — or don’t trim it at all. We ended up only shaving off an inch. Seriously, this is such an easy, peasy project!
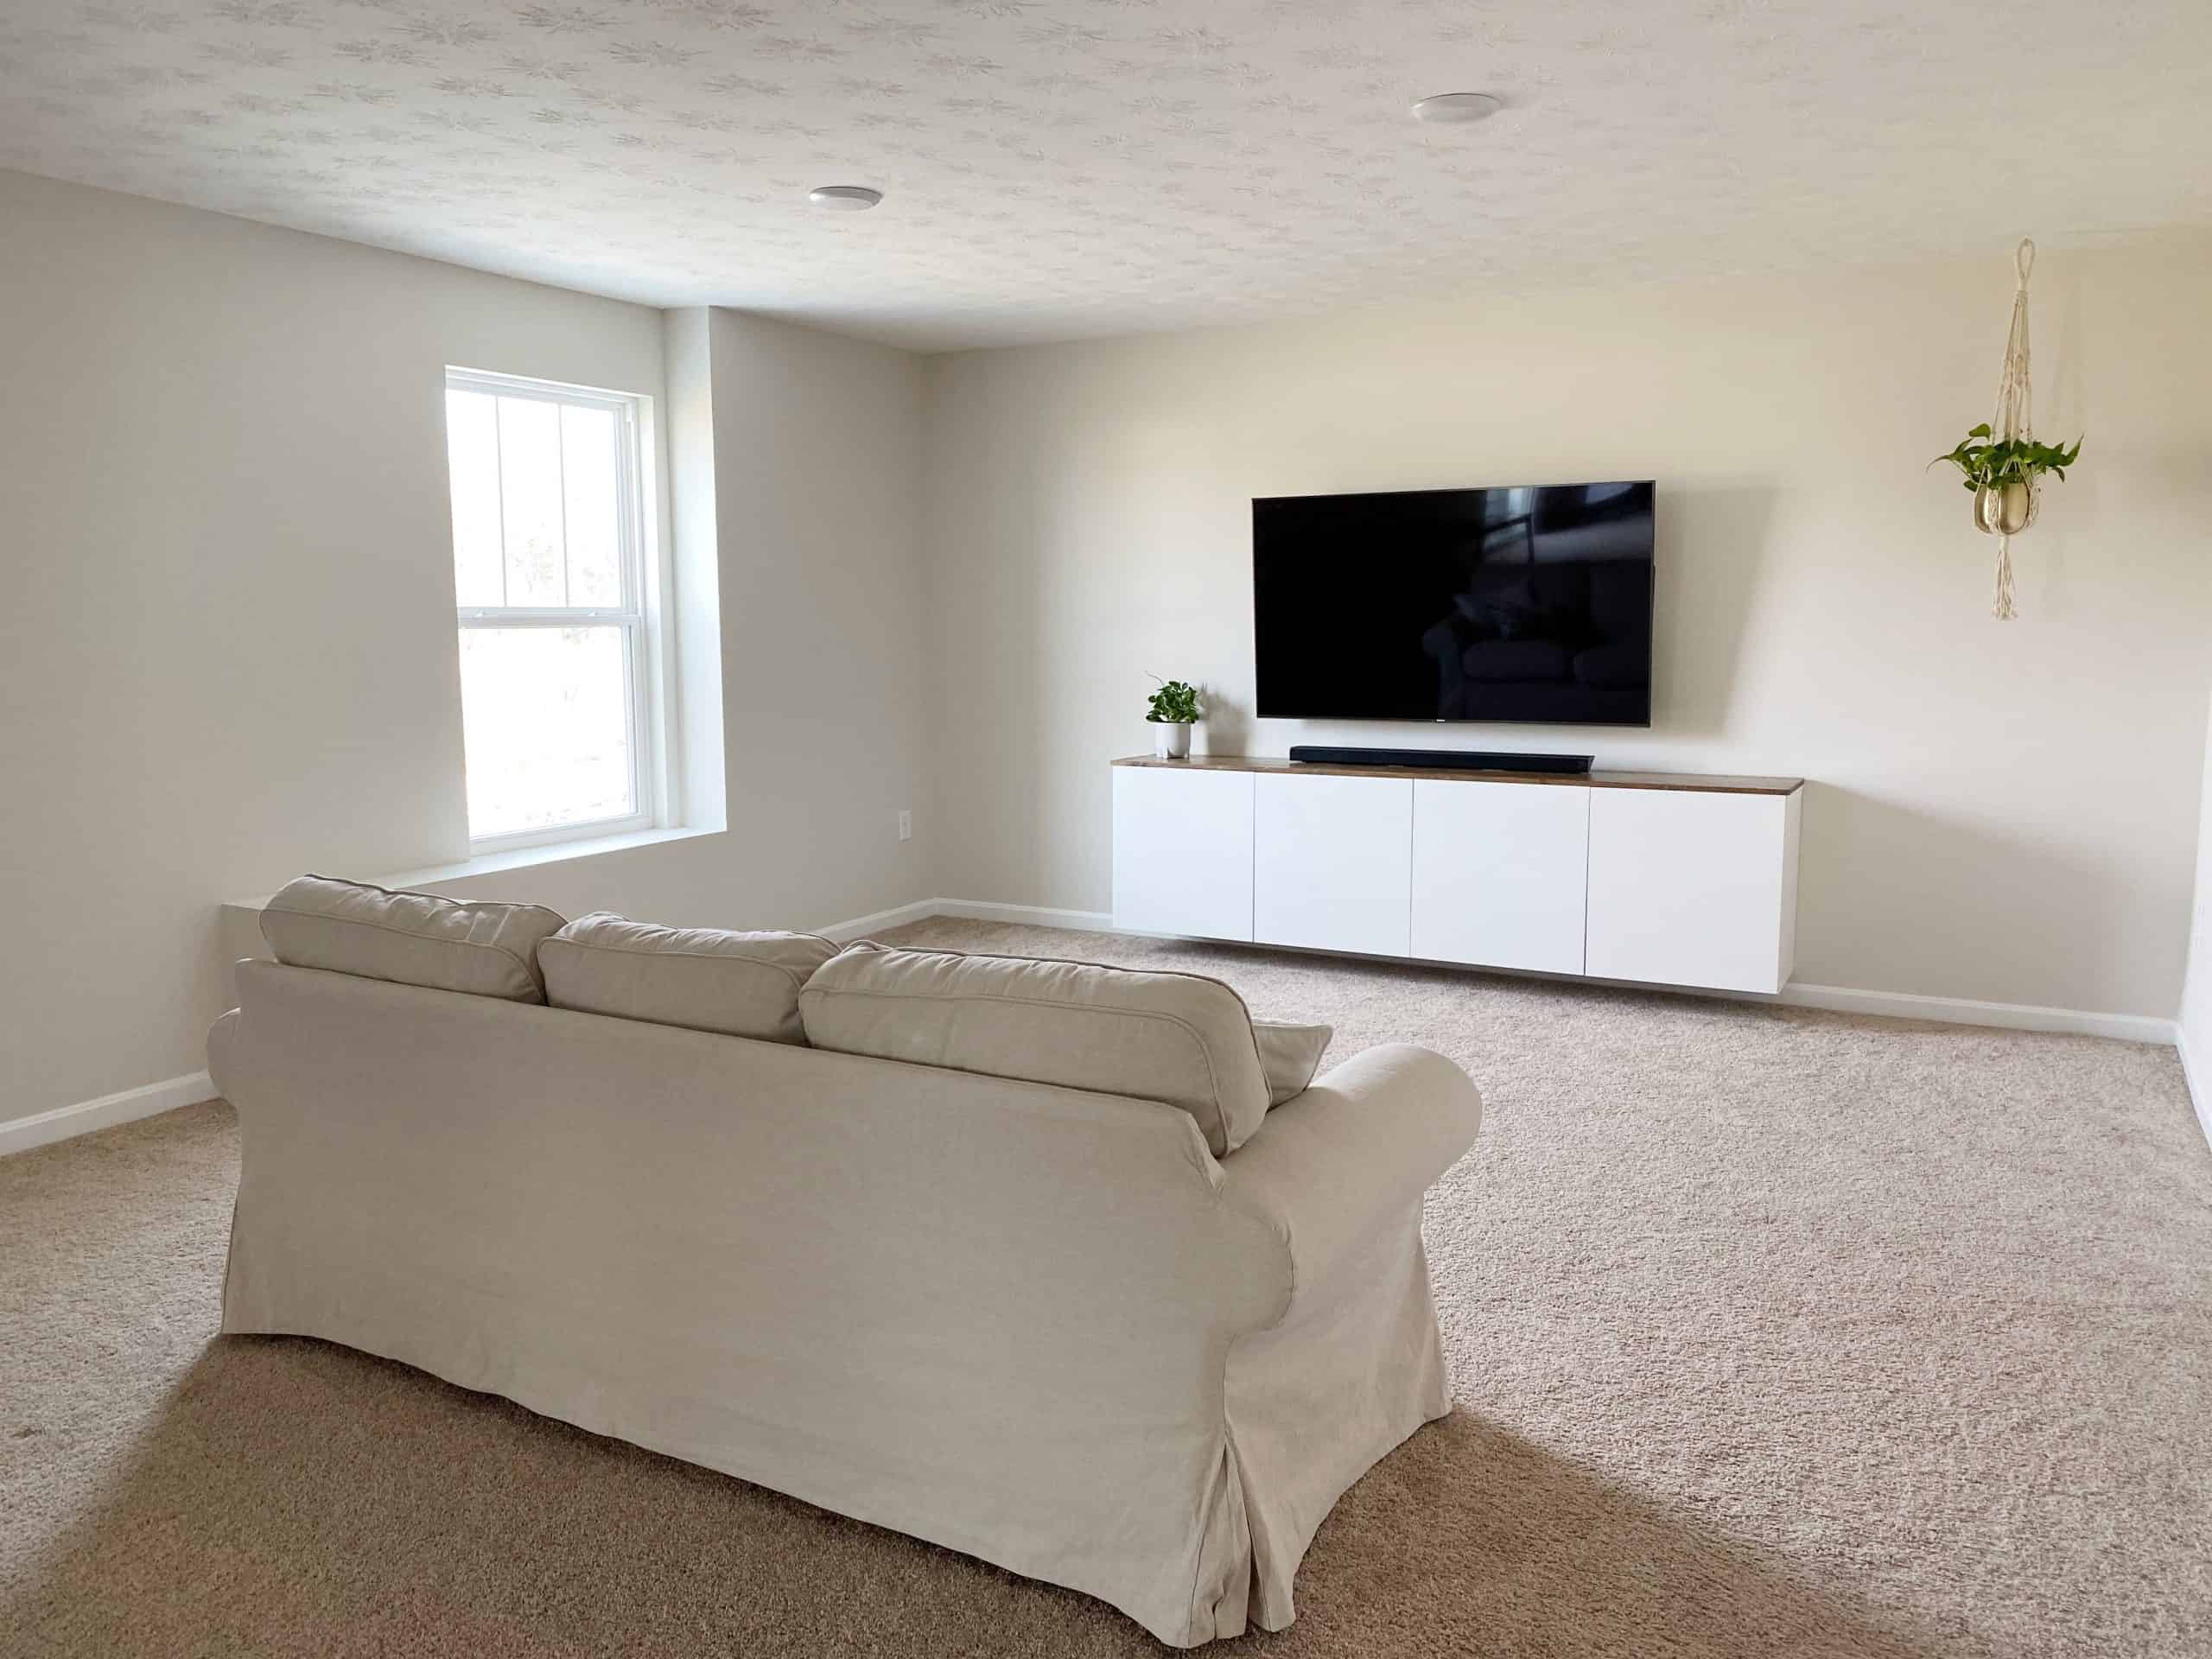
So, here’s a quick rundown on how we built and installed our floating console:
- We purchased (2) BESTA Frames, (4) BESTA Suspension Rails, (4) BESTA Shelves, (4) BESTA Soft closing/push-open hinges, and (4) LAPPVIKEN Doors from IKEA.
- Once home, we assembled the frames sans shelves and doors.
- Then we determined the center point on our basement wall. From there, we marked each stud along the length of the console. Feel free to use a pencil to draw a straight line to assist with the mounting of the cabinet.
- At this point we installed the suspension rails on our wall, ensuring we screwed them into as many studs as possible. The suspension rails actually come with pre-drilled holes, but not all of these lined up with the studs in our wall so Eric used a metal bit to drill additional holes in the rails so we could attach them to each stud across the length of the cabinets.
- Once the suspension rails were securely attached to the wall, we then hung and attached the BESTA frames and then installed the doors.
- Now it’s time to get started on the wooden top. Purchase a project panel that fits your desired dimensions. We selected this one from Lowe’s. Now, once the doors are attached the depth is a tiny bit too short. We intentionally wanted a recessed area on the back wall behind the wooden top so we can run a Hue light strip here in the future. The gap is barely noticeable, but if you want your wooden panel to sit flush with the wall then you’ll have to purchase a board with a greater depth than 16” inches. Hope that clears up any confusion!
- Trim your board to length. We shaved a half-inch from each end. Now you’ll want to sand the board smooth and proceed to finish as desired. We applied a coat of Minwax Wood Conditioner and then two quick coats of Minwax Special Walnut.
- Once your board has been stained it’s time to go ahead and attach it to the cabinets. First, scuff and scratch up the top of the cabinets a bit. This provides greater adhesion for the bonding agent.
- Grab your adhesive — Liquid Nails in our case — and apply it to the top of the cabinets. It’s best to have at least one other person assist you in placing the board on top of the cabinets.
- Either clamp or use some type of heavy weight or a combination of both to keep the board tightly secured to the top of the cabinets while the adhesive dries. Make sure the weight is evenly distributed to ensure no bowing occurs. Let sit for 24-48 hours.
- Once dry, you may now apply a sealant to the wooden top if desired. We applied several coats of Minwax Polycrylic to ours.
And then you’re done! Easy peasy, right? I think the hardest part is just finding the studs and ensuring everything is level.

We still have a lot of DIY projects lined up for this area. Here’s the current list:
- A coffee table for LEGO building and playing board games
- A bar sofa table for additional seating behind our couch
- A barn door window covering
- Finish up our desk area
- A cane-door cabinet for additional storage (plus a spot to hide the subwoofer and printer)
- More bookshelves! Or a reading nook. Still thinking this one through. Books everywhere! ?
We’re planning on tackling the barn door window covering next. Here’s a close-up photo of the window:
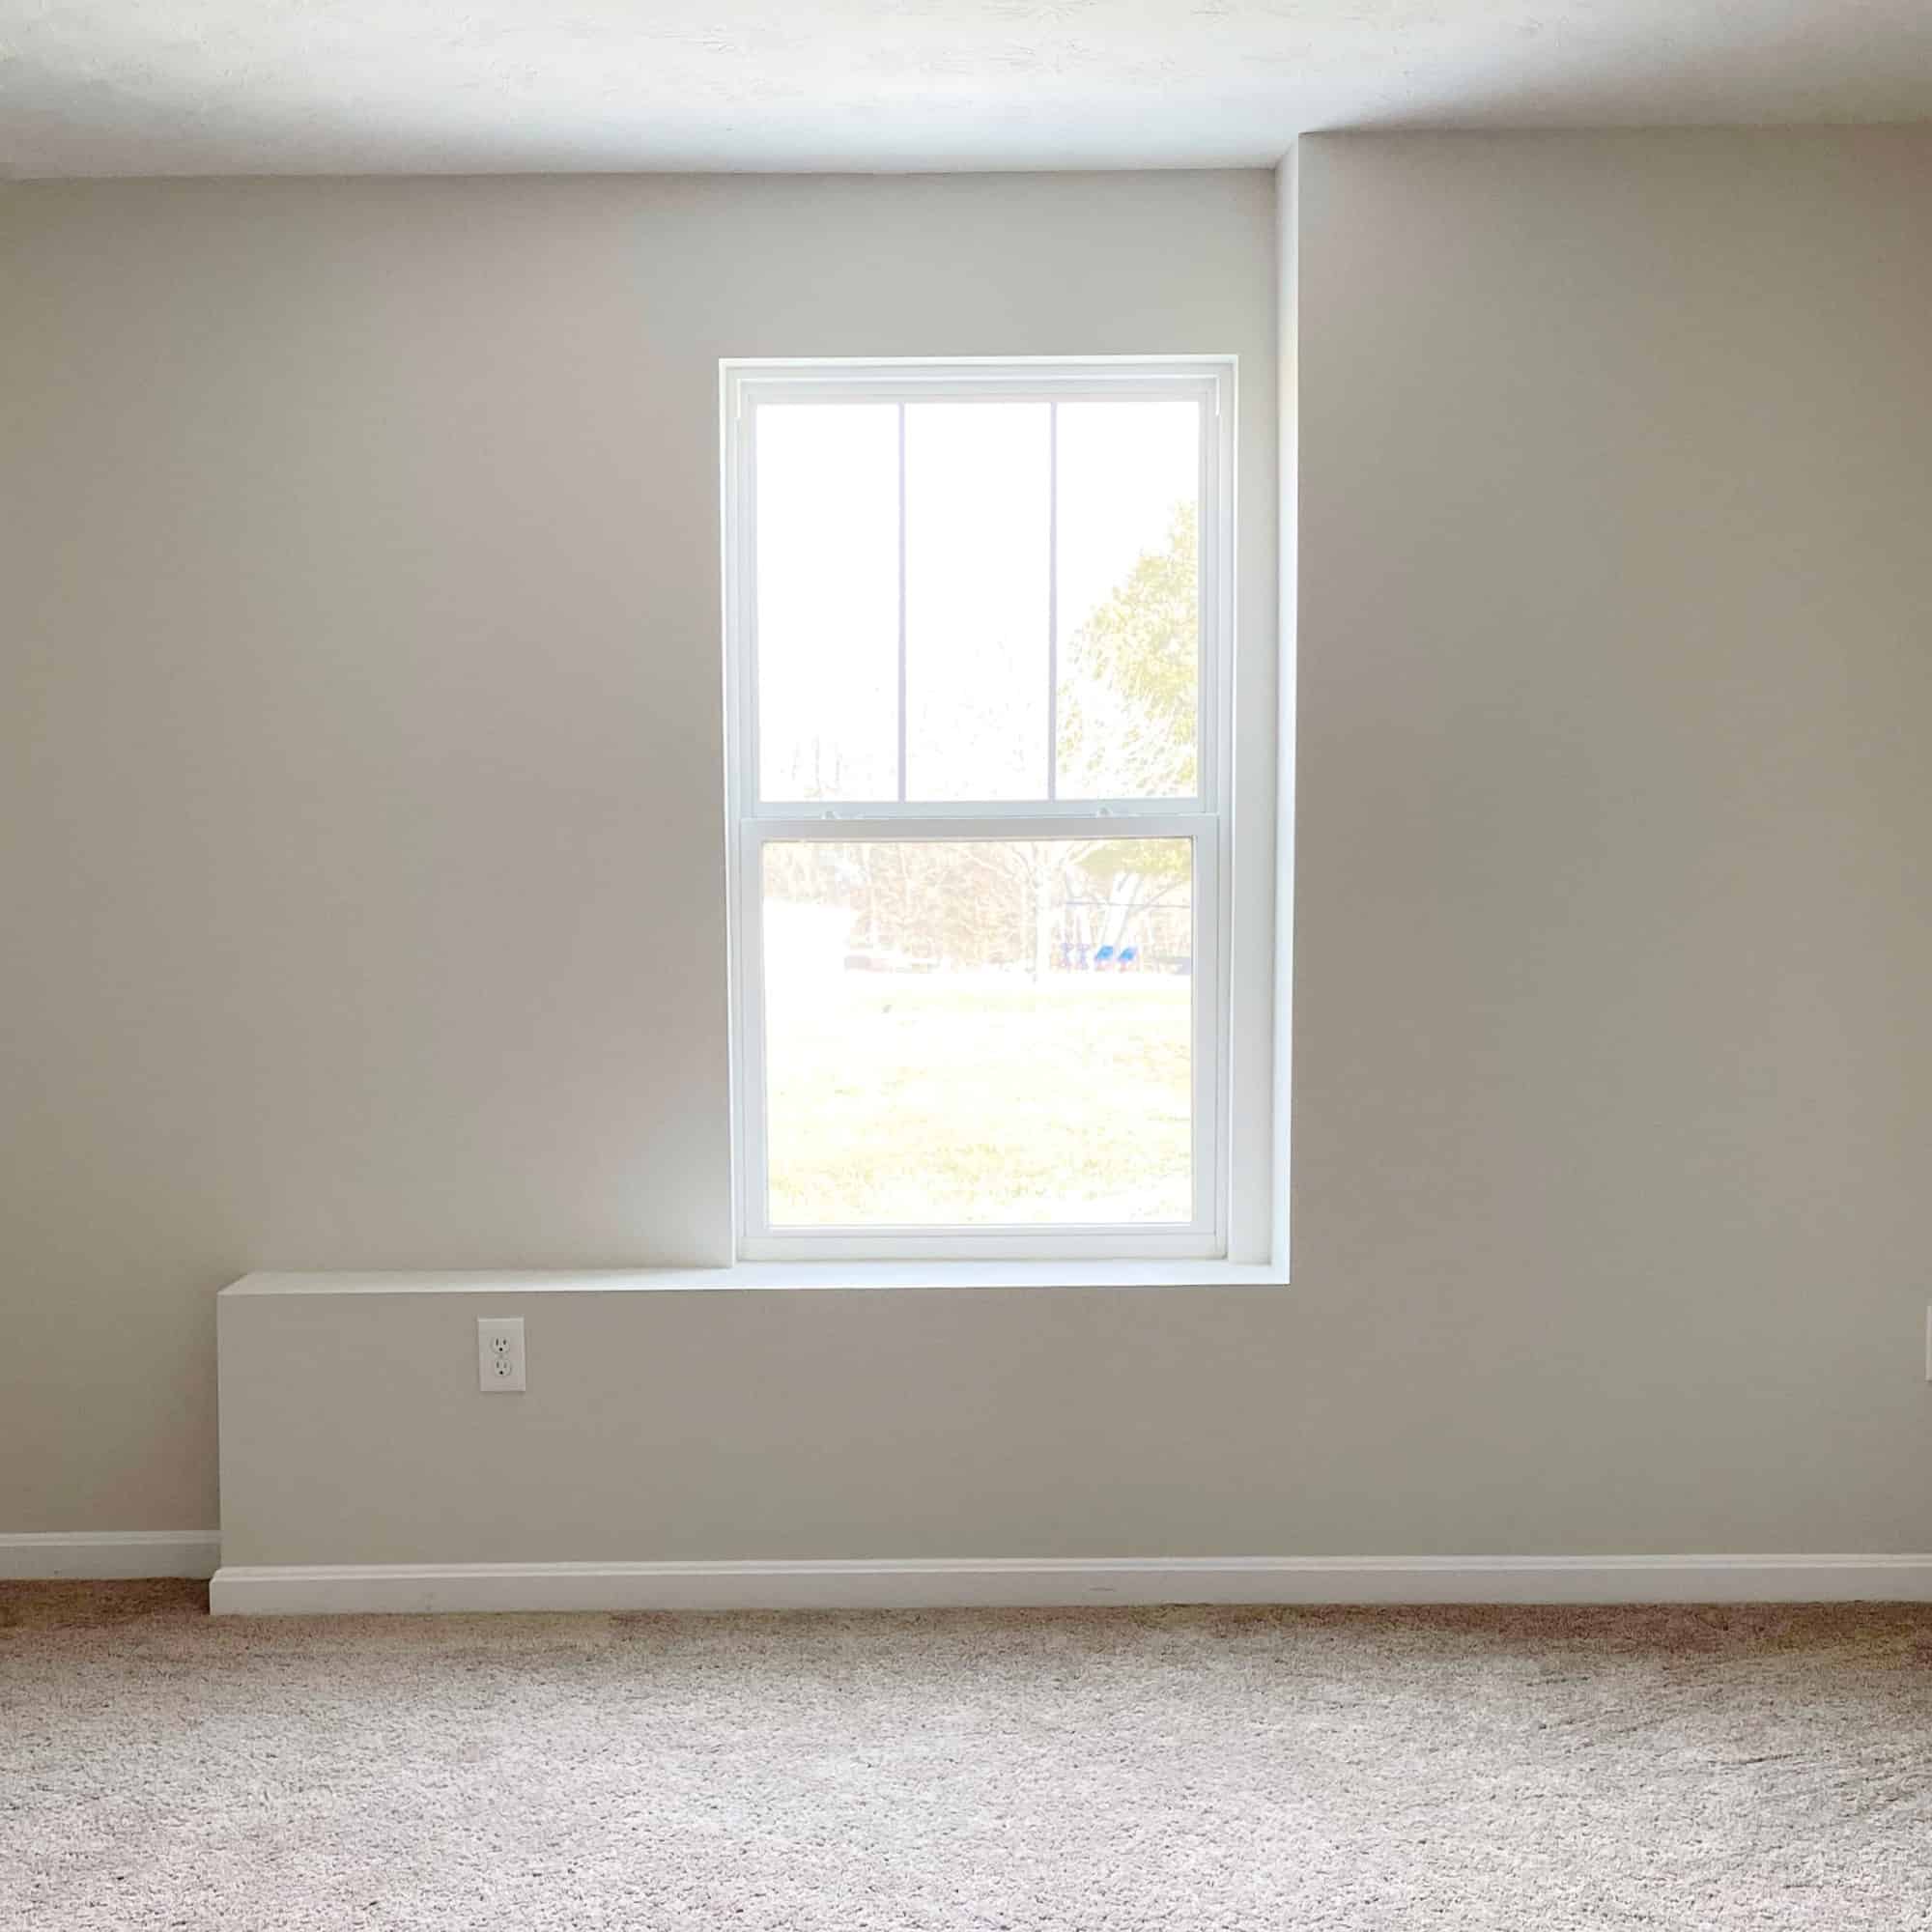
First, we’ll build a windowsill and then move onto building a modified barn door to serve as a window covering here. I’m super excited to see how it’ll turn out!
Be sure to check back to follow along with our progress. Or, better yet, sign up for the newsletter below to receive the latest updates.

2 Comments
Comments are closed.