Home Tour: Our Montessori-Inspired Schoolroom and Playroom + A Free Guide to Designing Spaces for Children
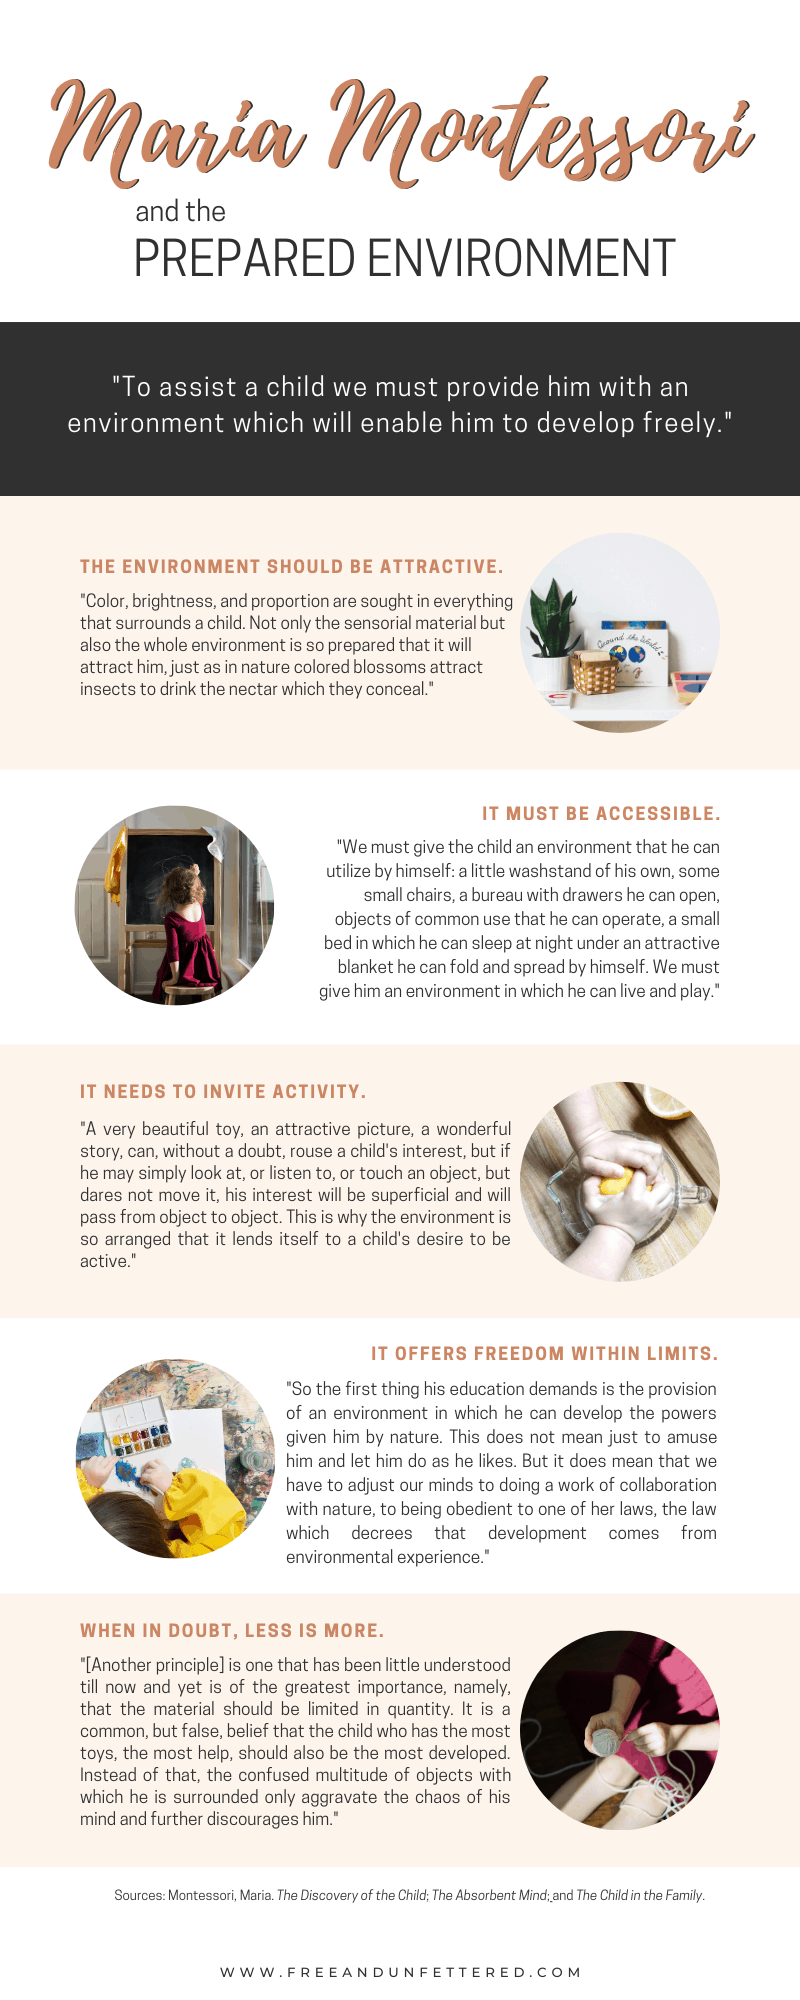
Maria Montessori believed a child’s environment is vital to fostering independent learning and exploration. According to her, the environment must be prepared to facilitate a child’s freedom of movement and freedom of choice while also meeting their developmental needs. When it came to designing a space for a child, she advocated for the following:
- A child’s environment should be attractive.
- It should be made accessible.
- It should invite the child’s activity.
- It offers freedom within limits.
- And, when in doubt, less is more.
In this post I’ll be sharing a few tips on how to begin designing a space for children as well as highlighting some of the ways our Montessori-inspired schoolroom and playroom has been prepared to support both our children simultaneously. And, let’s face it, it can be downright challenging when you have multiple ages across different planes of development and only a limited amount of space available.
My best advice to anyone trying to establish a shared space for children is to observe, observe, observe. Take note of what is working and what is clearly not, seek input from your children, and never be afraid to make a few changes. After all, a truly prepared environment will always be open to adaptation. As our children continue to grow and develop, the environment we prepare for them must change to support their current needs and interests.
For reference sake, my oldest is almost 6 years old and my youngest just turned 3 years old. If they were attending a Montessori school, they would currently be in the same class — with my oldest getting ready to move on to lower elementary and my youngest having just started her primary-level education.
DISCLOSURE: THIS POST CONTAINS AFFILIATE LINKS AT NO COST TO YOU. THIS MEANS I MAY RECEIVE A SMALL COMMISSION IF YOU MAKE A PURCHASE USING THESE LINKS.
First, Evaluate Your Space.
One of the first things I like to do when designing a space is to think about these questions:
- How do I want this space to feel?
- What activities do I foresee taking place in the space? In what ways can I accommodate these?
- What do I most like about this space? What do I like the least?
- Are there any limitations imposed by the space? How can I overcome them?
- What pieces of furniture work in this space? What isn’t working? Why?
Ultimately, I want our schoolroom and playroom to feel cozy and comfortable. I want it to be a place where my children and I enjoy spending time. This room is adjacent to my children’s shared bedroom and bathroom, so this space really functions as part of their own little nook of the home. I hope to instill a calm, yet playful atmosphere.
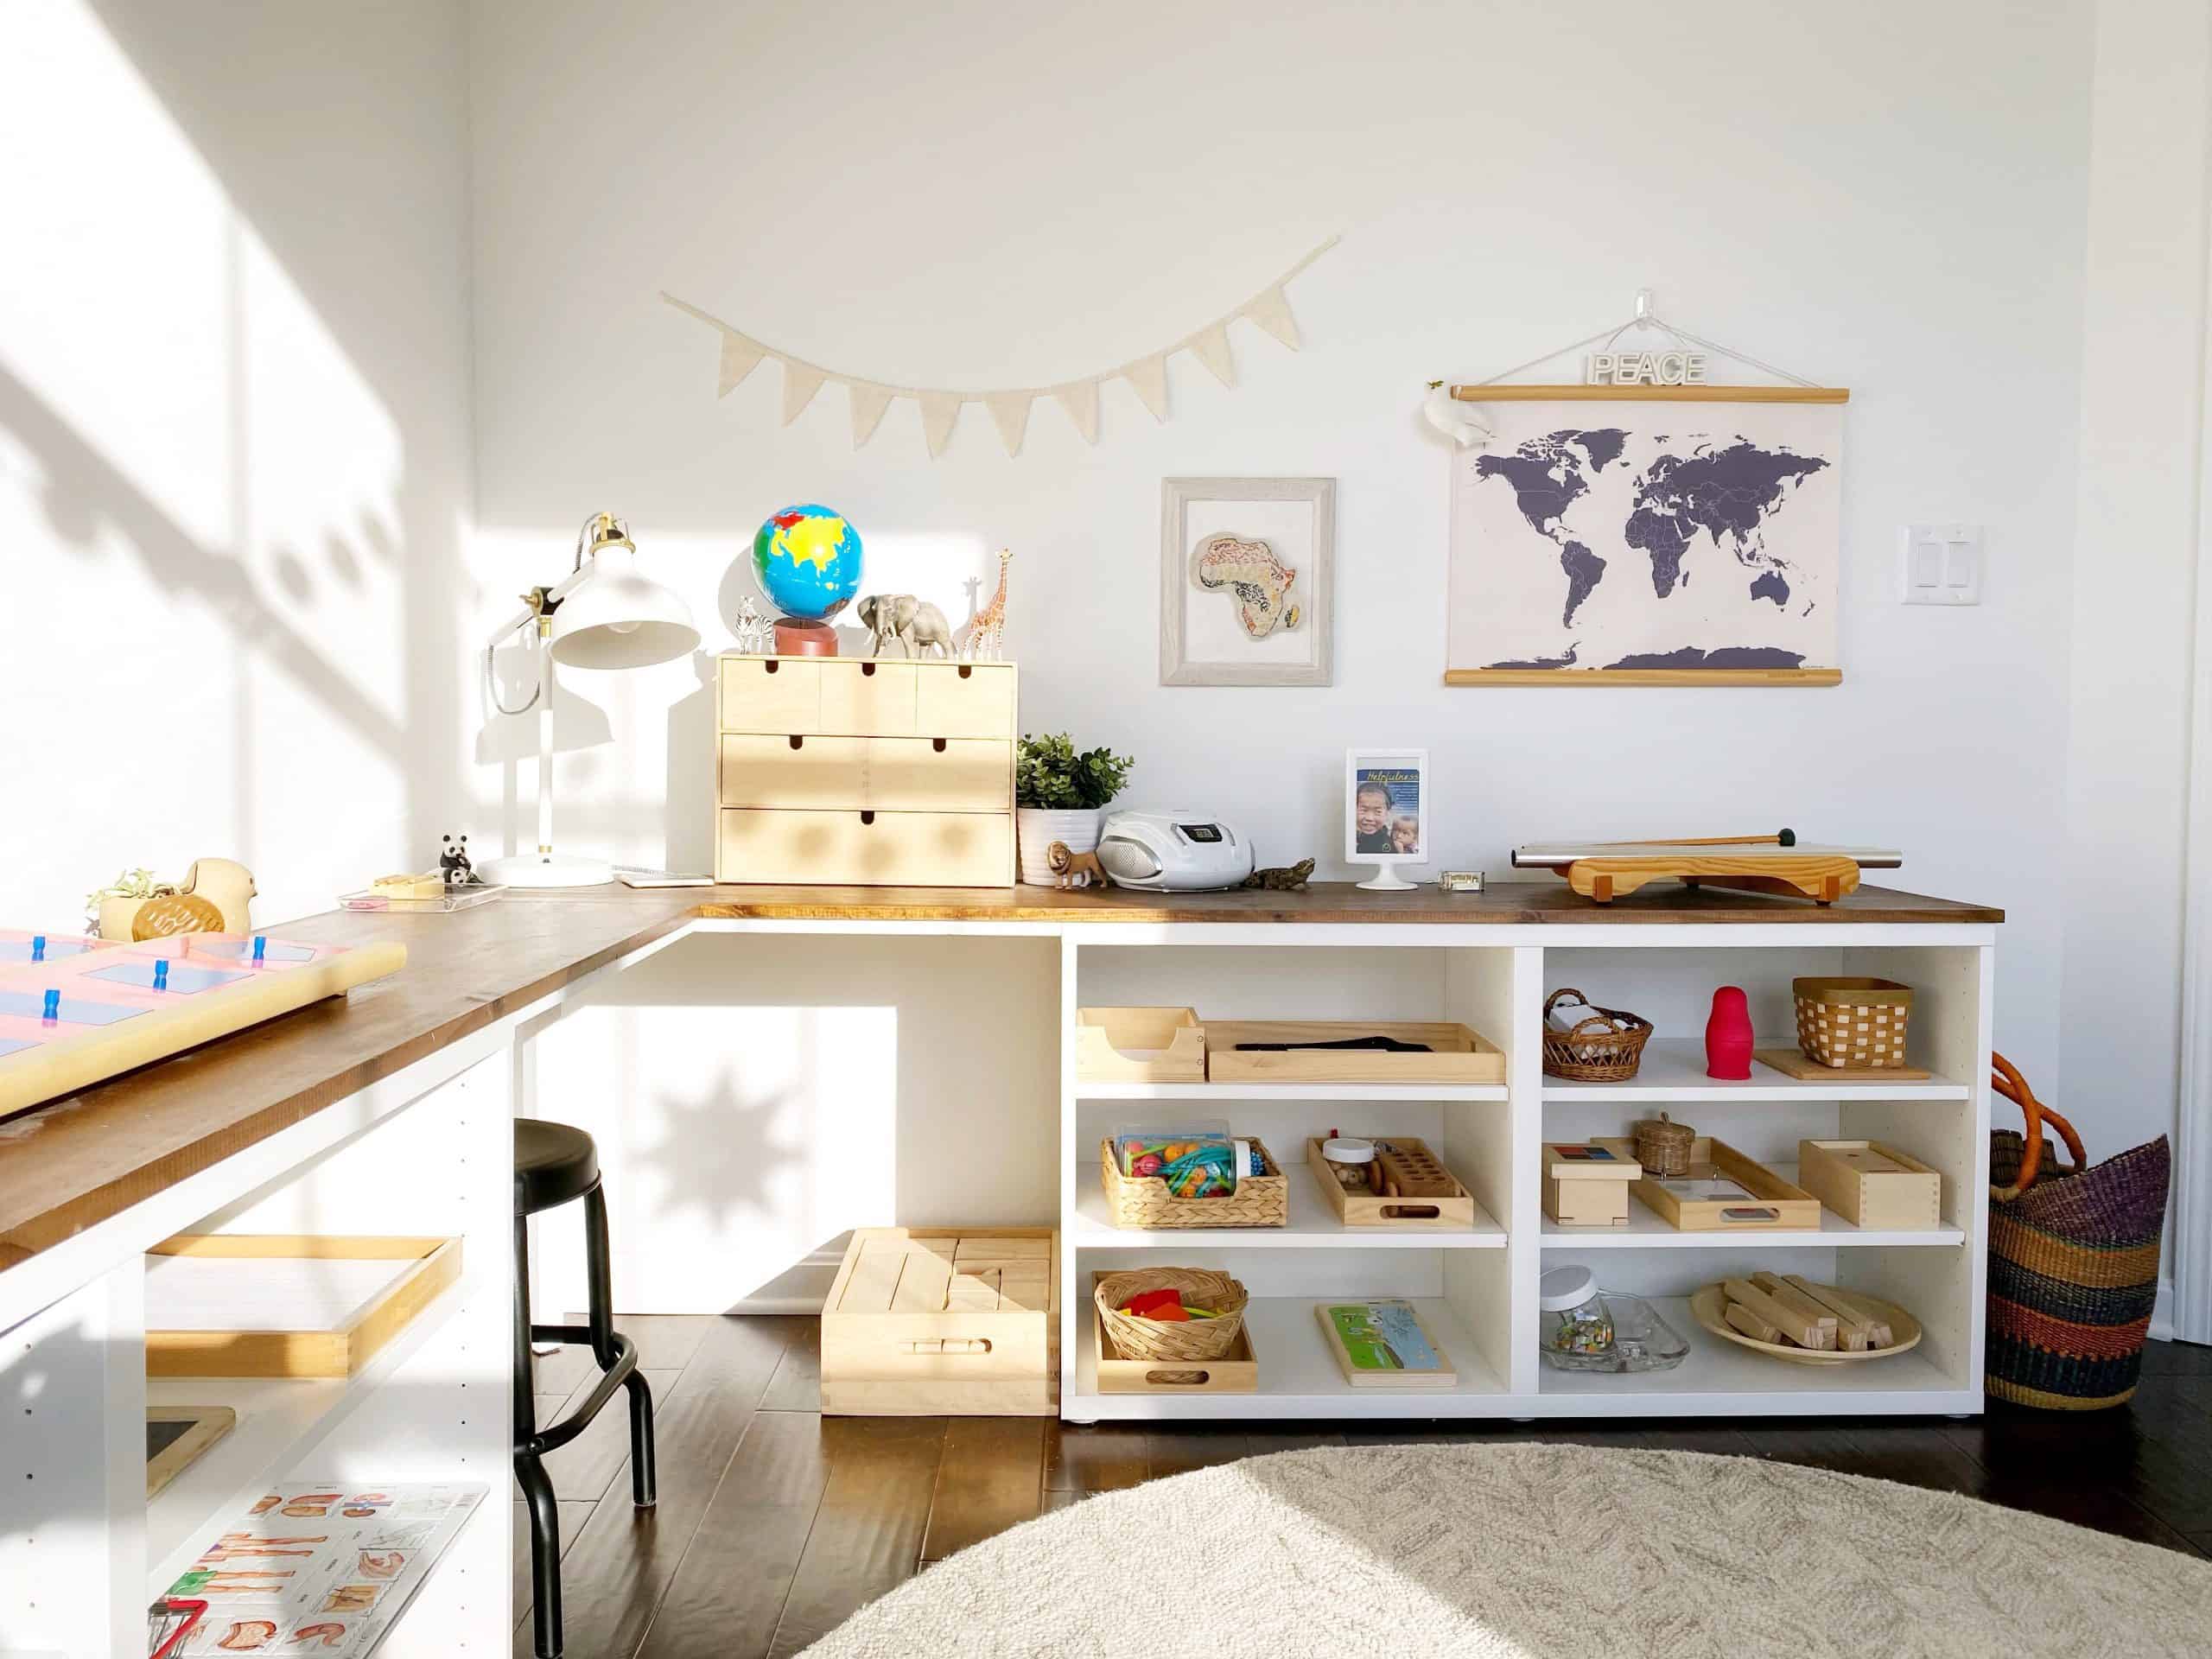
One of the first projects we prioritized in this room was building a corner desk with shelving in order to maximize our floor space. I had tried several other furniture arrangements, but I felt a corner desk worked best given the layout of the room. (You can read more about that DIY project here if you’d like: Create a Corner Desktop for Kids Using IKEA’s BESTA Shelves.)
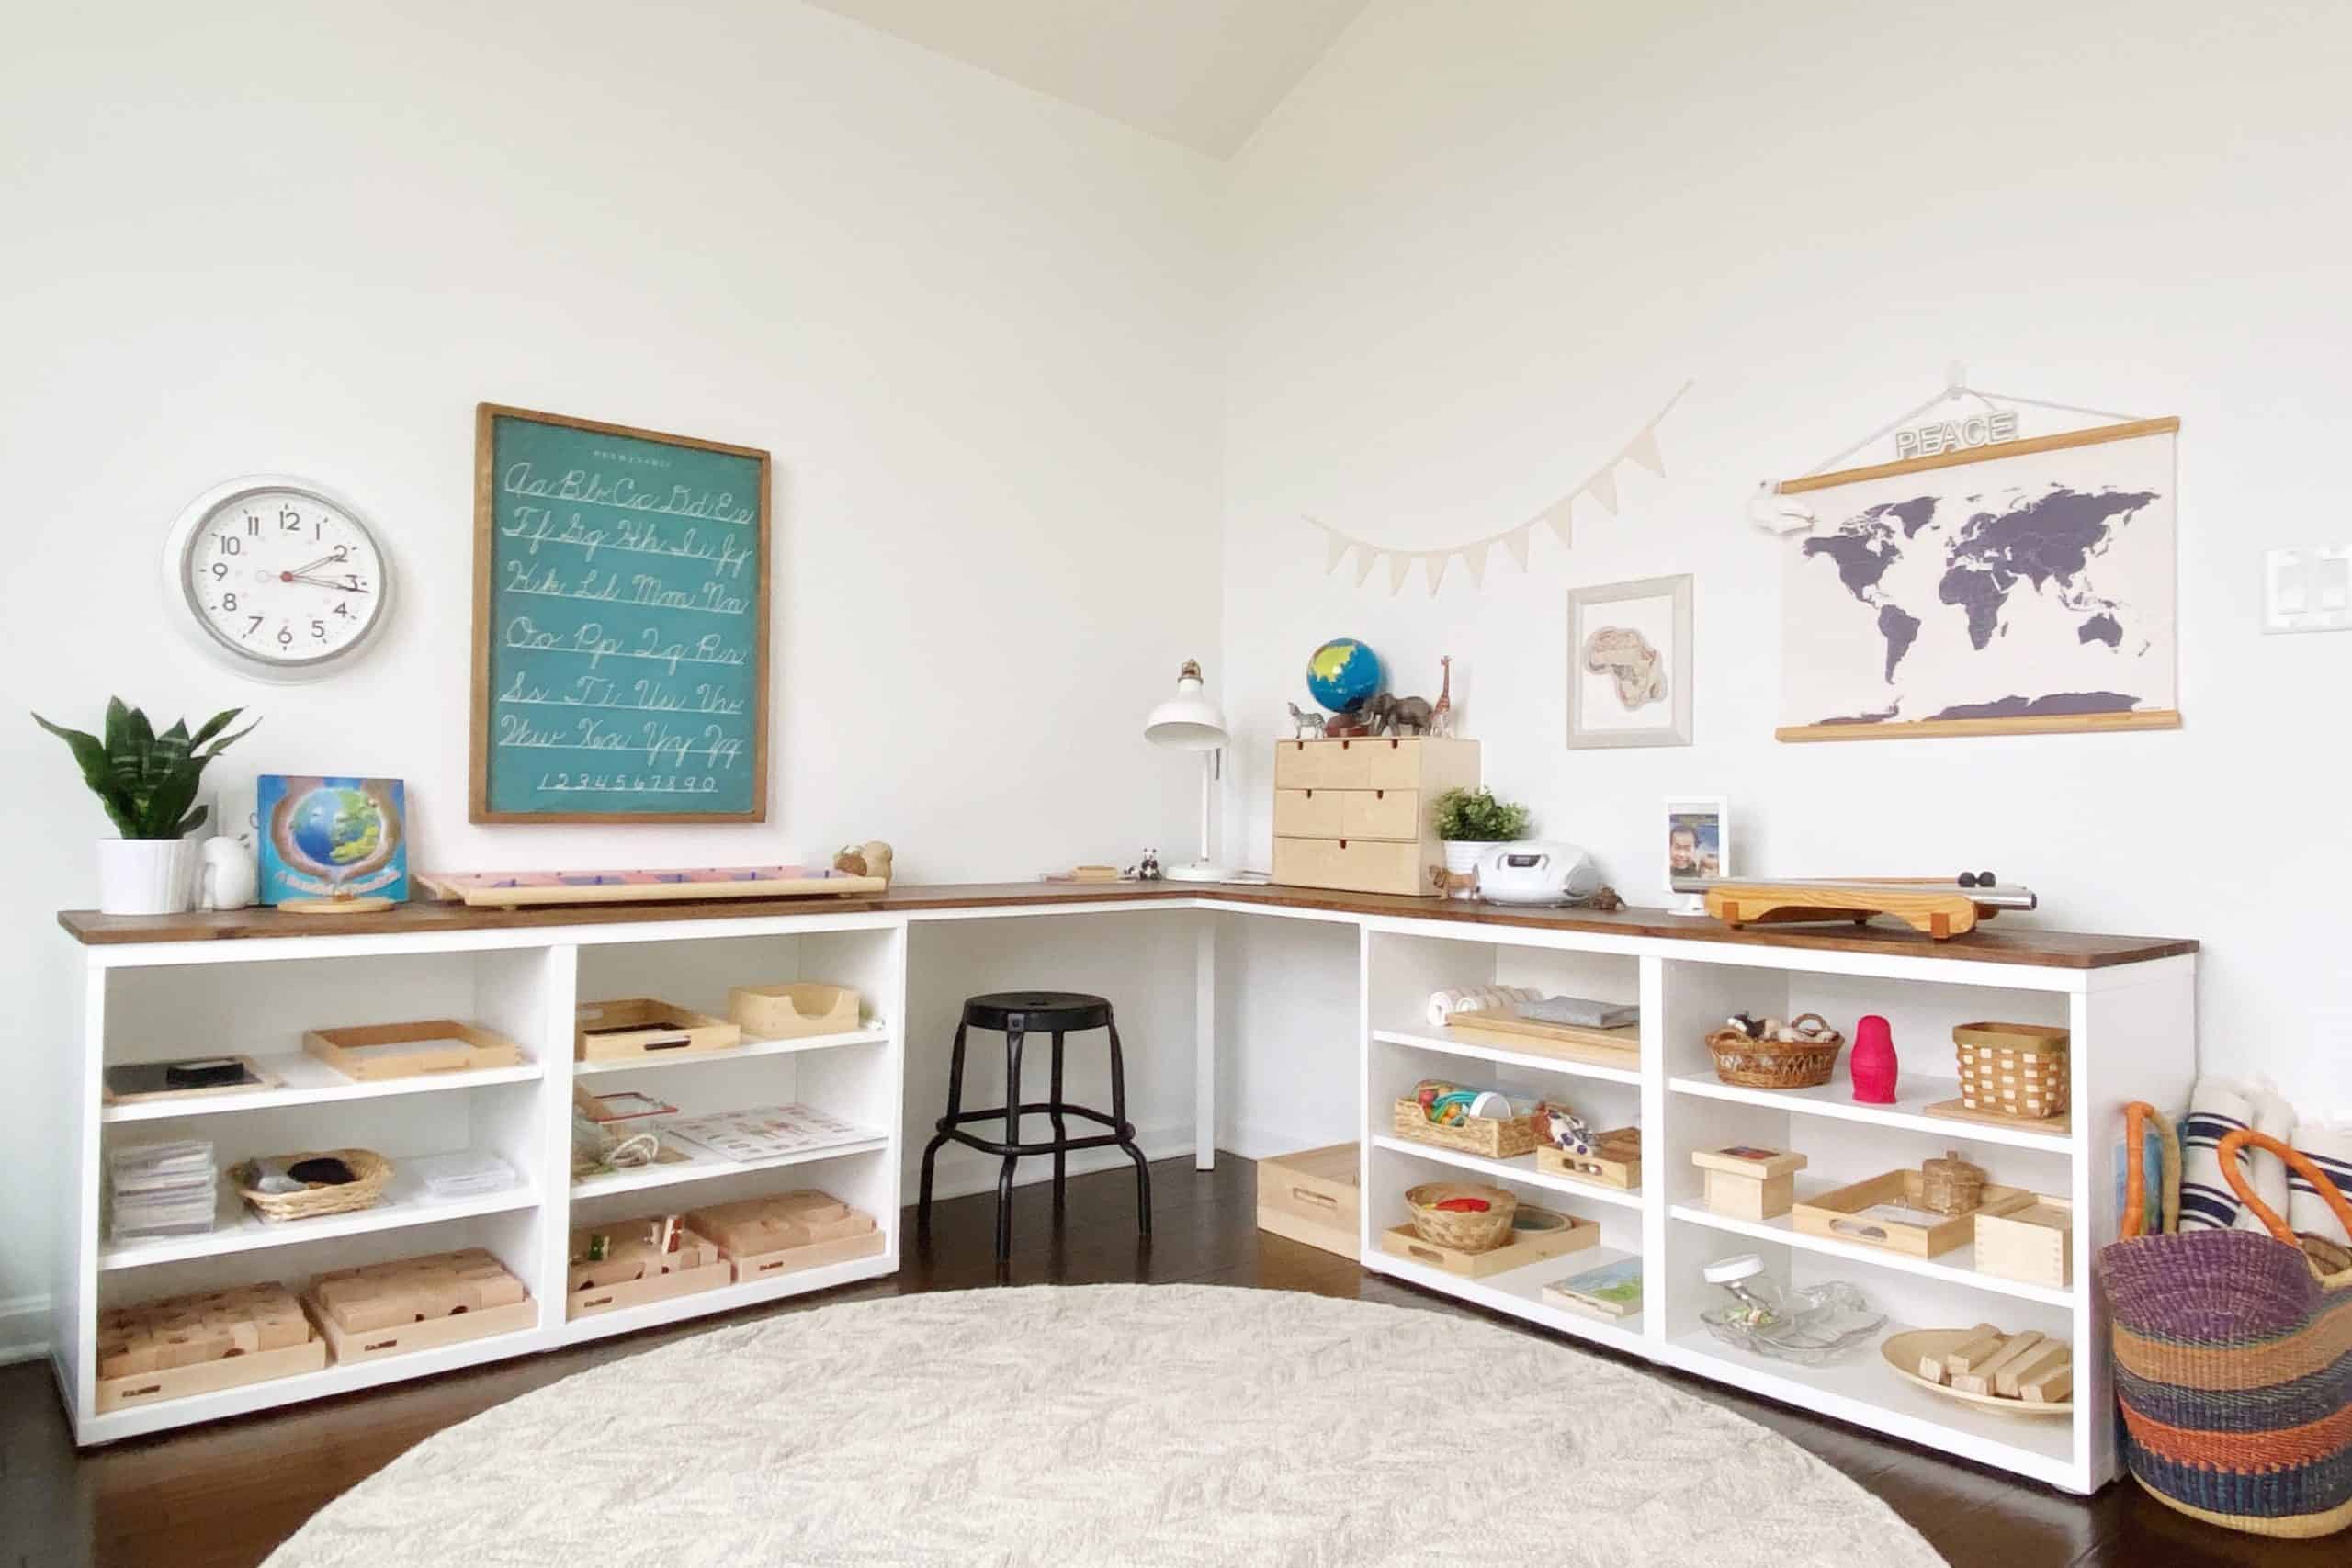
A lot of my children’s work occurs on the floor, so it was important to me that the room remain open and uncluttered with lots of space to freely move about.

A small elevated desk area ensures that my children have a dedicated space that’s a bit more private than working on a mat on the floor if that is their preference — and it’s been utilized a lot in our case.
Sometimes children crave the freedom to work independently and without disruption, but, in the case of mine at least, want to remain in the same room as everyone else. If you have younger toddlers this may mean placing a table or desk that’s slightly out of their reach to give your older child an unobstructed workspace. Or, carving out a small nook that a child can retreat to when desired.
Here’s How Our Shelves Are Organized for Multiple Ages
The majority of my younger daughter’s work materials are usually kept on the right shelving unit. At 3 years old, she spends a large part of the day engaged in practical life activities and gross motor play. She loves to run and jump and play outside. She also loves to draw and paint. Very little of her time is actually spent on shelf work at this point.

The left shelving unit holds some of my older daughter’s materials — mostly language and reading works as well as a fine motor work — in this case knot tying — and usually a puzzle of some sort. Our marble run now occupies the lowest level. I actually have a small opposites puzzle work stored on this shelf, even though it’s for my youngest.
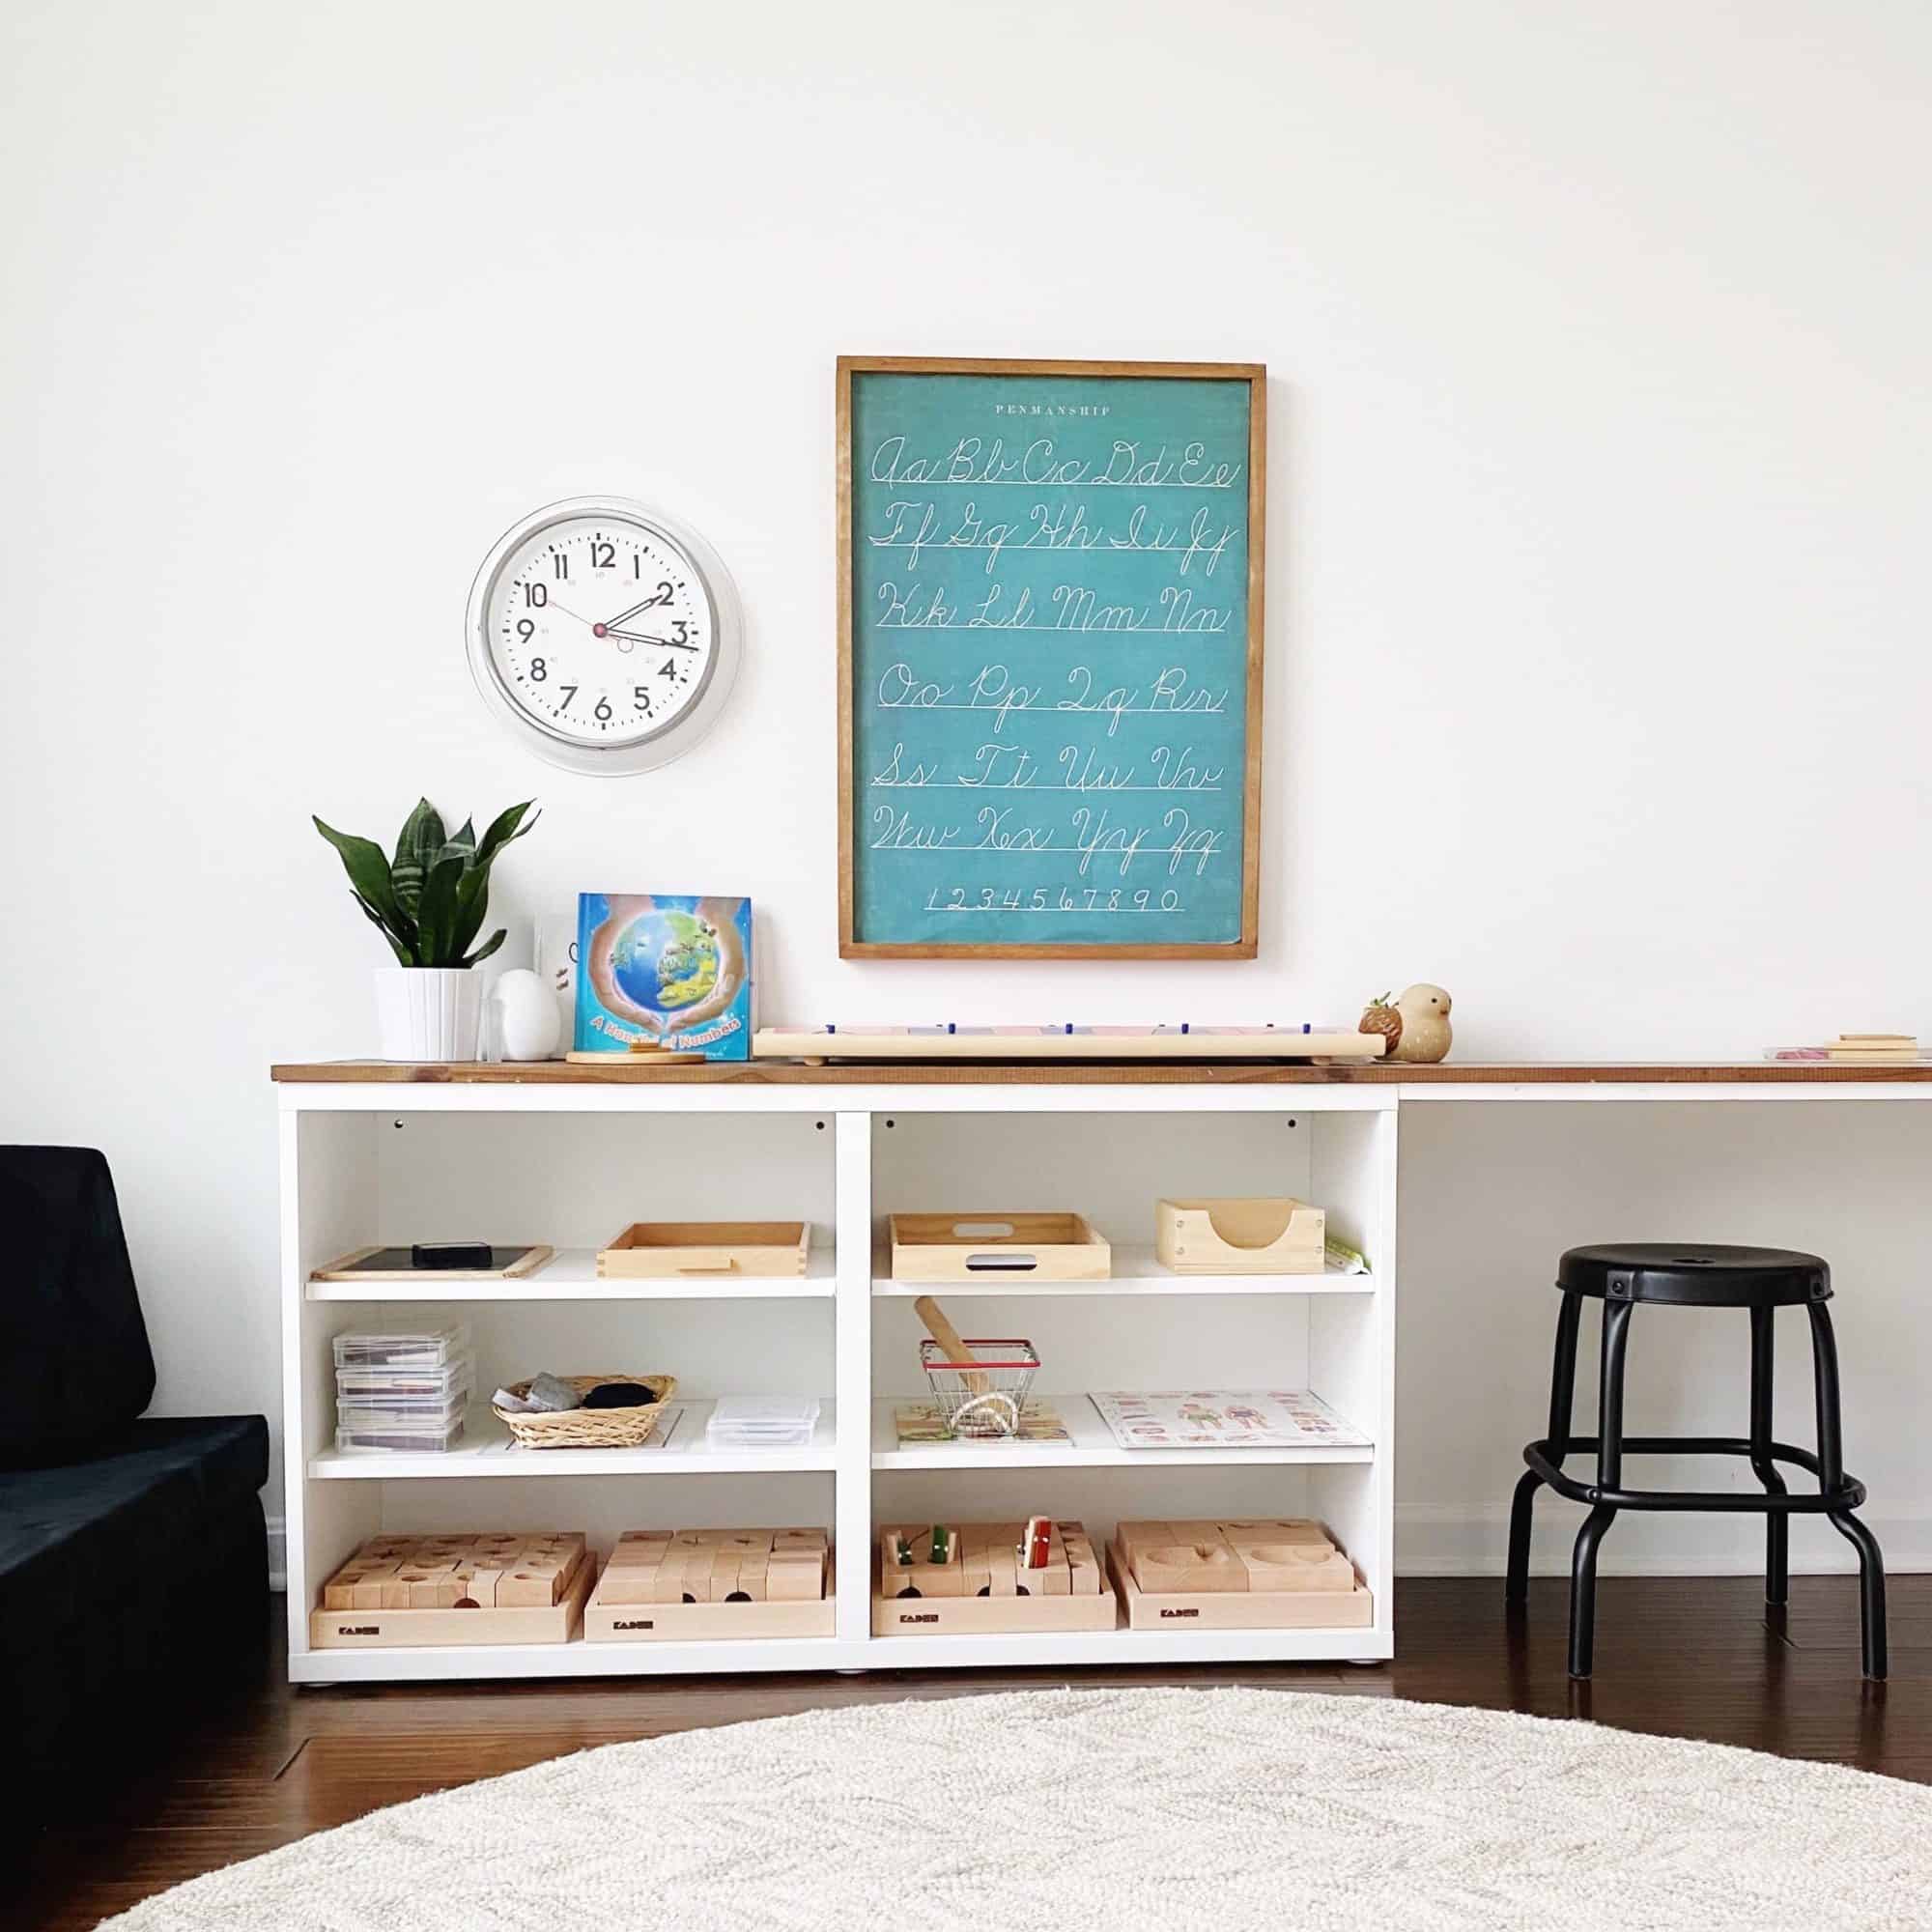
As my children grow older, I do foresee the shelves becoming more intermixed where eventually we’ll have one shelving unit for language works, one for math, and another for science/geography/culture/history. But for now having separate shelves works best for the structure in our home.
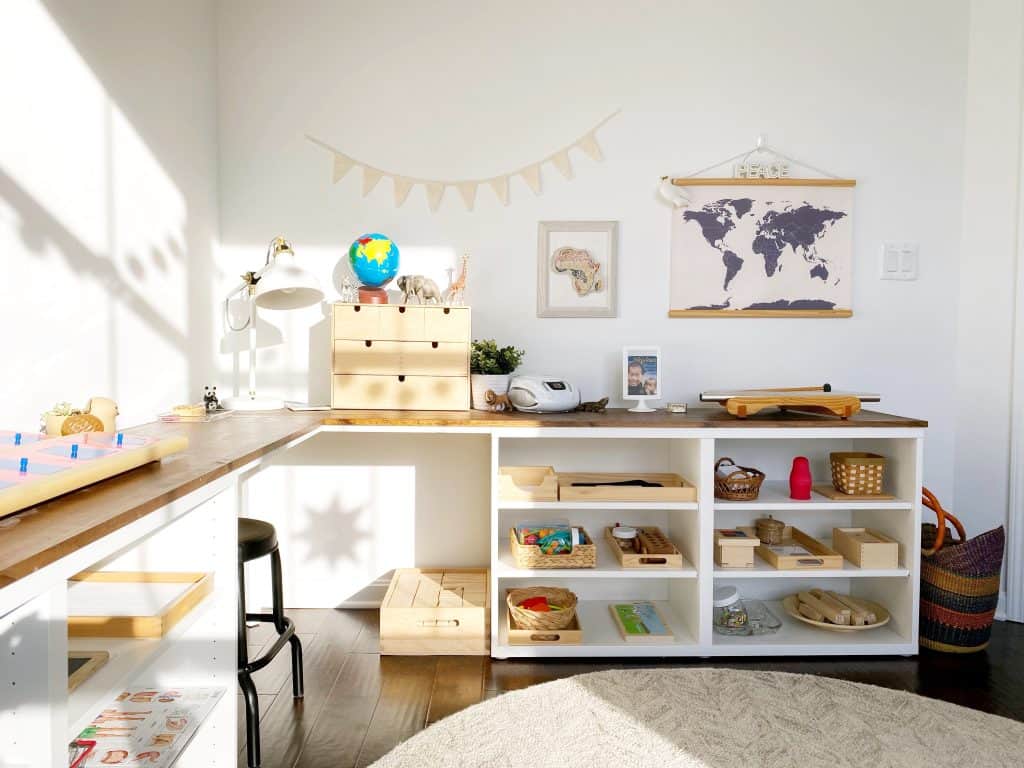
The desktop provides a space to keep shared materials — a small houseplant, our metal insets, a CD player, our Woodstock pipedream instrument, and our weekly virtue affirmation card.
The small MOPPE storage chest from IKEA works well in a shared workspace. The drawers are removable and can easily be carried to a work mat. Here, the bottom drawer holds my children’s music CD collection as well as a harmonica and maracas. The rest of the drawers are used to hold the girls’ sewing/knitting/lacing works.

A small desk lamp ensures there’s additional lighting in this room during the winter months. One of the limitations we encounter in this room is its lack of overhead lighting. In the future I hope to add another floor lamp or wall lamp in the corner by the bookshelves.
Our math manipulatives are kept on a bookshelf inside the closet. They remain accessible to my children, but keeping them behind a closed door helps when we have friends visiting or we babysit younger toddlers. Additional materials that are not in rotation or are things I prefer only be used under supervision are stored on the closet shelf, which remains out of reach of both my children.

Worried about all those small beads? Me too! I use Mason jars with lids to store a lot of the works with small bits and pieces. Because they’re see-through my youngest (and any visiting friends) are able to explore them visually, but they’re securely contained until I am able to supervise the work.
The top of our math shelf provides a space to keep any art supplies and materials that I feel my 3-year-old still requires a bit of supervision to use.
We keep the majority of our art supplies and materials on a small tray cart in our living and dining area since our dining table provides a larger work surface than we could fit into our schoolroom. (You can read more about that here if you’d like: Tips on Creating an Accessible + Organized Art Space for Kids.)

And What About Toys?
This will vary widely among families, with some choosing to keep toys separate from school materials and others combining them in the same space. As always, when it comes to preparing an environment at home for your children, you’ll need to observe and figure out what works best for your family and make the best use of the space you have available.
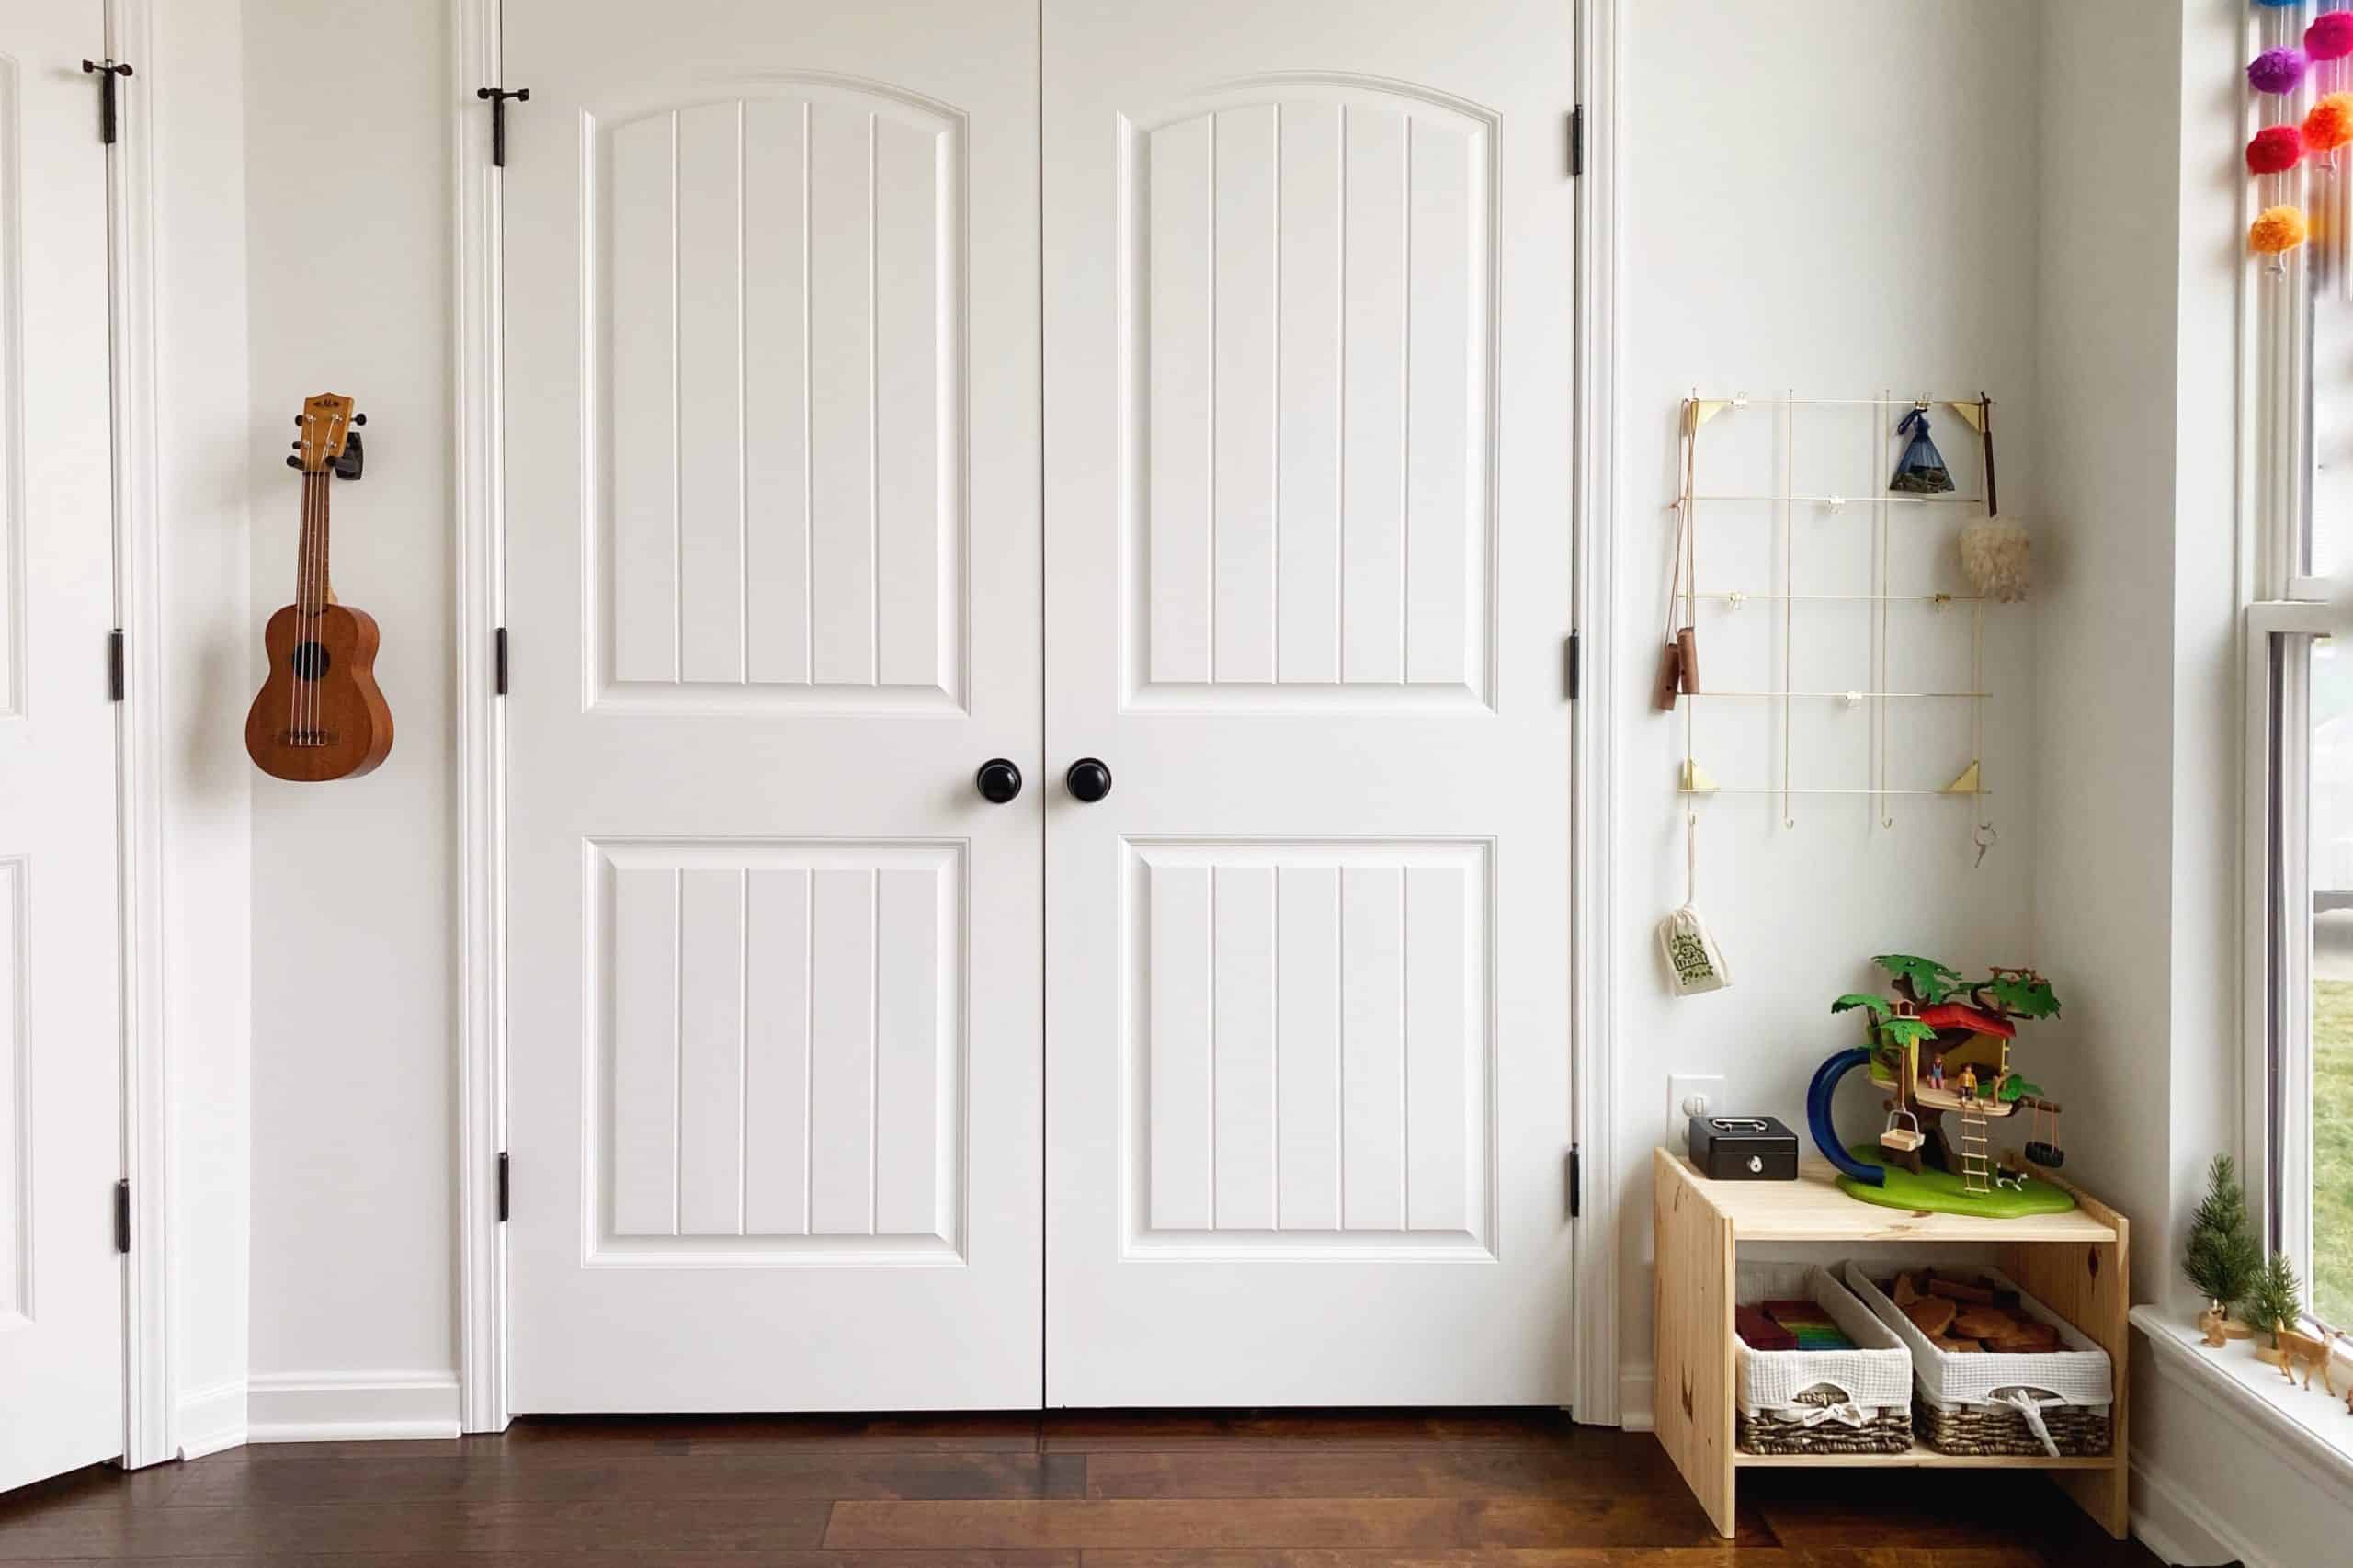
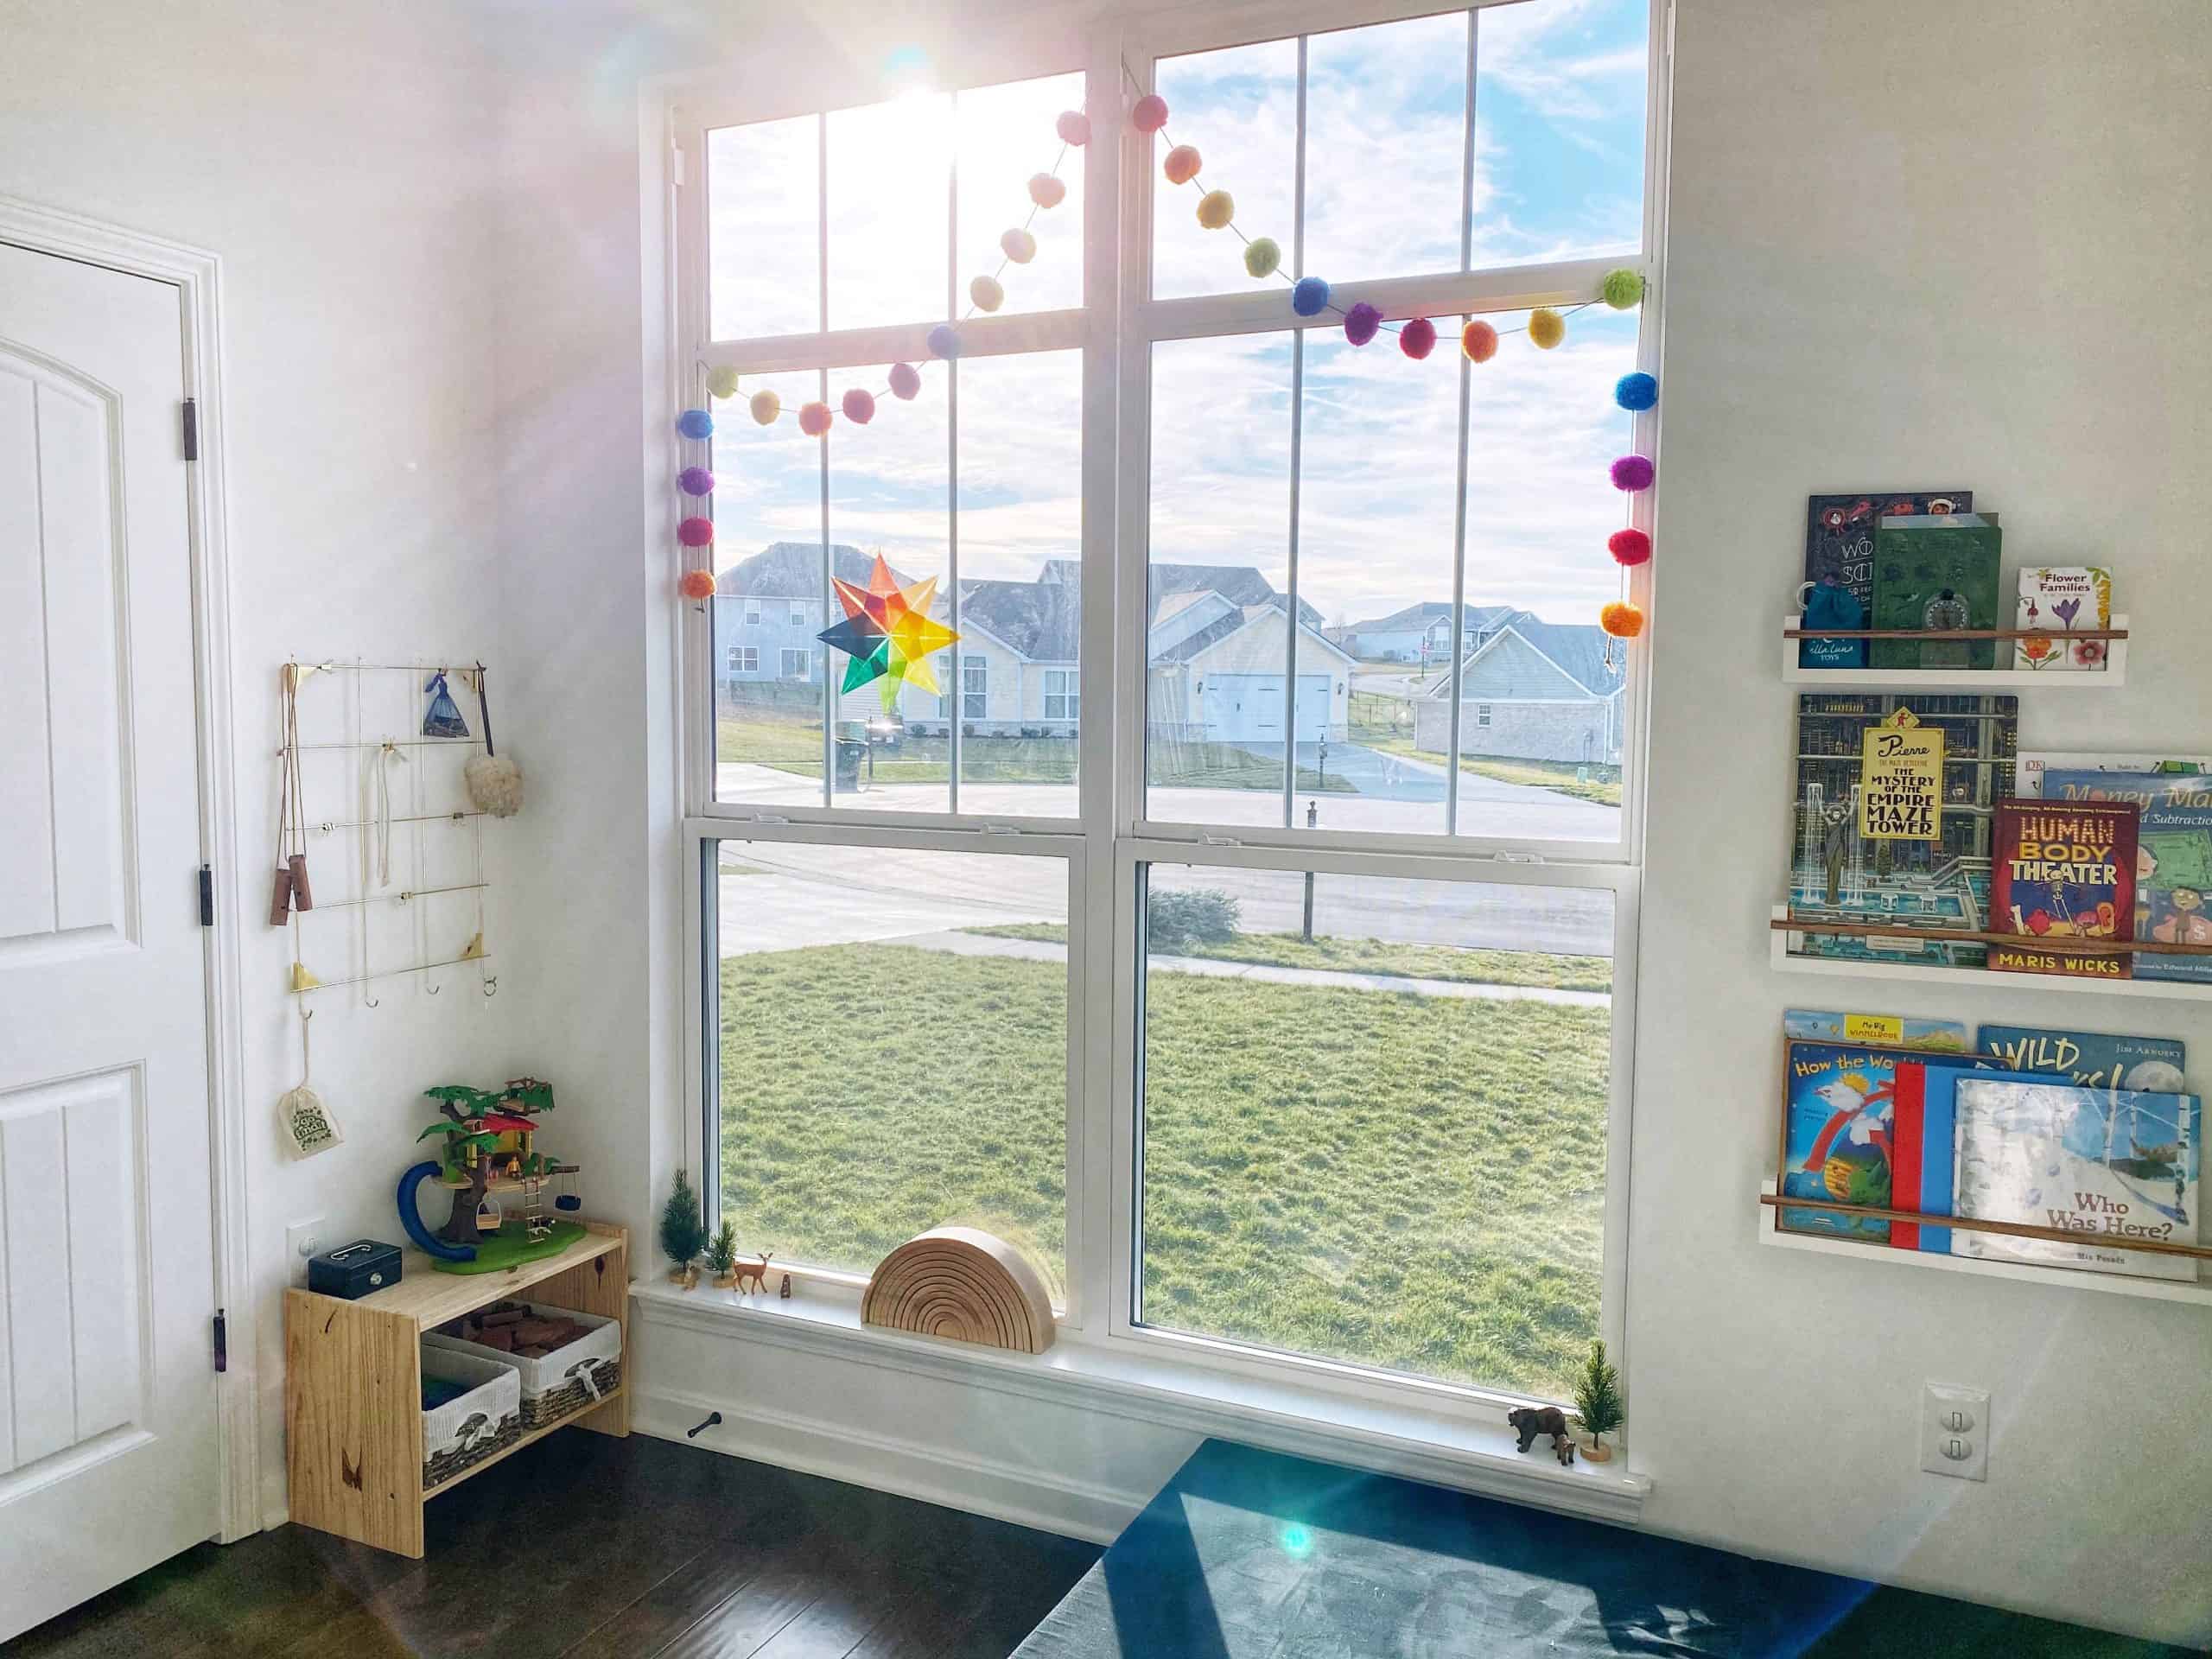
After Christmas I ended up adding a few more open-ended toys to our schoolroom, and I’ve definitely noticed them spending more time in here. In order to accommodate the change, we simply moved our children’s easel into our living room near our mobile art tray. In its place I swapped in a small shelf in the corner. It serves as a display for the girls’ adventure treehouse as well as a couple baskets of building blocks.
Our Book Display and Storage
The other corner of our room serves as a small reading nook. The Nugget couch is frequently moved between the schoolroom and our basement. When it’s in the schoolroom it’s frequently used for lounging and reading books as well as fort-building. I appreciate its versatility and it’s been the most used ‘toy’ we’ve purchased for our kids thus far. I hope to eventually add a cozy armchair in this corner, but for now the Nugget serves us best.
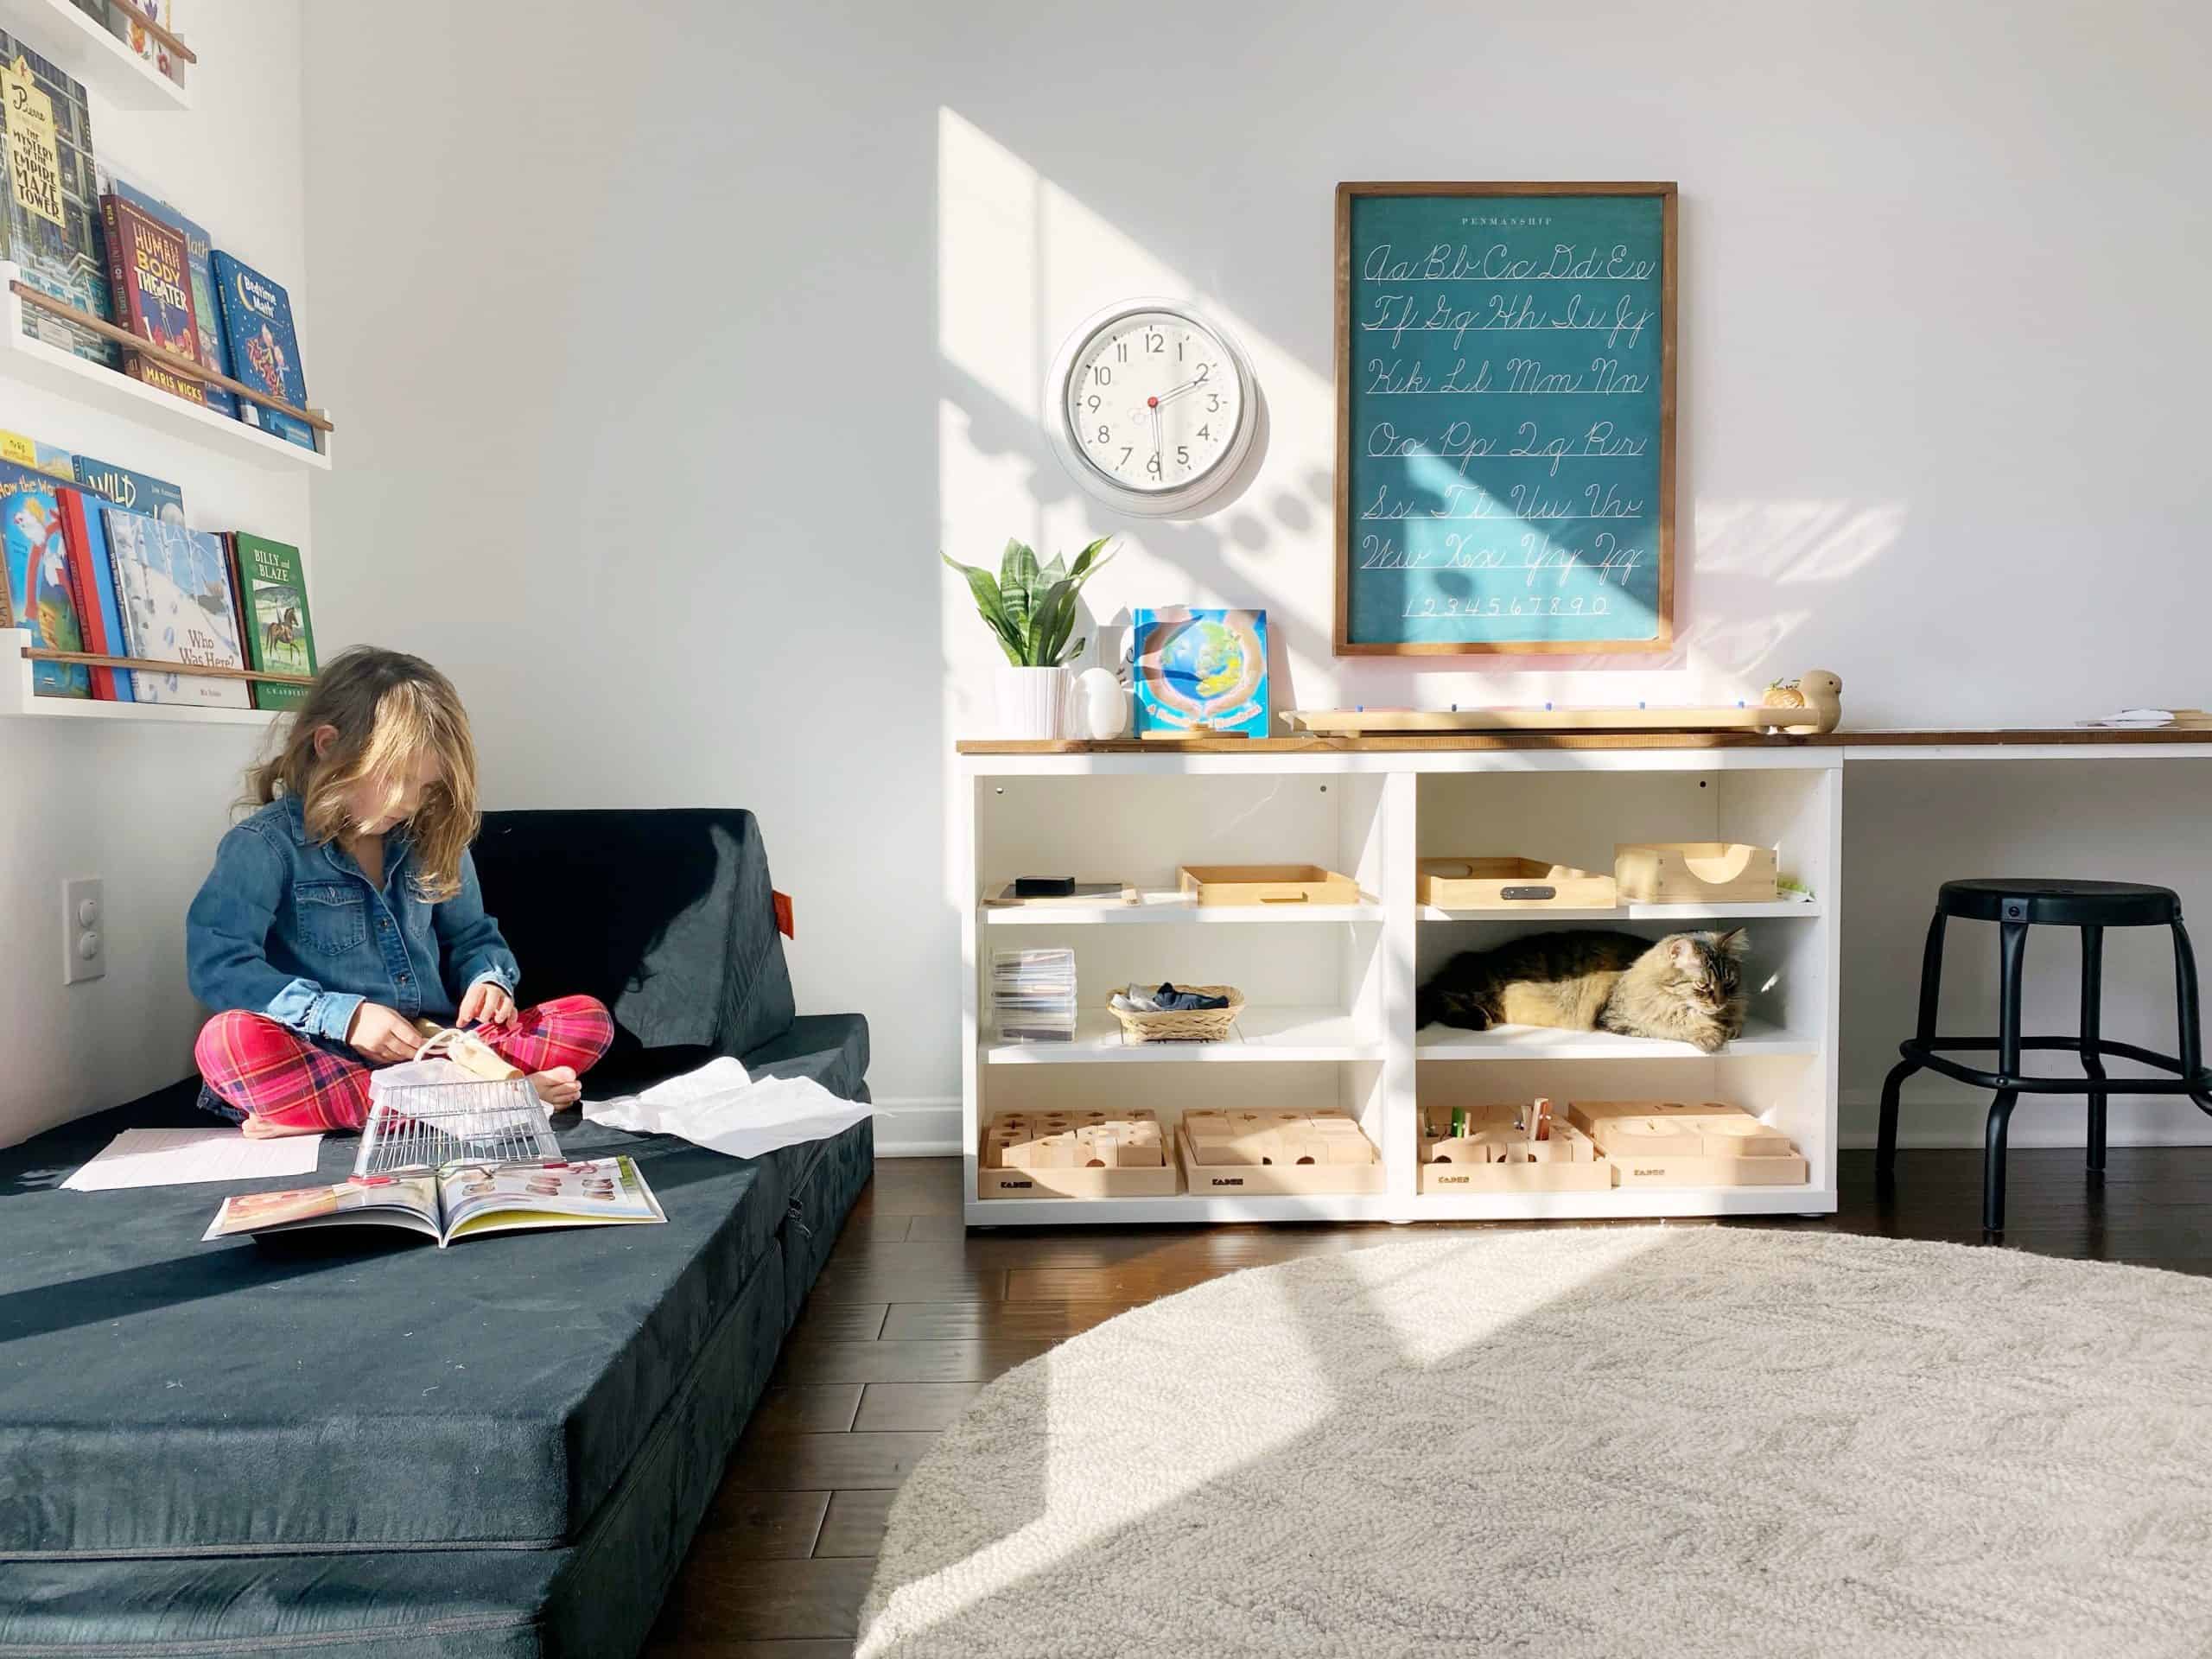
We recently built forward-facing bookshelves to display in this corner. My youngest daughter’s books are stored on the lowest shelf, and my older daughter’s books are kept in the middle so they’re easily within reach for both of them.

I ended up repurposing our former Kallax unit from IKEA to store out-of-rotation books in the corner of the room’s closet. We borrow the majority of our books from the library, so we do not yet need to have a huge storage solution for books we own. The girls’ painting boards and tabletop easel are tucked in here as well.

Time to Reflect!
Once you’ve settled on a design for your space, be sure to give consideration to the following questions:
- Are my child’s toys and materials easily accessible?
- Is there sufficient space to move freely about? Have I ensured the walkways and entrances/exits remain unobstructed?
- Is the area safe for my child to play independently? Are small parts secure? Are the furniture pieces securely anchored to the wall? Are electrical outlets covered? Are there any loose or hanging cords that need attention? Are the windows secure?
- Does everything in the room have a designated place? Are you able to clean up in 5-10 minutes with the assistance of your child? Is there sufficient storage for materials not being used? Where will these go?
- Have I established invitations that allow my child to decorate the space as well? Is there a place for selected artwork? What about small plants and/or flowers? How can I ensure my child is given the freedom to make changes to suit his/her needs?
Before you go…
If you’re interested in designing a prepared environment for your children at home, be sure to grab the free printable guide I designed to help you along the way. It’s now available in the Resource Library. You can receive access by subscribing to the newsletter below.

You can find more information about some of the products found in our schoolroom in this post:
IKEA Favorites: The Products Most-Loved in Our Montessori Home
