DIY: Twin House Headboards | One Room Challenge – Week 2
For this week’s One Room Challenge, we’re tackling the girls’ headboards. In Week 1’s post I detailed how we’re hoping to add a bit of character to the huge, blank wall behind their beds — something a bit whimsical and fun.
Here’s a quick recap of our projects and progress during the Spring 2020 One Room Challenge.
WEEK 1: A Shared Girls’ Bedroom Makeover — The Plan
WEEK 2: DIY Twin House Headboards
WEEK 3: DIY $60 Corner Bookcase
WEEK 4: Easy DIY Built-In Closet Shelving
WEEK 5/6: A Simple IKEA Rast Nightstand Makeover
WEEK 7: A Children’s Rolltop Desk Makeover
WEEK 8: The Final Reveal — See the Complete Transformation of Our Shared Kids’ Bedroom!
After some consulting with our daughters, we decided to build a pair of simple house headboards using a combination of Purebond plywood and select pine wood.
In order to make this project super affordable and reduce waste, we made sure our measurements allowed for us to cut both headboards from just one piece of plywood. As a result, each headboard cost just $37 dollars!

Since their bed frames are natural pine and we have no intention on staining them at this time, we decided to do a mix of natural pine and white paint for the headboards.
While the headboards themselves are neutral, the overhanging eaves will allow for our girls to add some fun garlands and other seasonal decorations throughout the year — something I know they’re going to love!!
Here’s the step-by-step tutorial for building a twin size house headboard of your own:
SUPPLIES & MATERIALS
- 4’x8′ Purebond birch plywood
- (2) 1×3″x6′ select pine boards
- (2) 1×2″x6′ select pine boards
- Table saw
- Miter saw
- Circular saw
- Kreg Jig
- Kreg Jig 3/4″ screws
- Clamps
- Wood glue
- Brad nailer
Quick note, I’ll be specifying the dimensions we used for this project based on the size of the girls’ specific bed frames. If you alter the dimensions, just be aware that you’ll need to adjust the angles as well. It was a little fun having to test our geometry skills in this project. Ha!
TUTORIAL
First, buy a 4’x8′ Purebond birch plywood panel.
For easier transport home, cut into (2) 4’x4′ sections at store. If you do not have access to a table saw, go ahead and ask them to cut each plywood section to 39.5″ x 47″ inches.
Once each section has been cut to 39.5″ x 47″ inches, mark 30.5″ inches high on both the left and right sides of each plywood panel. Then mark 19.75″ inches width on top.
Now mark diagonal cut lines. Repeat for other headboard if making two.

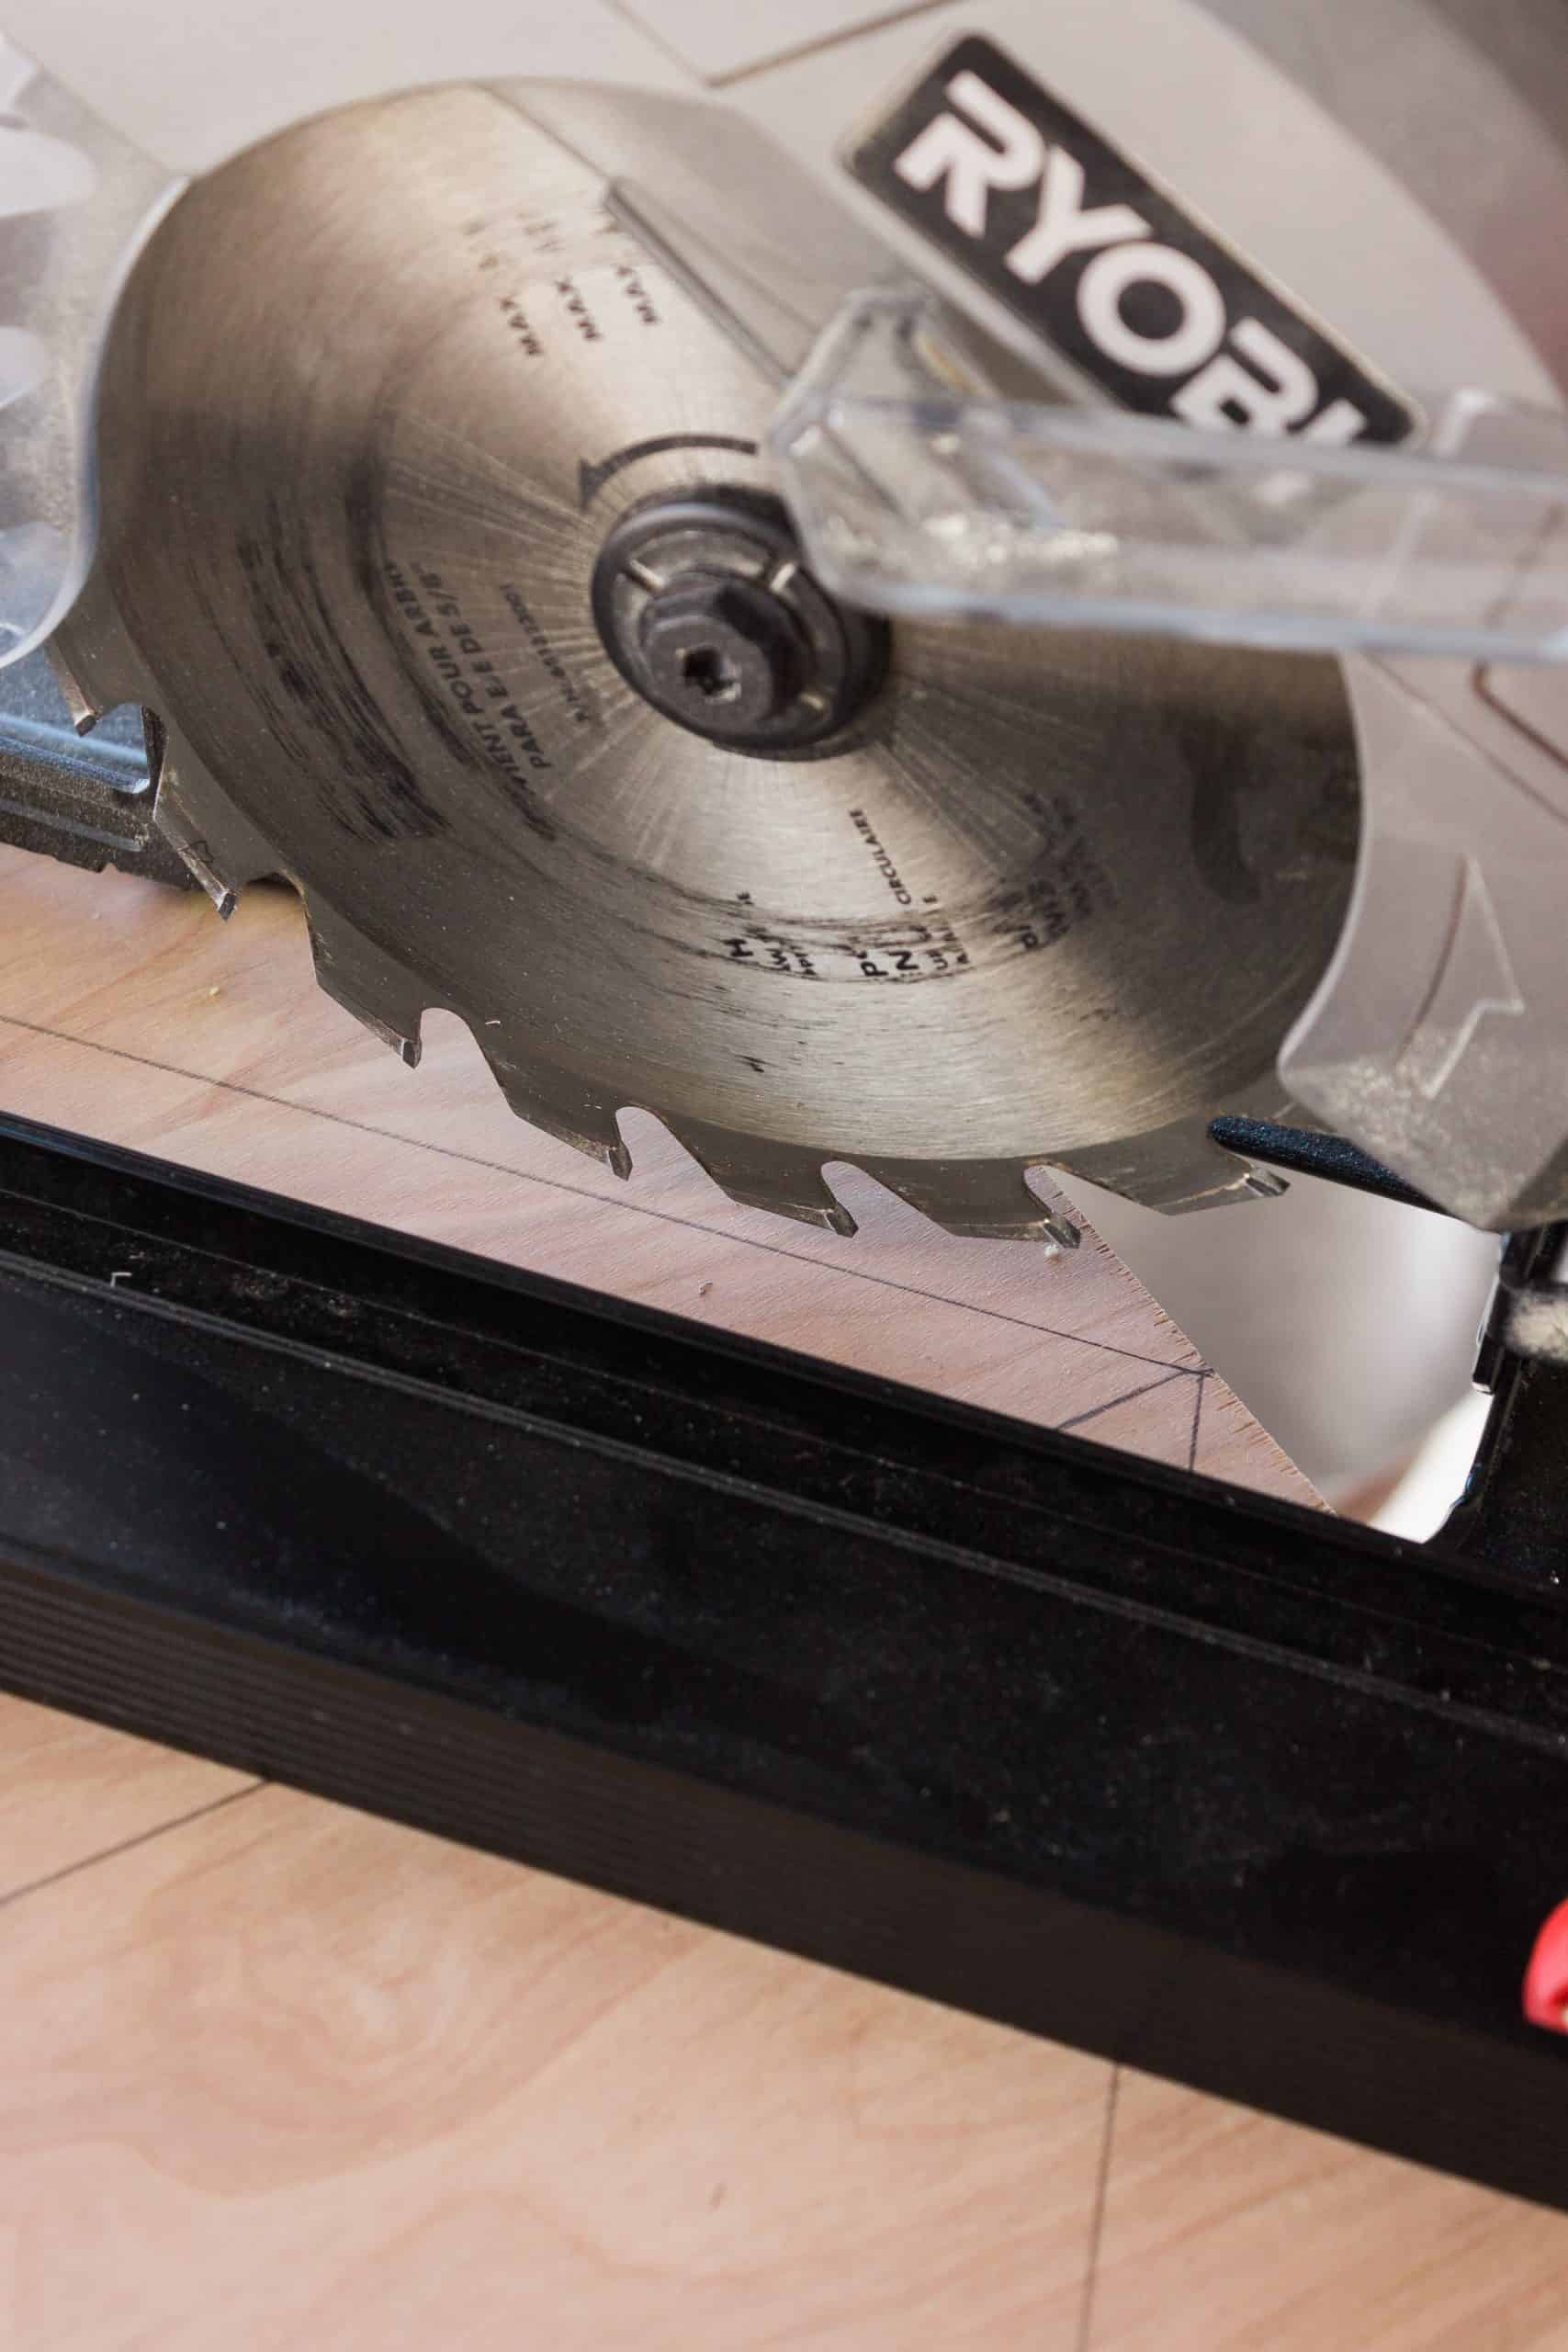
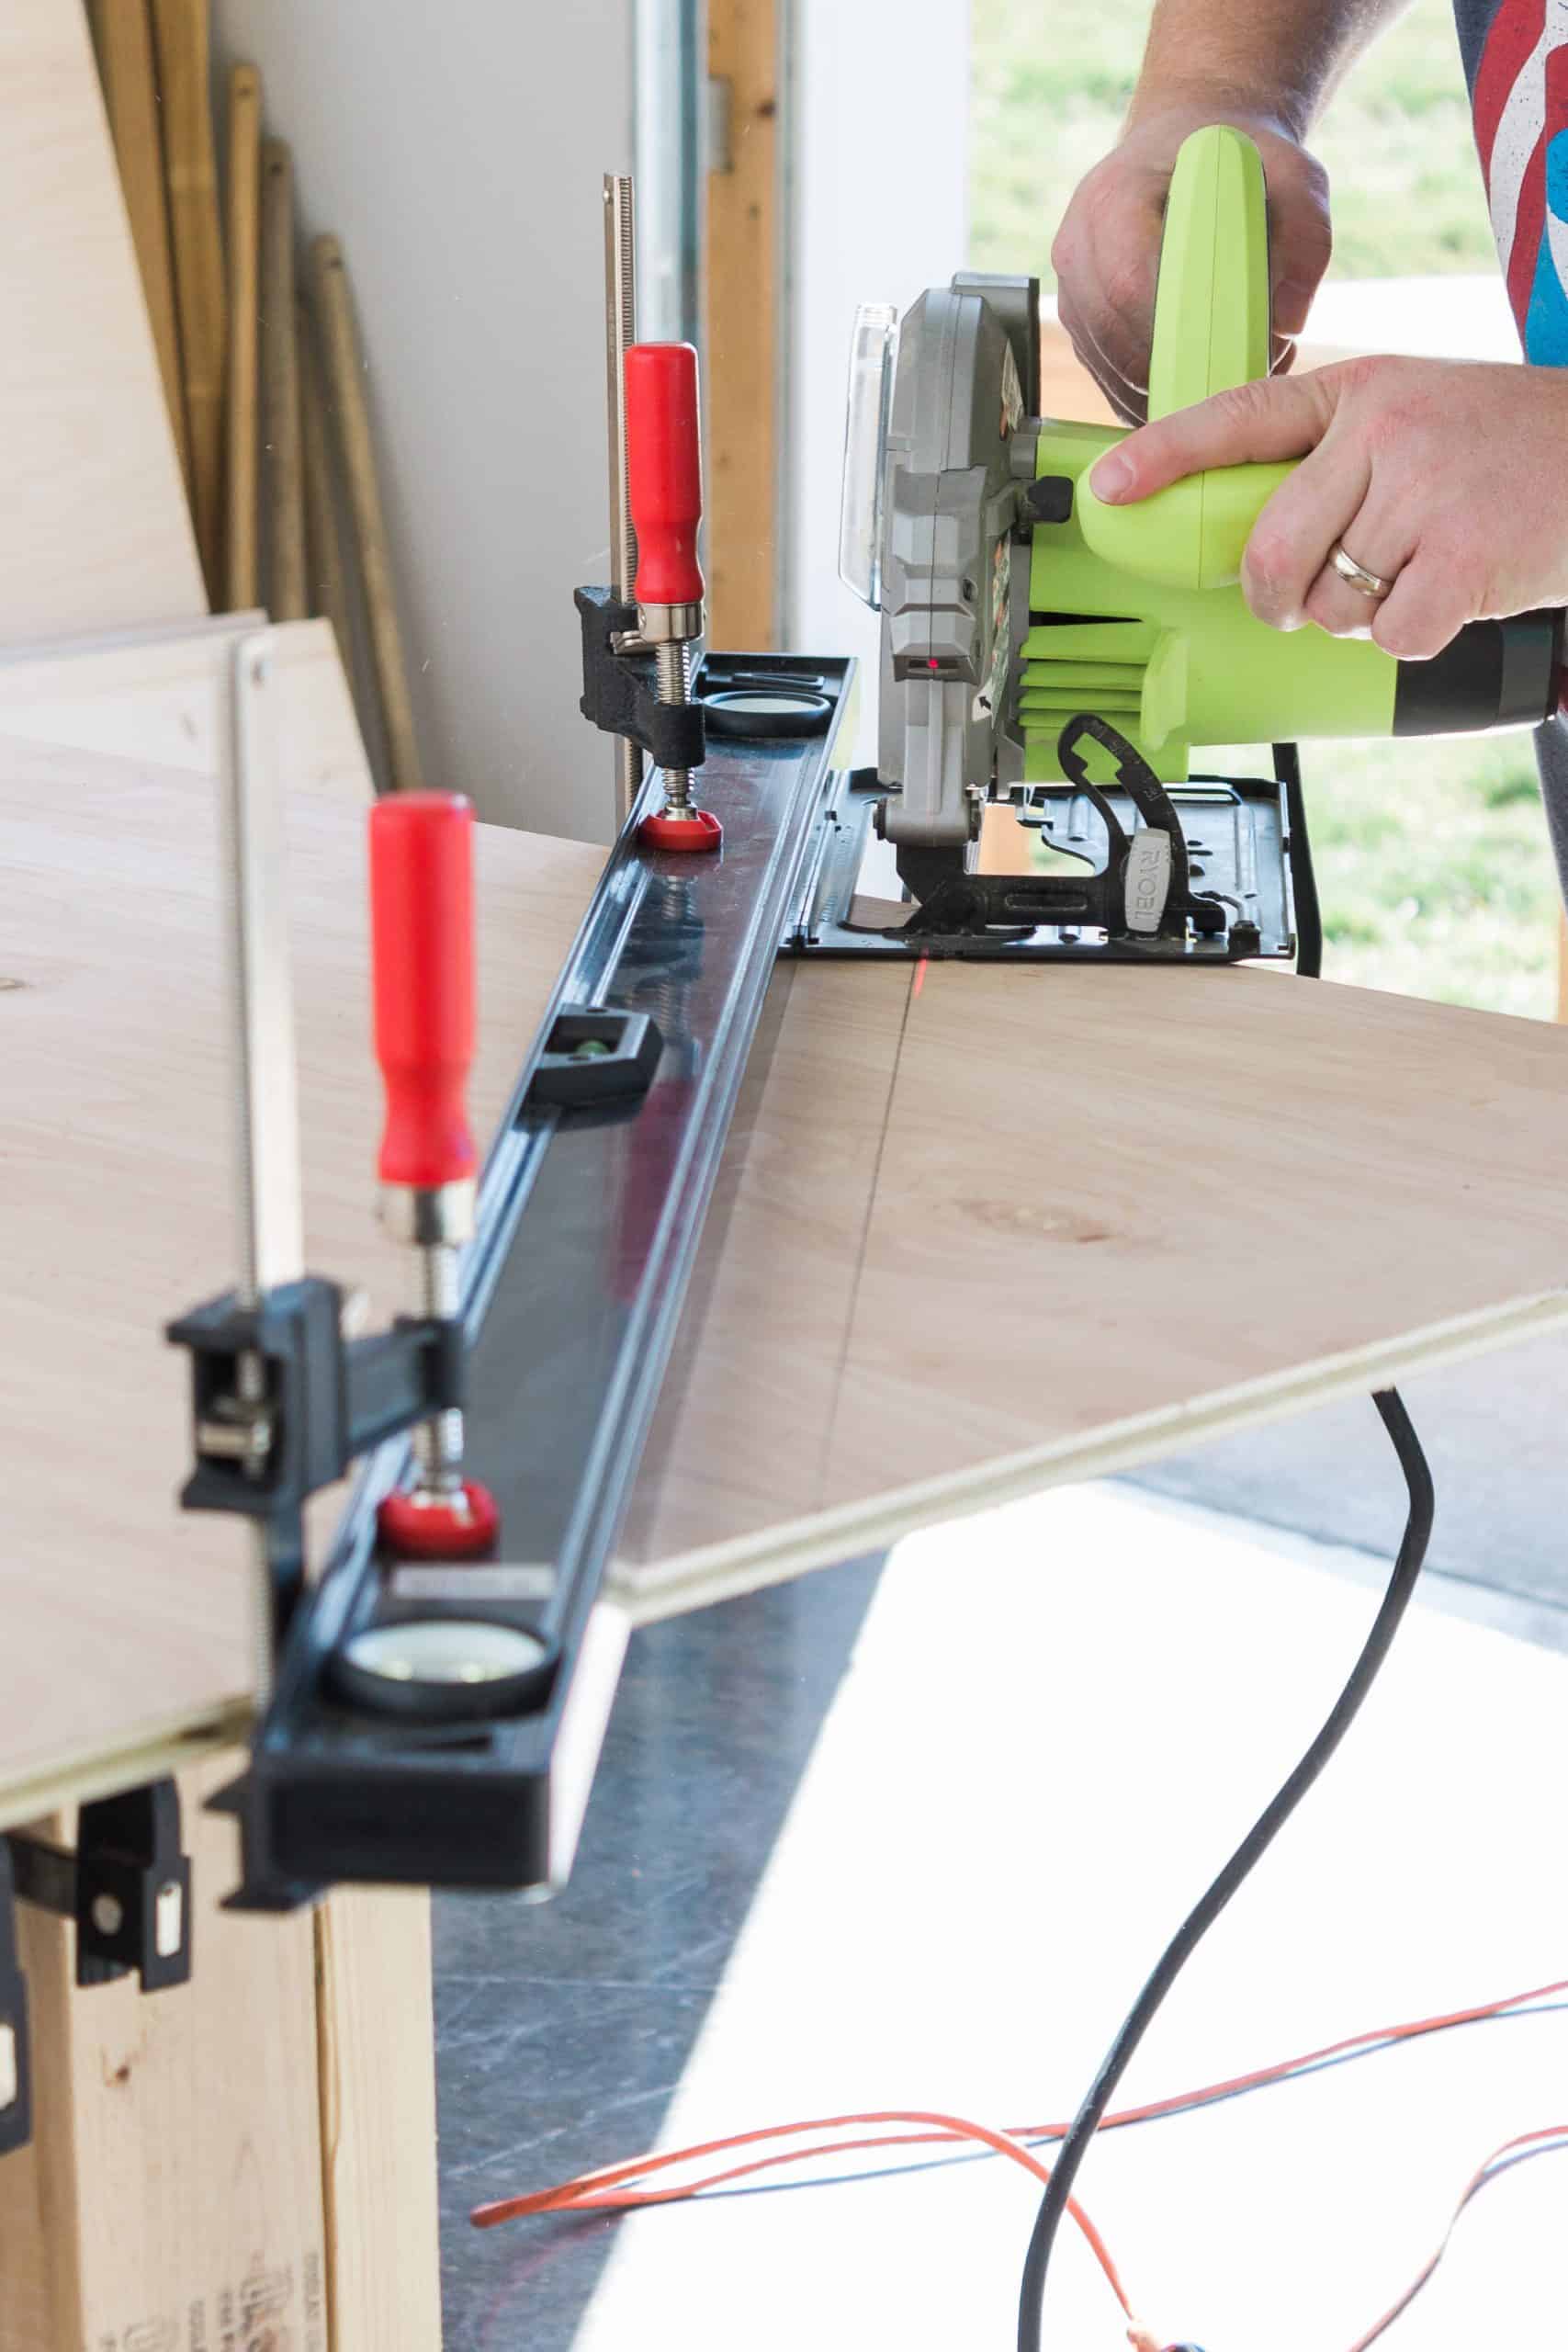
At this point, we used our 3-foot level to make a guide for the circular saw to make the diagonal cuts. Use clamps to secure the level in place. Ensure circular saw blade lines up with the diagonal cut line you made in the prior step. Cut diagonal, and then repeat for other side.

To assemble the headboard frame, cut 1×3″ board into (2) 28″ lengths. Miter cut 40-degrees on one end of each board.
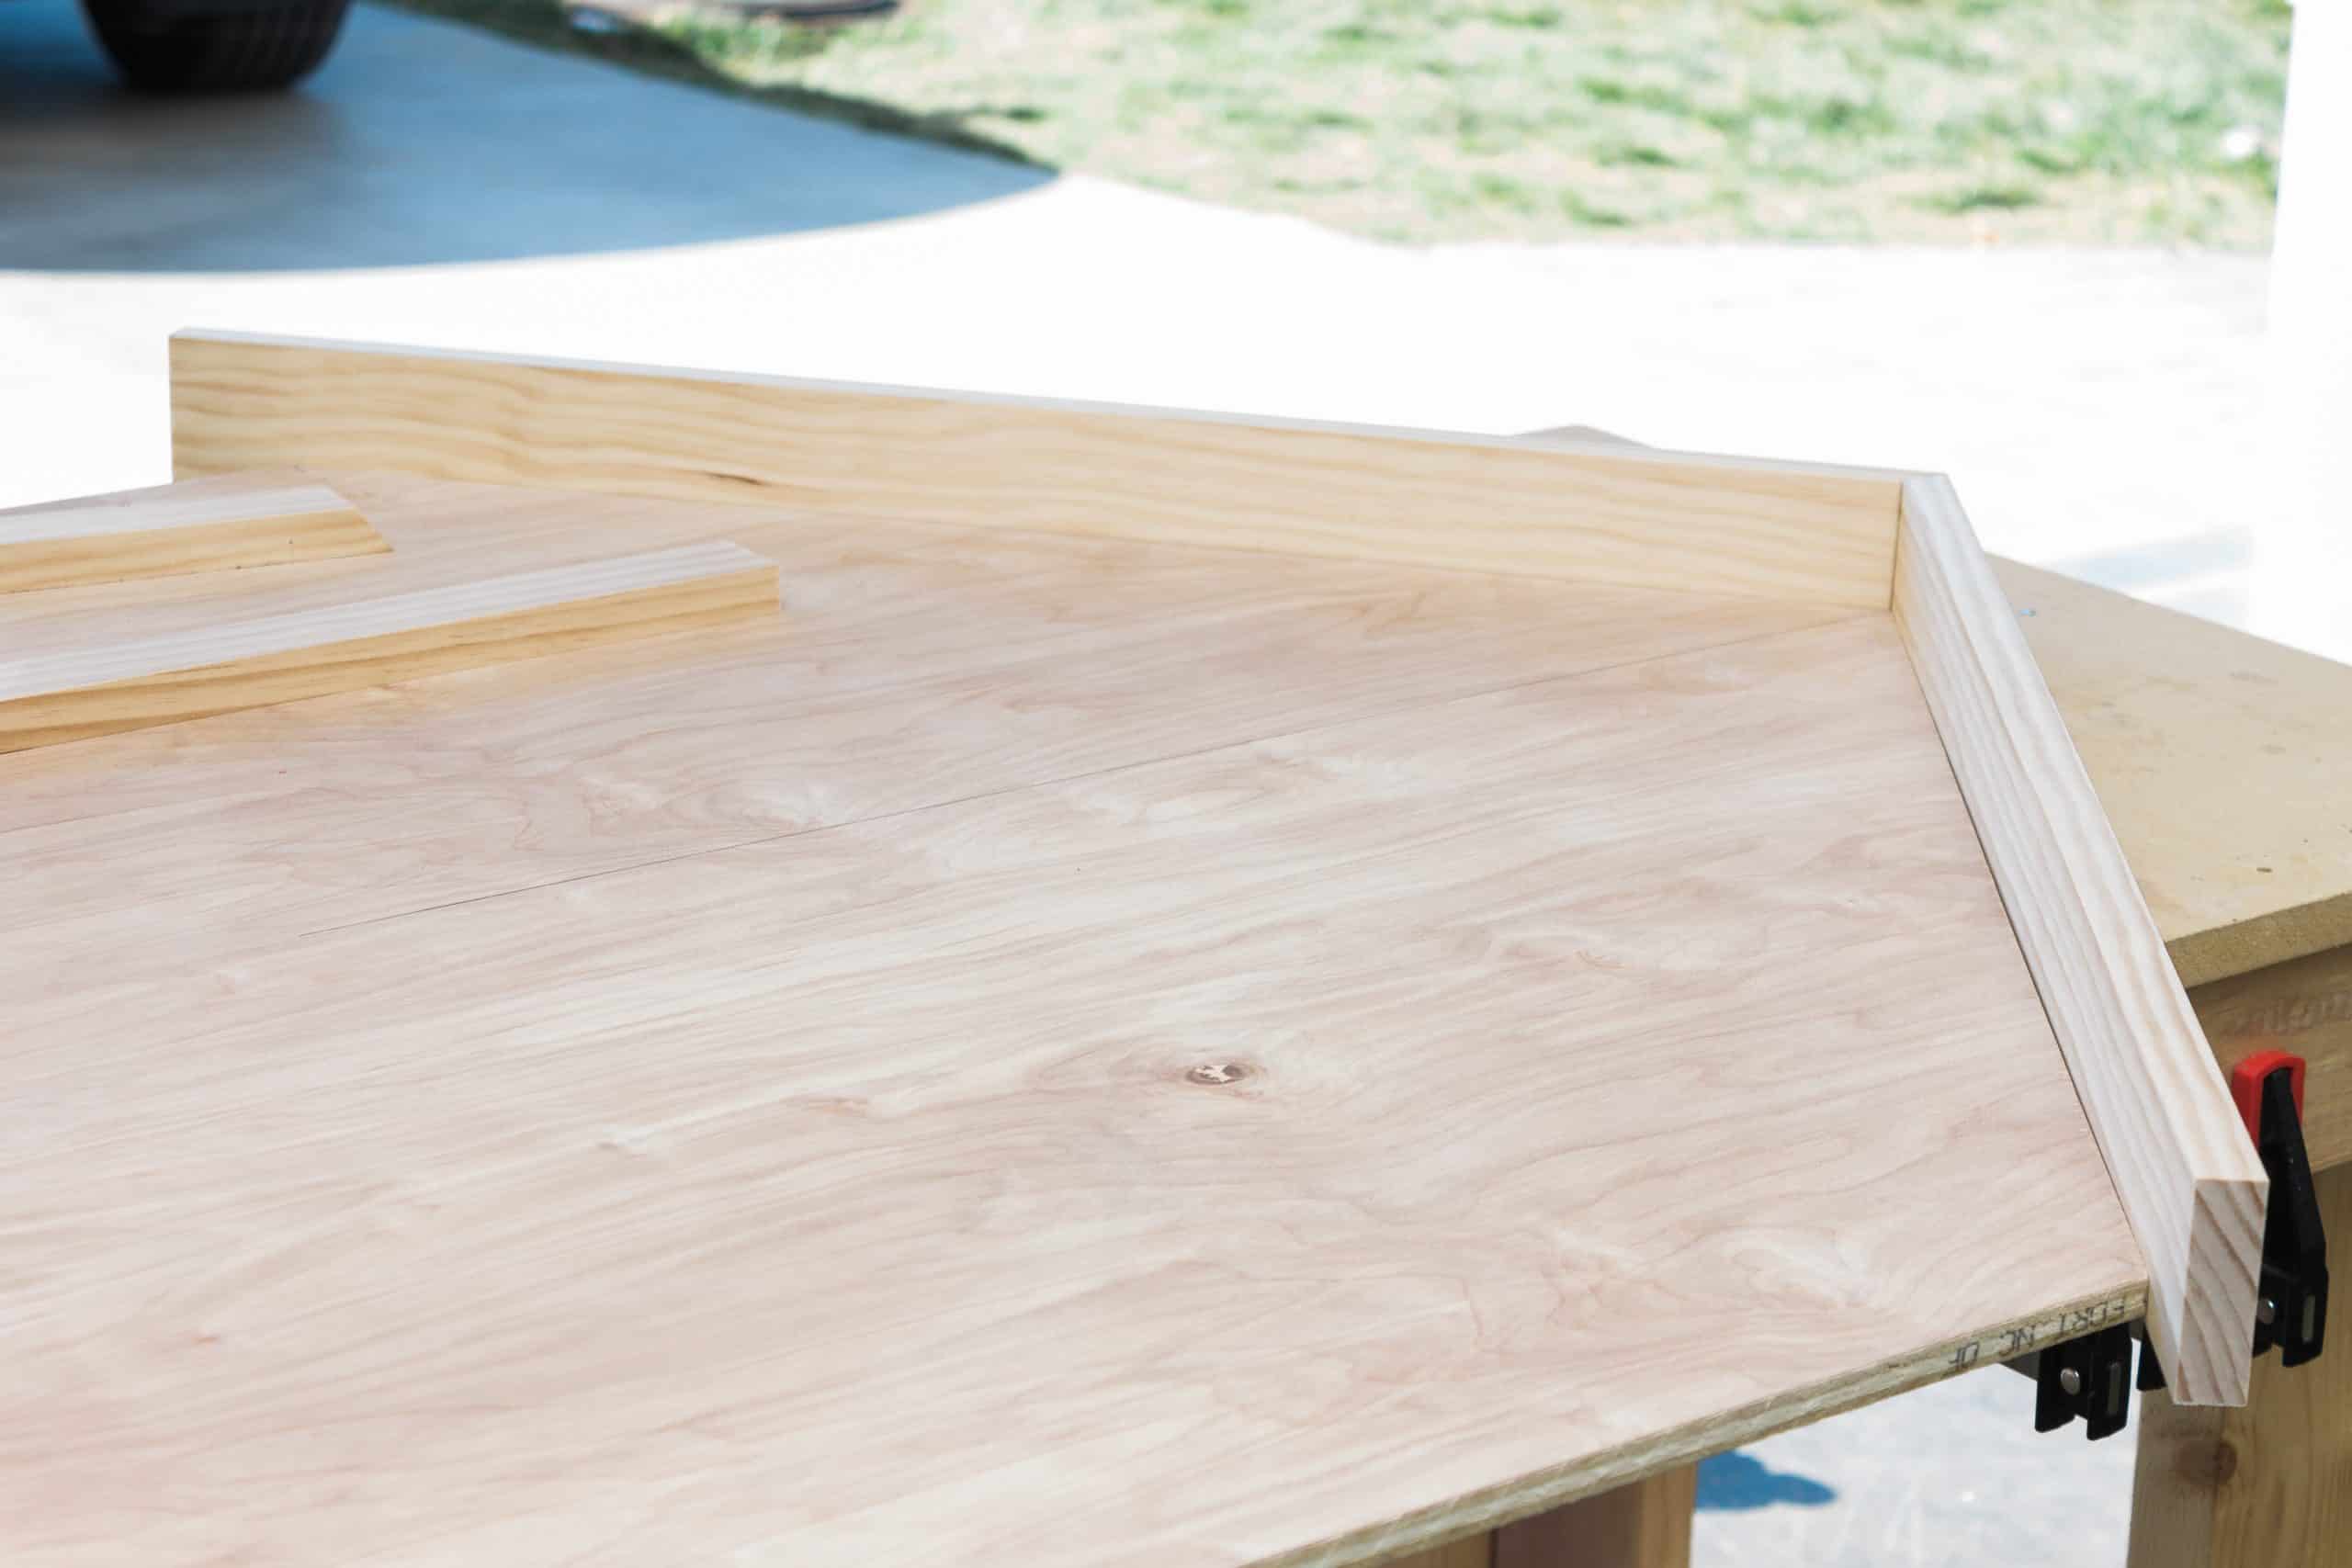
Next, use a Kreg Jig to make 6 pocket holes along each diagonal side of the top of the headboard. Make sure pocket holes are placed on the back side of the plywood headboard.

Align the 1×3 boards along the diagonal sides, ensuring the mitered ends come together cleanly at the top and the boards are flush against the back of the headboard. Use wood glue for additional support if desired and then screw into place. Let dry if needed.

Next, cut 1×2″ board into (2) 25.25″ lengths. Miter cut 40-degrees on one end of each board.
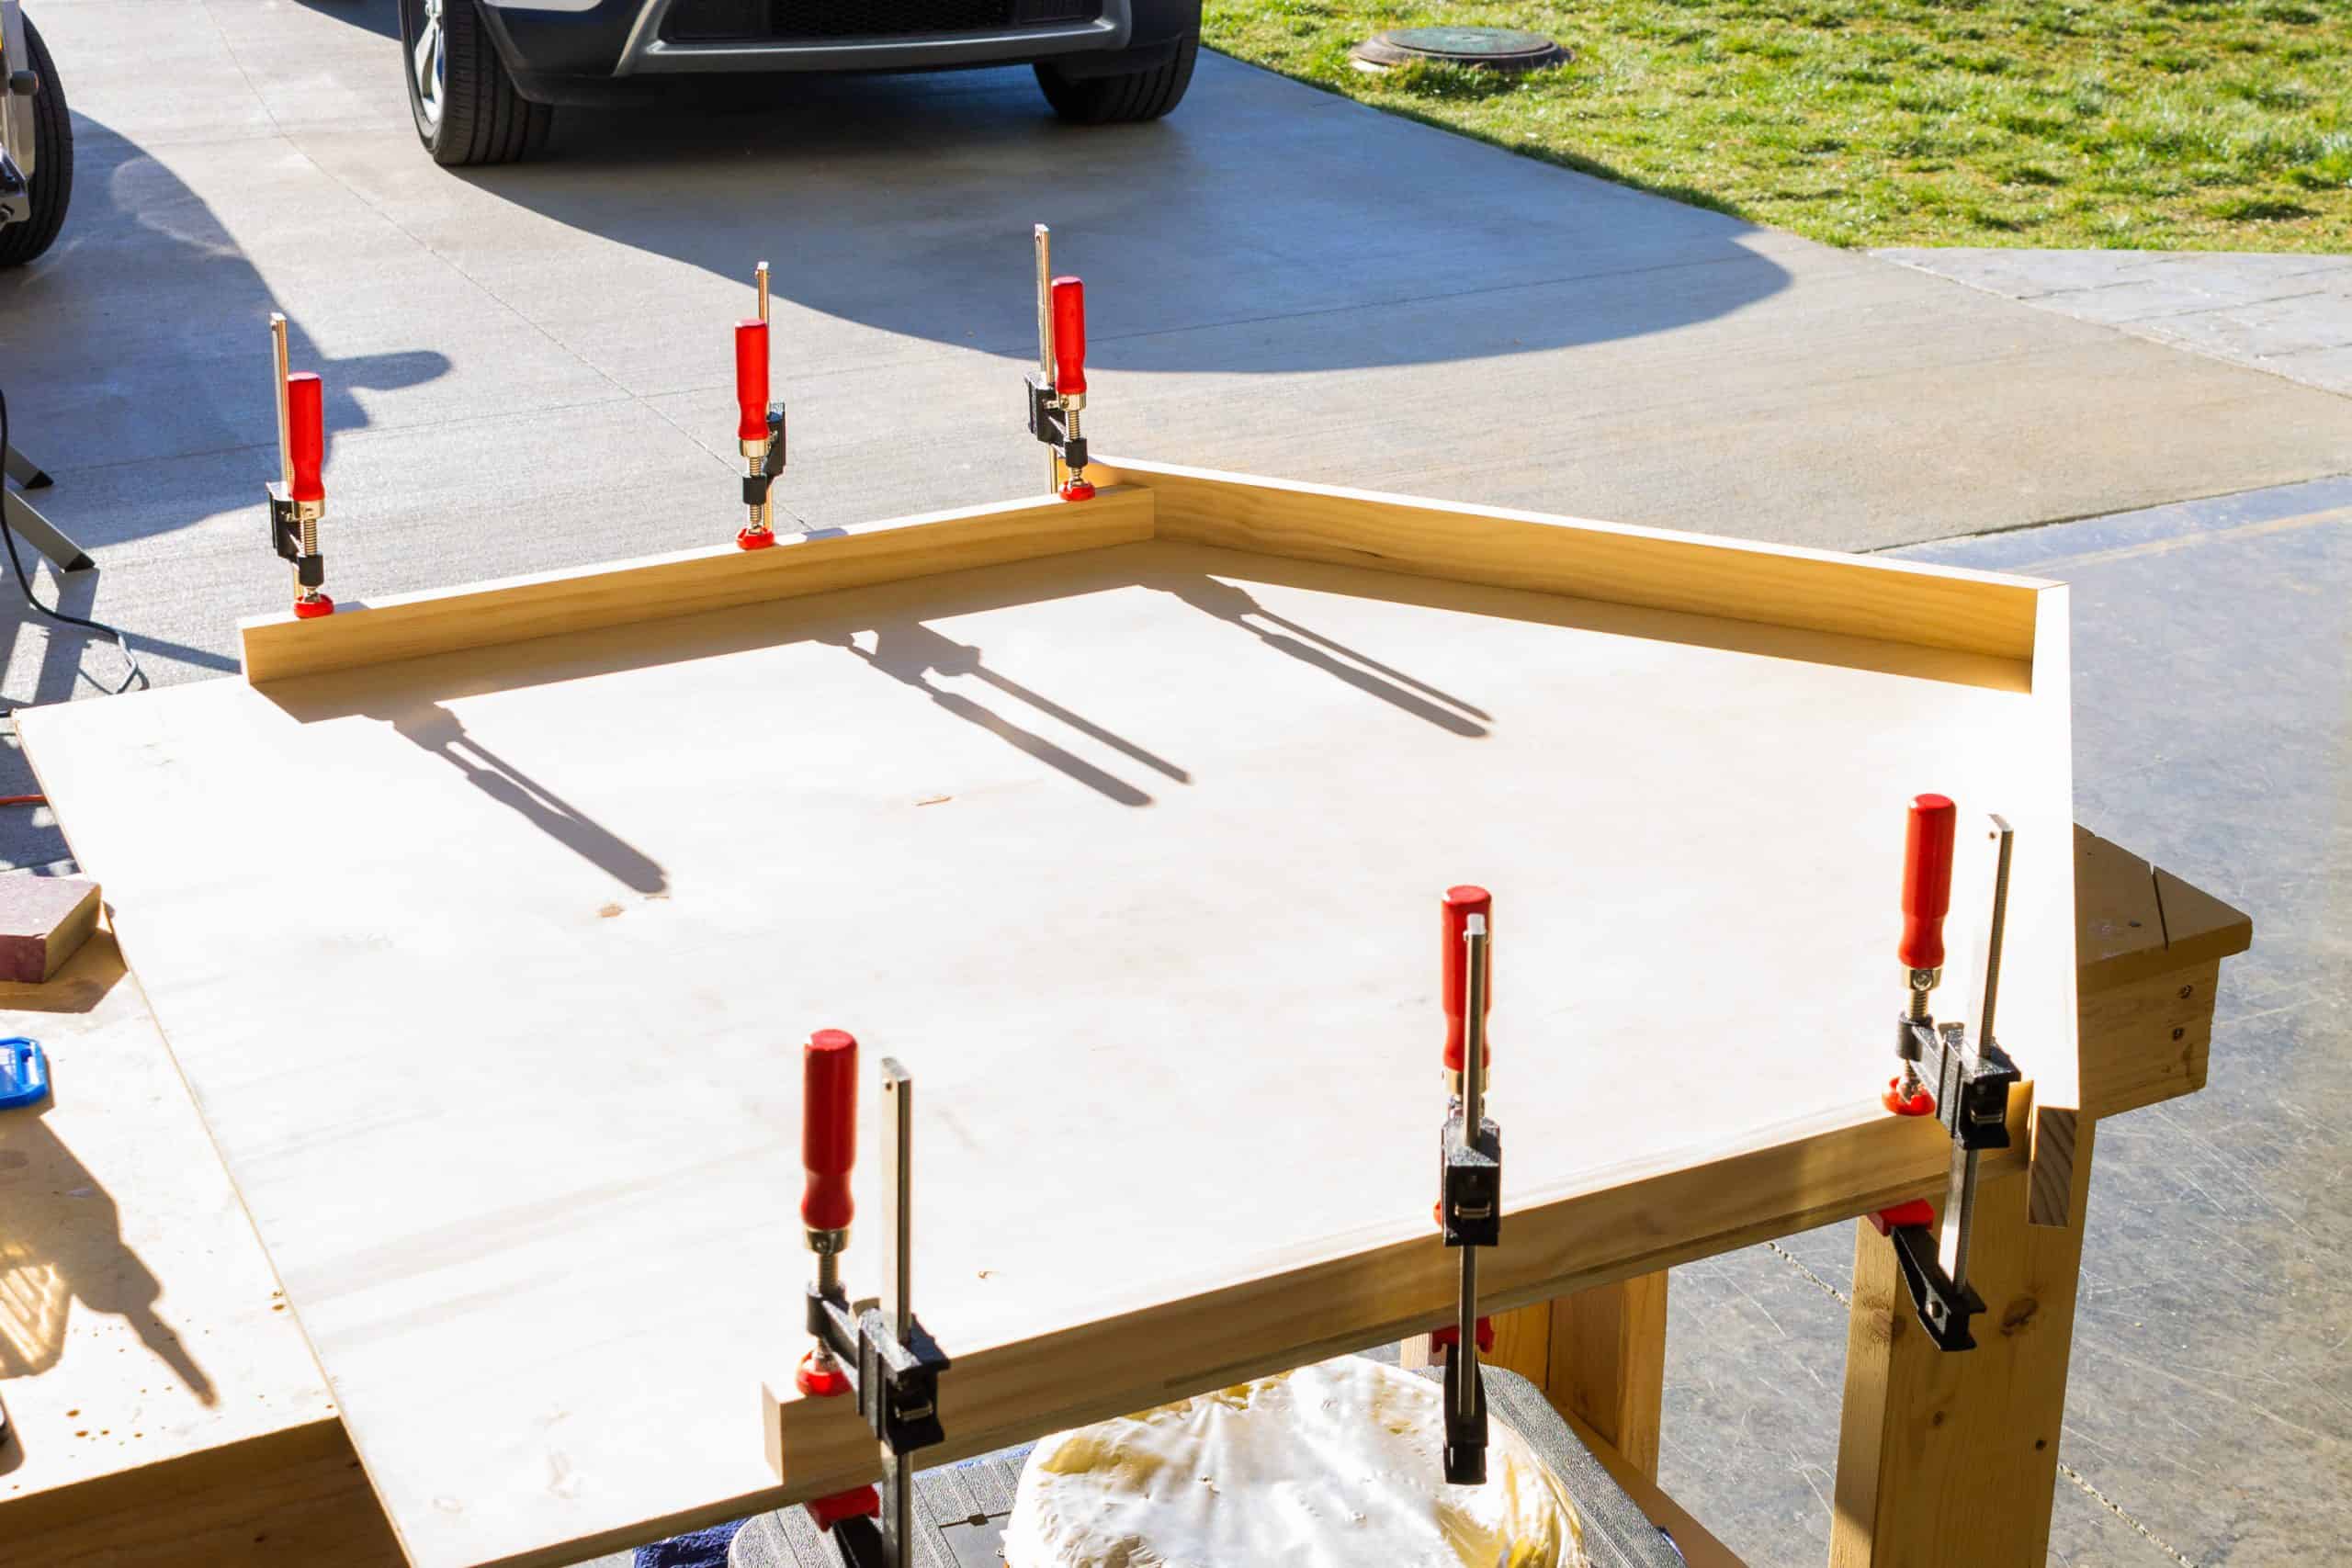
Align each board flush with side edges and then attach using wood glue and clamps. Once boards are securely clamped, stand headboard up and use a brad nailer on the backside of the headboard behind the 1×2″ frames along the side. Set headboard aside until glue is dry.
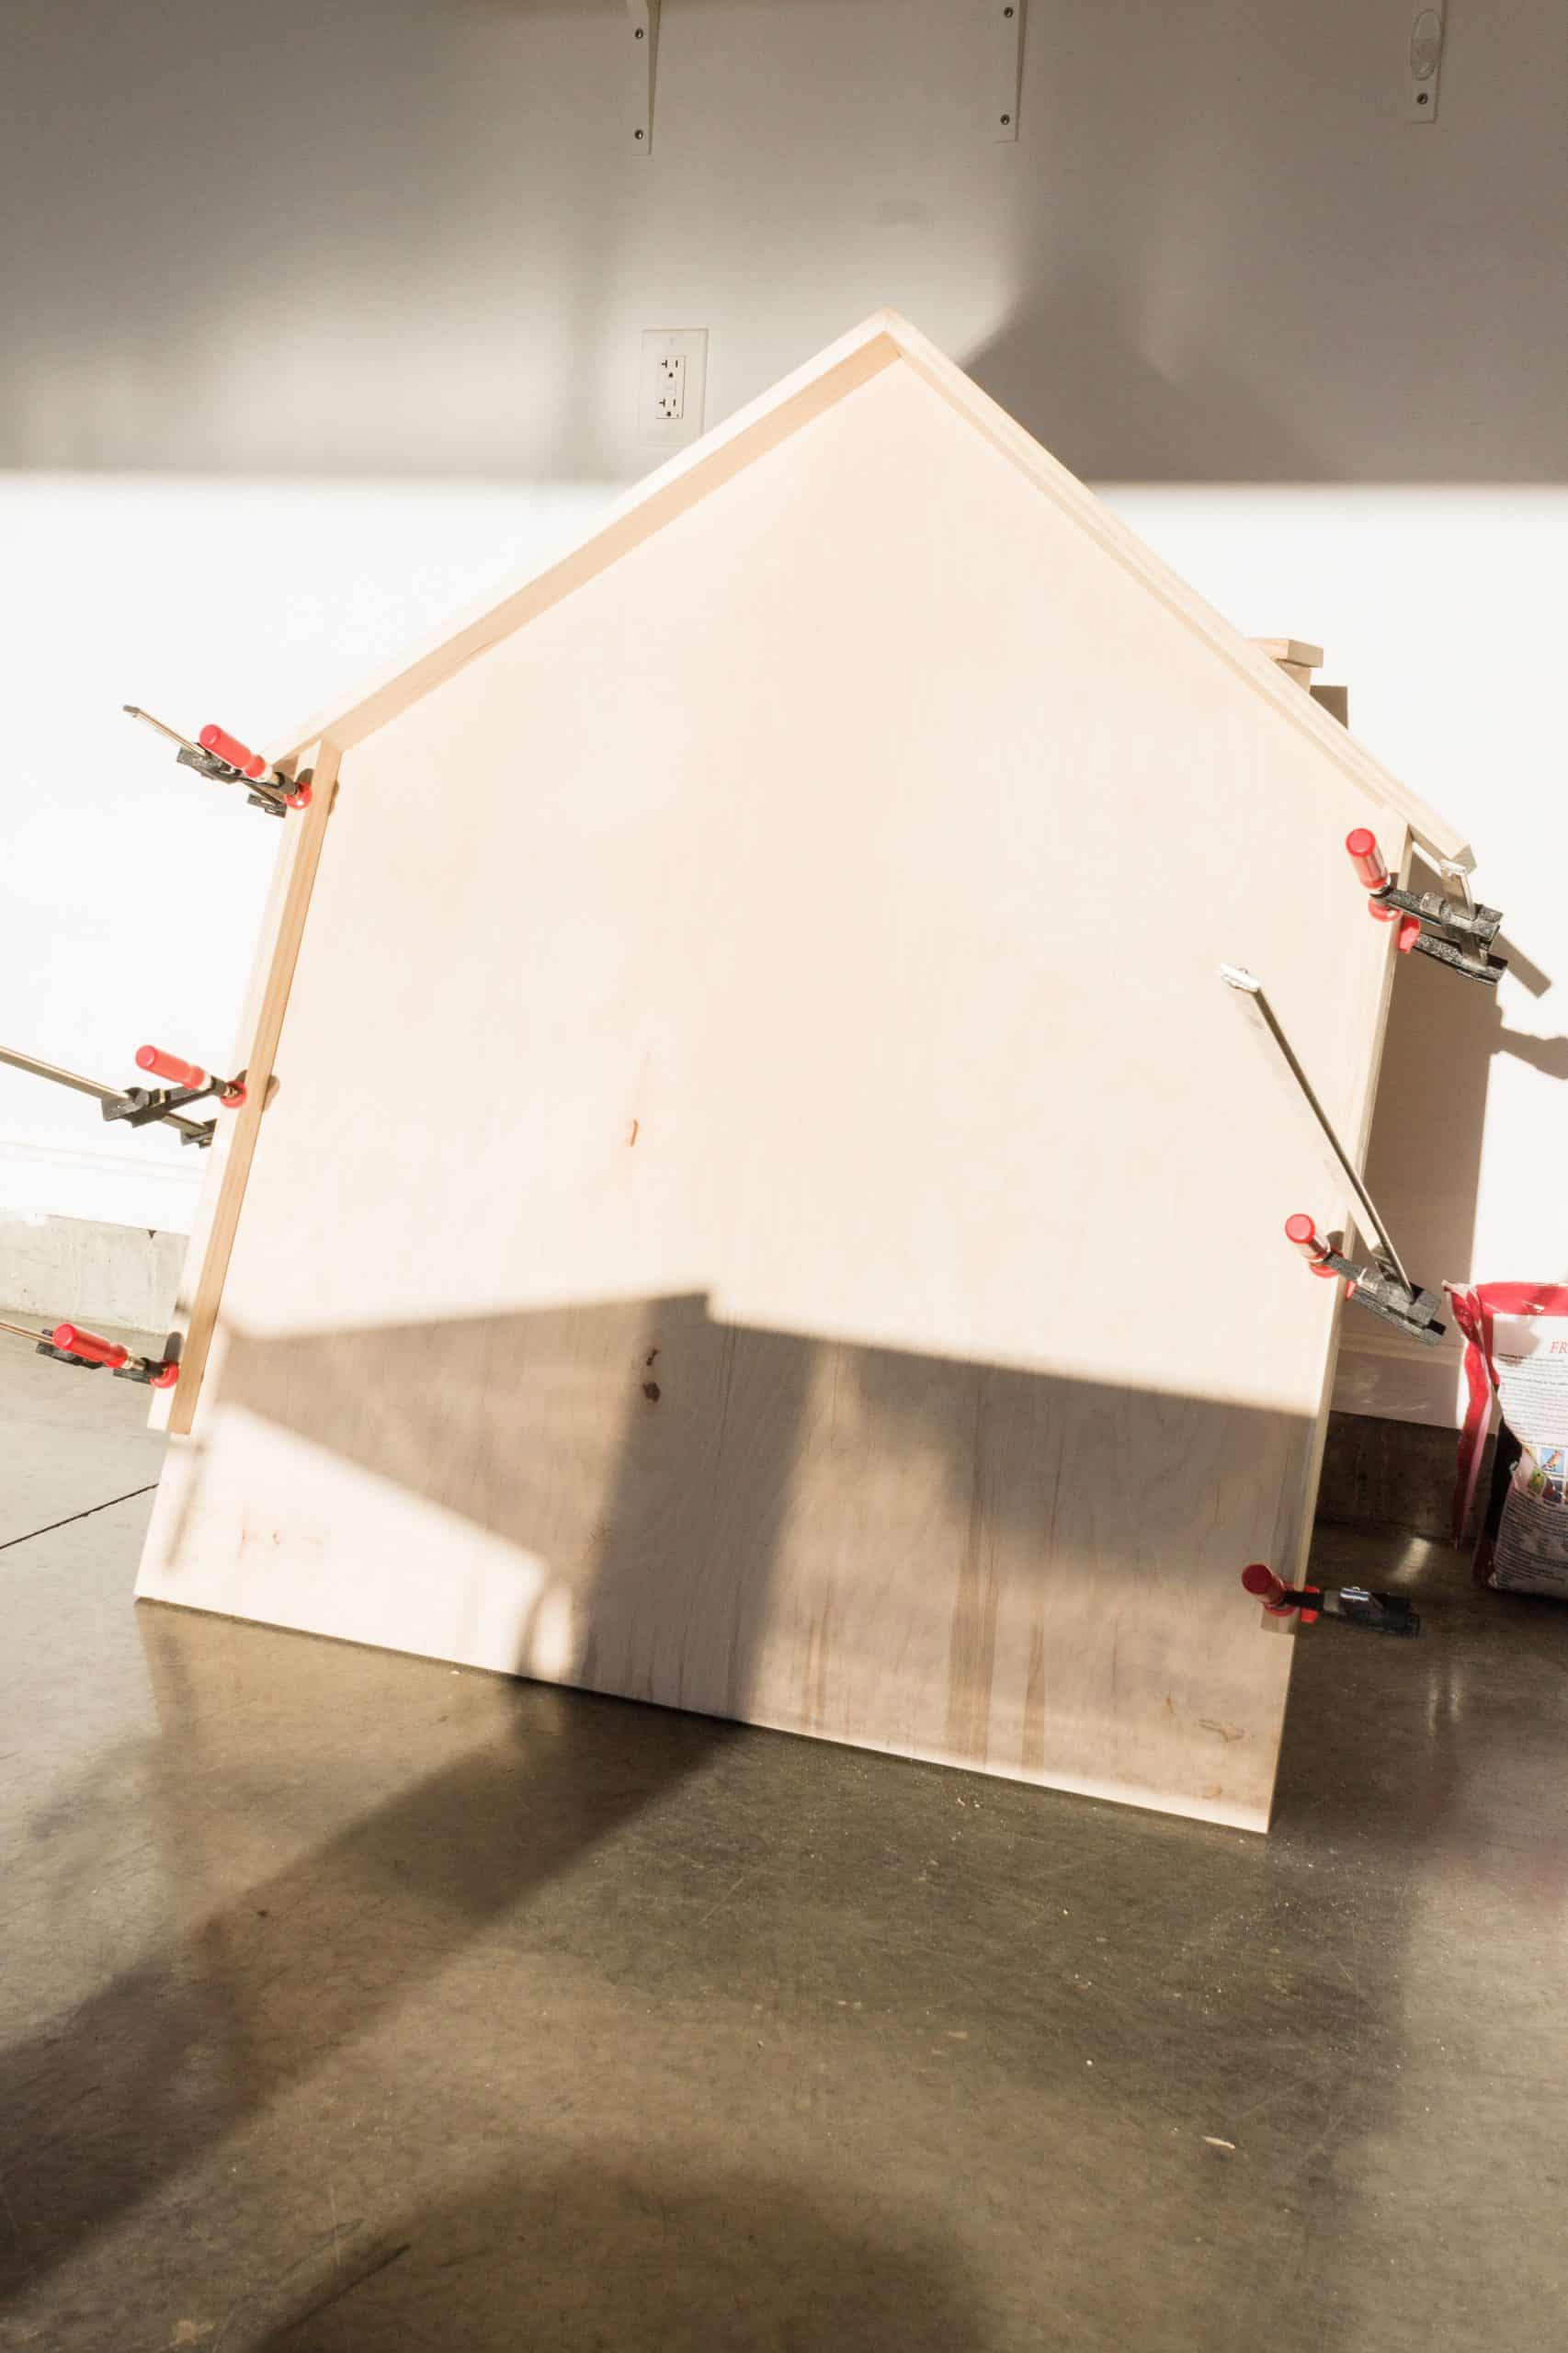
At this point, you should go ahead and sand and then paint or stain as desired. Be sure to sand thoroughly to remove any glue residue if you’re choosing to stain.
Once you’ve applied your chosen finish, it’s time to attach the small cornice piece.
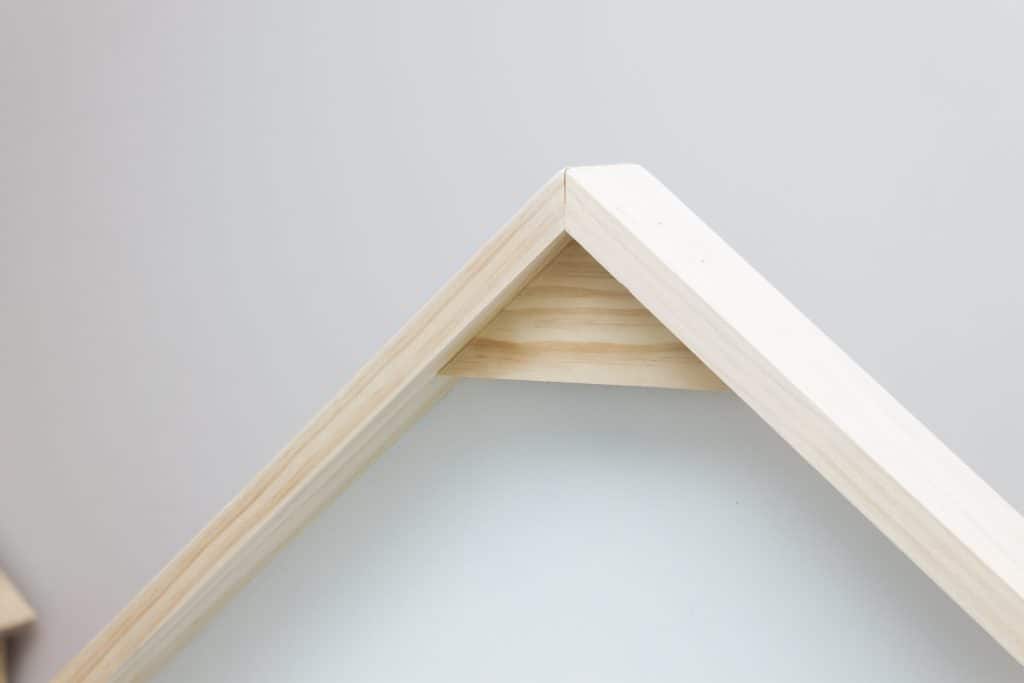
We chose to use a 1×3 select pine board to make the top cornice piece. If using our measurements, set your miter saw to 50 degrees to make the cut the wood cornice. Then using a combination of clamps and wood glue attach it to the top of the headboard. We recessed ours 3/4″ from the front. As a precaution, we also used a couple brad nails on the top to ensure it’s not going anywhere.
Once you’ve completed the build, it’s time to attach it to your bed frame.

Now, in order to ensure the headboards will sit flush against the wall we added a couple spacers to the back of each. Felt pads will protect the wall surface from scrapes and scratches because, let’s be real, our kids jump around on the beds a lot.

Ta-da! All finished!
Here’s what the beds looked like before:

And here are the beds with the new headboards attached:

So far the girls love them! But they’re definitely ready to get started on the accent wall feature now! #sunny #popofcolor

Our ORC Project List
So, our first item has been crossed off the project list! Yay! Next week I’ll be sharing how we designed a small-space bookcase in order to make room for a desk in our girls’ small shared bedroom.
Build matching twin headboards- Build a small-space shelving unit for books and knick-knacks
- Ditch the dresser for a nightstand
- Refinish a vintage desk to provide our children with a space to write and draw
- Install custom closet shelving
- Add a rug to soften the floors
- Figure out a lighting solution, particularly one that will help ease fears of the dark
- Create a minimal self-care station
- Decorate all those bare walls!
Thank you guys so much for following along with our progress so far! Be sure to cheer on the other participants in this year’s One Room Challenge. You can view their progress by clicking here.



I absolutely love this!! Such a cute headboard for a kids room.