DIY: Montessori Teen Hanging Bead Frame
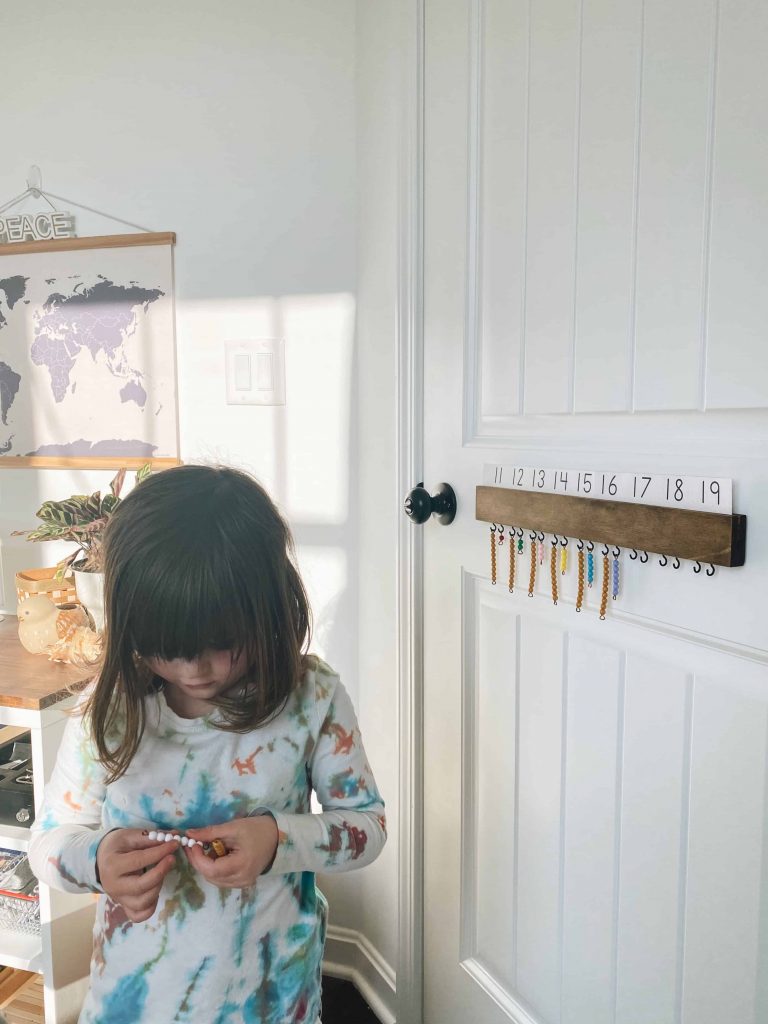
Here’s a quick tutorial on how to make a Montessori hanging bead frame for under $10 dollars. We’re using ours for the teen numbers, but you could easily modify this project for numbers 0-9 as well.
DISCLOSURE: THIS POST CONTAINS AFFILIATE LINKS AT NO COST TO YOU. THIS MEANS I MAY RECEIVE A SMALL COMMISSION IF YOU MAKE A PURCHASE USING THESE LINKS.
What is the Montessori Teen Hanging Bead Frame?
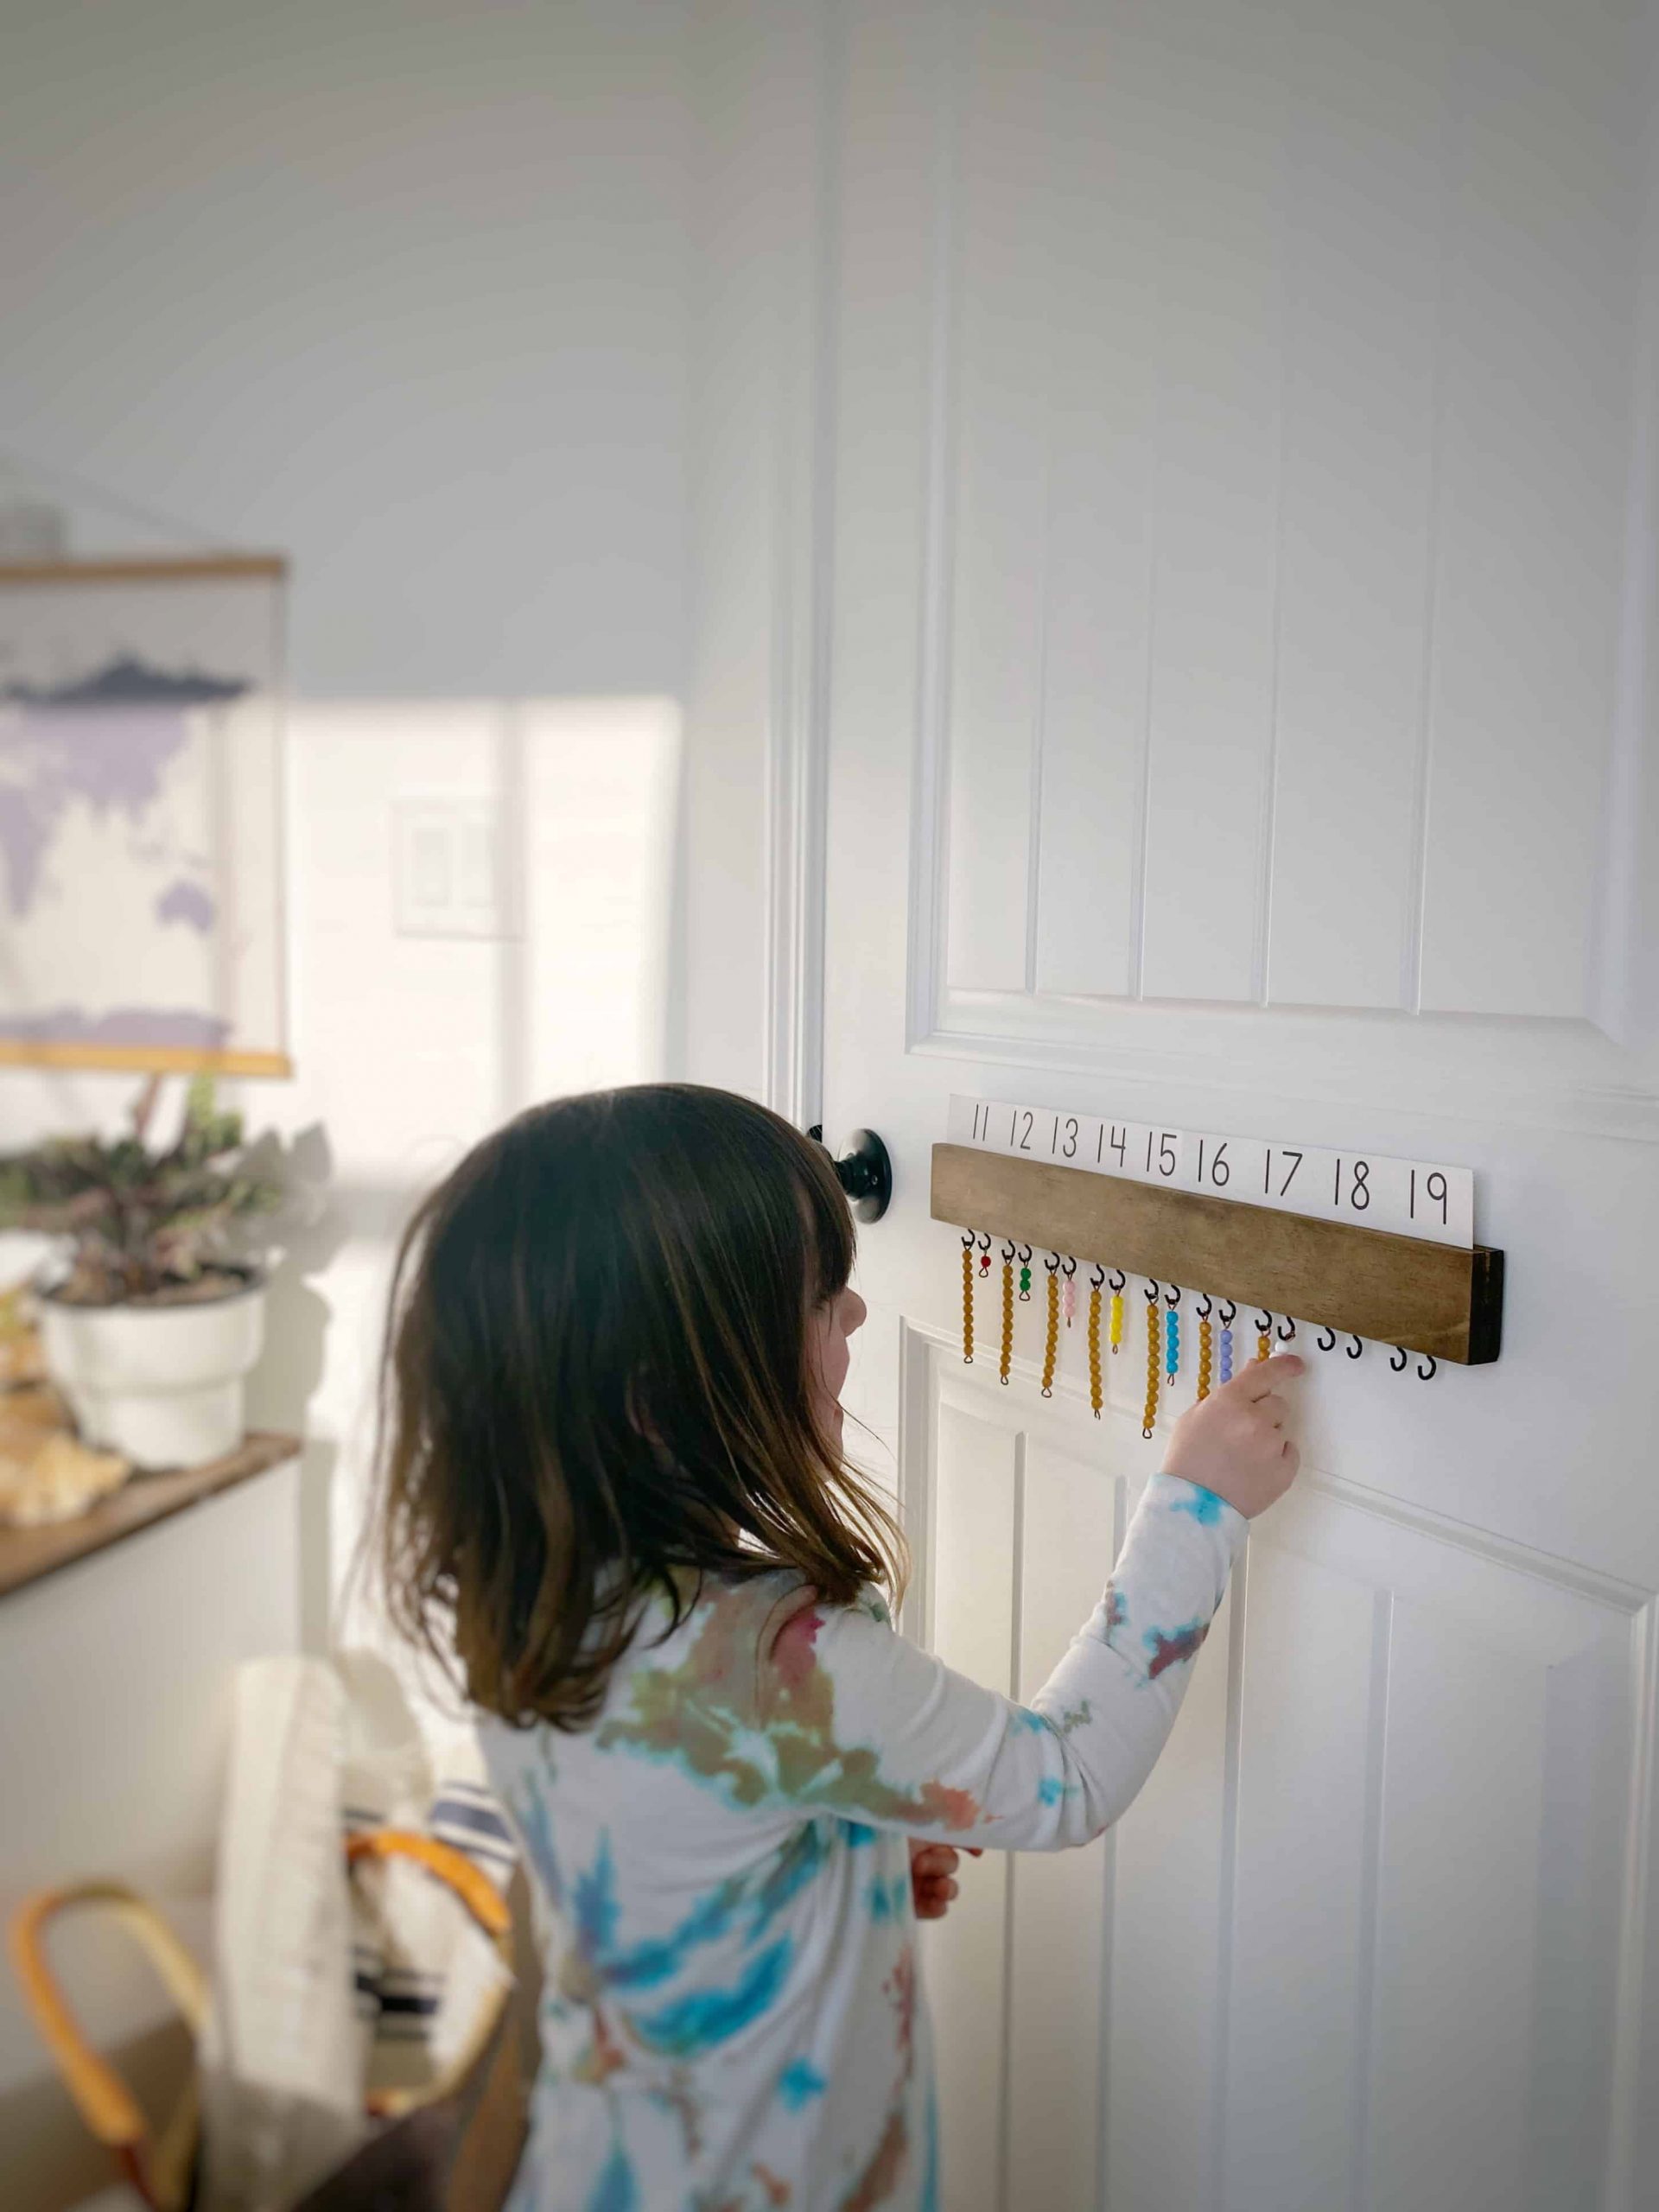
The Montessori Teen Hanging Bead Frame allows children to build the teen numbers by hanging the corresponding pair of colored beads on hooks. For example, to build the number ‘14’ a child would use a 10-bar and then add a 4-bar to create the number. Children can use either a teen number chart or teen number tiles to sequence the numbers in order.

The Montessori Teen Hanging Bead Frame can help reinforce the following mathematical skills:
- Number recognition
- Linear counting
- Place value
Because the work requires children to hang the bead chains on a small hook, it also serves as a great fine motor activity as well.

I’ve always thought it looked like a fun math material. However, I wasn’t able to justify spending the money on one when my oldest child was learning teen numbers.
I recently introduced teen numbers to my youngest child and thought it’d be a cool extension to offer her, but I really didn’t want to spend $40 dollars or more on the material. Plus, the traditional one takes up a lot of shelf space — something I need to be really mindful about since our homeschool room is pretty small.
I spent a few hours thinking about it and realized we had the perfect spot for a wall-mounted version: behind the door.

When Short on Shelf Space, Think Vertical
I love finding creative design solutions for otherwise awkward spaces in our home. Here are just a few ways we’ve already implemented some behind-the-door solutions for storage and organization:
We use hanging pocket organizers behind our schoolroom door to store games.

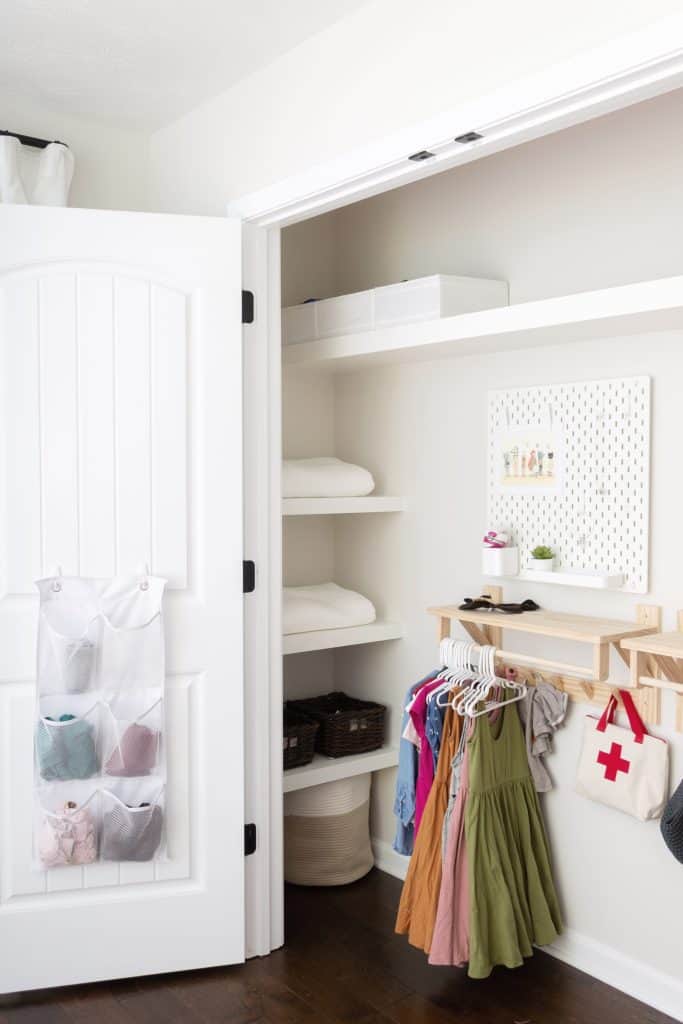
In our girls’ bedroom closet we use hanging pocket organizers to store clothes.
I even use one behind our bedroom closet door to store fabric.
And those odd, narrow walls behind the door?
We’ve built a bookcase for one.
And hang our kids’ bathrobes on another.
So of course I jumped at the chance of adding something usable to the back side of our homeschool room door as well!
What Supplies and Materials Are Needed?
Here’s the list of items needed to make a Montessori Teen Hanging Bead Frame:
- 1″x2″ board, cut to the desired length. We used a 16″ piece of select pine.
- 1/2″ cup hooks, in your desired finish.
- Tape Measure
- Table Saw or Router (Optional): See notes below on modifying this build plan if you do not have access to a table saw or router.
- Stain (Optional)
How to Make a Wall-Mounted Montessori Teen Hanging Bead Frame
We already had a scrap 1×2 select pine board in our garage, so I had my husband cut it down to 16” and then cut a groove in the top using our table saw.

Don’t have a table saw? You should be able to glue a thinner strip of wood on the back side of the 1×2 board to create a channel as well. Simply cut the thin piece of wood a couple centimeters shorter than your 1×2. Align the bottom edges, apply wood glue, attach clamps, and wait until dry.
Once the 1×2 board was cut, I applied one coat of stain and then it was time for some math! We came in ⅝” inch on each side and then partitioned 9 boxes, each measuring 1 ⅝” inch wide. This math is not perfect — I think it’s off by 0.125 inches total. For the sake of simplicity we opted to use regular ruler measurements to space things out and just eyeballed it as we went.
We used a pencil to mark our boxes. Then we came in ½” inch from each side of each individual box and placed our pairs of hooks on these lines.
Once you’ve measured and marked everything, you can attach your cup hooks. I purchased these ½” cup hooks for this project.
To hang the finished hanging bead frame, I used large Command picture strips so it’ll be easy to remove it when my daughter has outgrown the material.
I printed a simple control of error for the teen numbers that slides into the top groove. She’s able to use this to help her build the numbers in sequential order. Once she’s proficient at identifying and building the teen numbers in sequential order, then she can practice ordering the numbers herself with the individual number tiles.

Because we had most of the supplies, we were able to build our Montessori teen hanging bead frame for just $6 dollars. It could’ve been just $3 dollars, but I splurged on the black ½” cup hooks to match our door hardware.
So far, my youngest daughter is really enjoying it. She loves hanging the beads onto the hooks and “building the numbers” as she calls it. All together it took us about an hour to build the Montessori teen hanging bead frame. I love how it turned out! Since we have plenty of cup hooks now, I’m planning on using the rest of the scrap wood to build an alternate version of the hanging bead frame for larger numbers.


If you decide to build this or any of our other projects, we’d love to hear about it! Leave me a comment below or tag us on Instagram @freeandunfettered.
Thanks for reading! If you’d like to continue to support our blog, please consider sharing this post with others and subscribing to our newsletter below. ❤️


