DIY: Framed Chalkboard
So, I’m officially jumping on the decorating-with-chalkboards bandwagon.
I am in love their slightly vintage vibe along with the ability to decorate them in a seemingly endless number of ways.

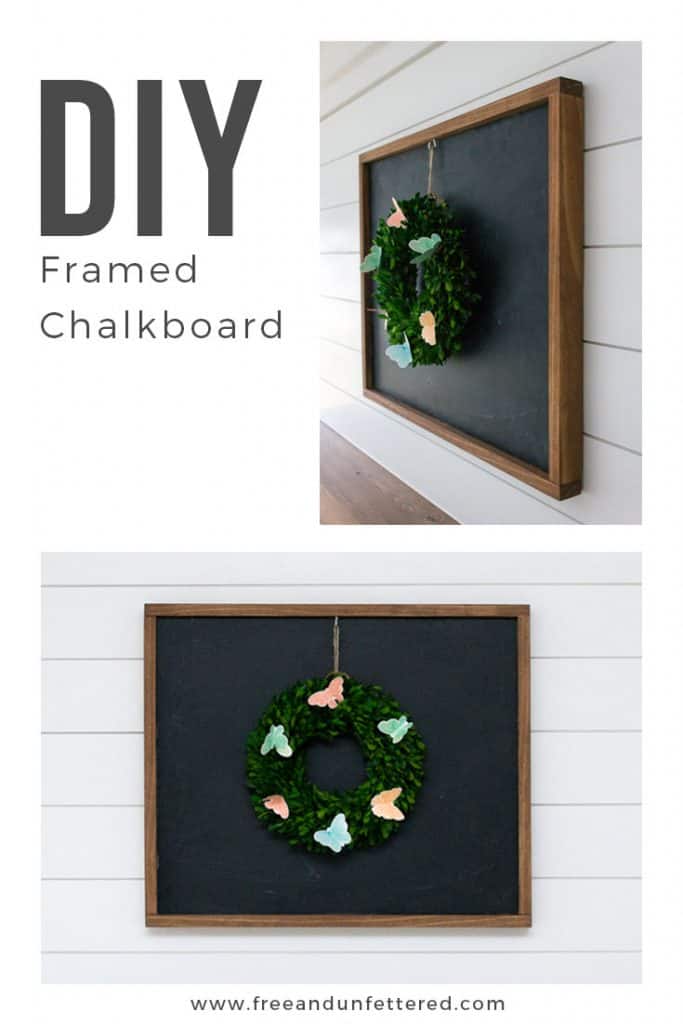
We decided to build this super simple framed chalkboard to hang above our mantle. I added a preserved boxwood wreath to bring in a touch of greenery. It’s the perfect minimalist seasonal decoration for us. Whether we choose to practice some fancy chalkboard writing or simply add a few decorative items to the wreath, it’s completely versatile for all seasons.

Best of all, it was super affordable and easy to build — although you’ll want to wait a couple days to allow for the glue to dry.

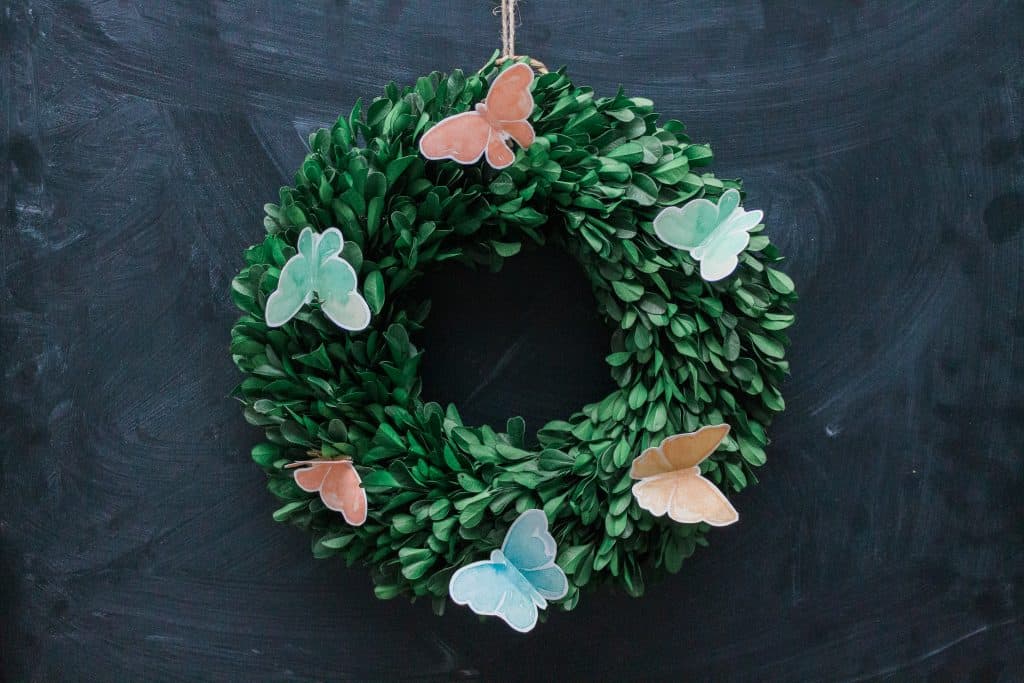
With spring just around the corner, Lilly and I clipped some watercolor butterflies onto the wreath the other day. You can download and print them for free from the Elli Blog. I first used them as birthday decorations years ago, and I still regularly use them as gift toppers as well. I think they’re simply adorable!

Disclosure: This post contains affiliate links at no cost to you. This means I may receive a small commission if you make a purchase using these links.
Supplies & Materials:
1x2x8′ select pine board
Dimensions black chalk board (3/16″ x 2 ft x 4 ft, cut to size)
Ryobi P320 Airstrike 18 Volt One+ Lithium Ion Cordless Brad Nailer
Preserved boxwood wreath (optional)
Directions:
Cut 1x2x8′ select pine board to size. We chose to make our frame 24″ x 20″ inches, which means we ended up cutting our select pine board at (2) 24″ inches and (2) 18.5″ inches long.
Use a nail gun and wood glue to attach the pieces together. If you do not have access to a nail gun, you could also use pocket screws. Reference image below.

Lay frame on top of chalkboard panel and trace the interior. Then cut the chalkboard panel using your traced lines.
Cut (4) 2″ corners at a 45 degree angle and (4) 2×2 inch pieces from the leftover 1x2x8′ select pine board. Reference image below.

Attach these to the interior of the frame, flush on the back, using wood glue and clamps. Let dry for 24 hours.
If choosing to stain or paint, go ahead and do so at this point. Be sure to sand thoroughly before staining.
Once dry, attach chalkboard panel by using wood glue on top of the attached support pieces. Be sure to place some weight on top of the chalkboard panel to ensure a secure and level bond. We used a couple books in each corner to prevent bowing.
Let sit for 24 hours.
Once it’s dry, enjoy your custom framed chalkboard!

[OPTIONAL] If you would like to hang a wreath, simply attach a screw hook to the top of the frame and then use twine to create a loop to hang your wreath. We purchased a small preserved boxwood wreath from Target to hang on our chalkboard and plan to decorate it seasonally.
What are some other affordable and minimalist decor pieces that you like to change up around your home to fit the season? Please do share in the comments below.

