DIY: Floating Bookshelves
Don’t you love it when you see a space in your home and you can immediately envision what you’d like it to be?
We have this small corner in our schoolroom/playroom that I hope to eventually turn into a reading nook for our children, complete with a cozy armchair and footstool. There’s no room for a separate bookshelf, so I knew floating shelves would work best here.
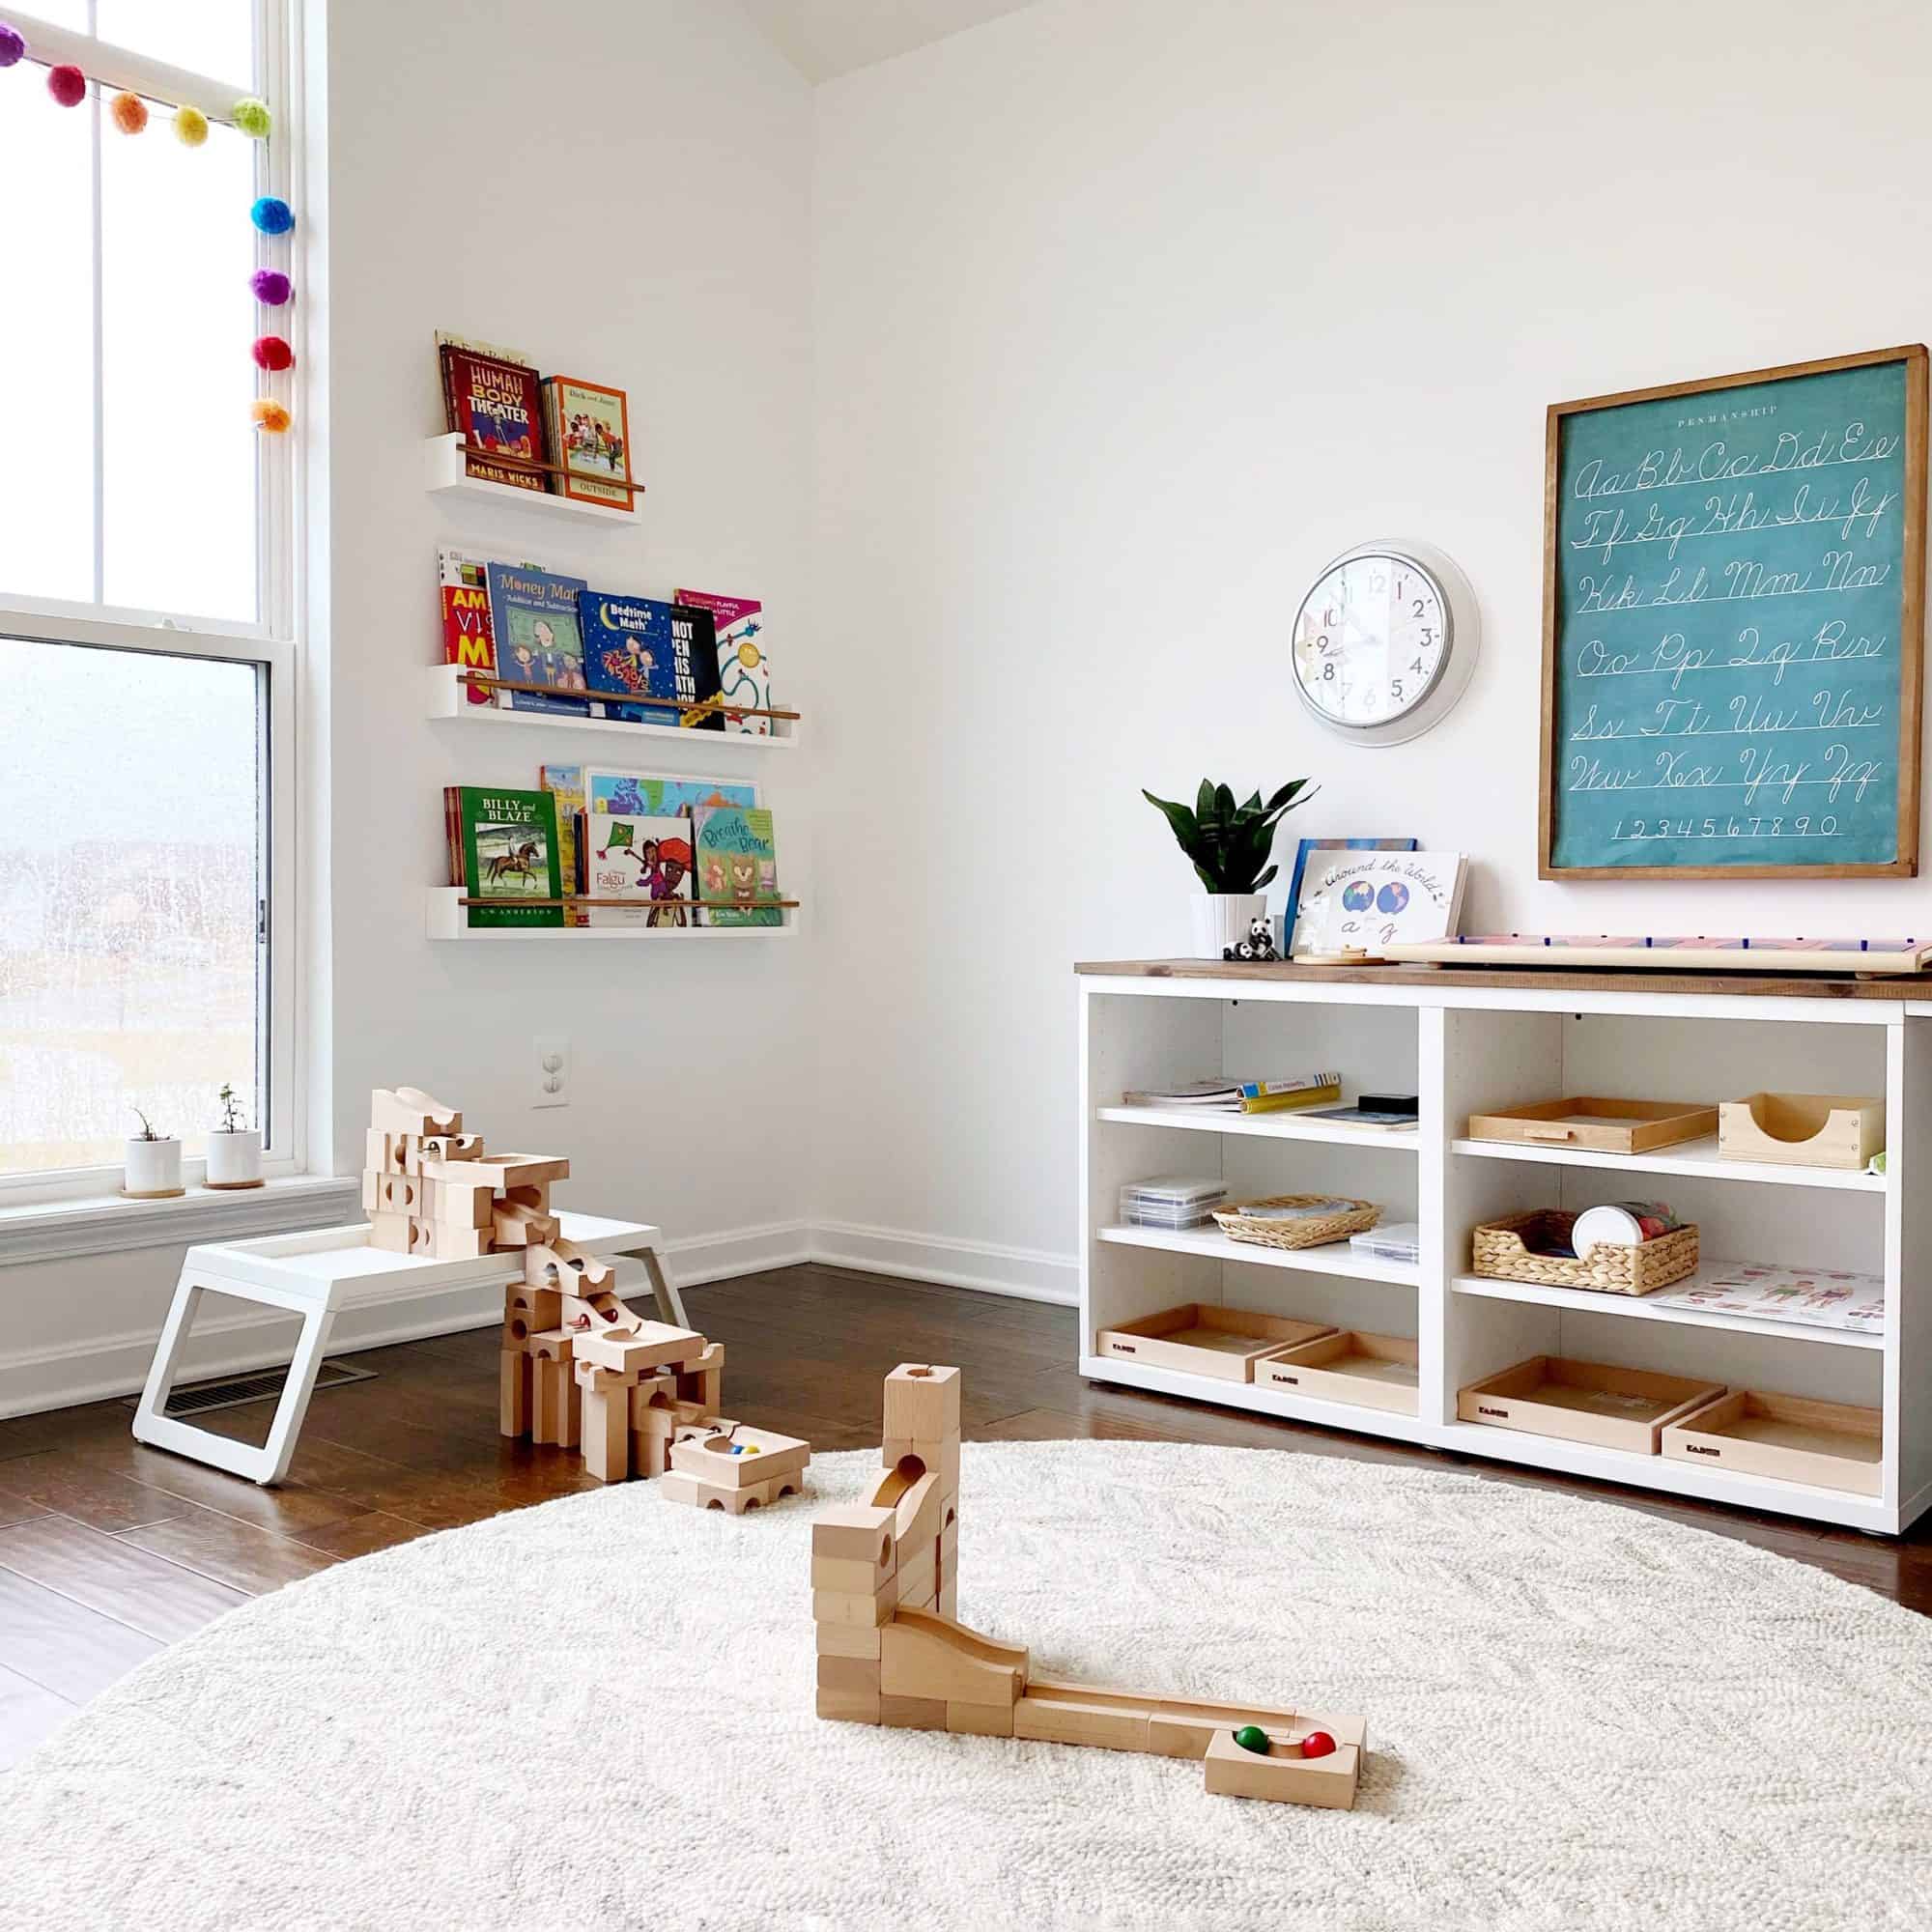
I actually really, really love IKEA’s FLISAT wall display shelves that we are currently using in the children’s bedroom, but I wanted something a little more minimal in this space. I’ve used a couple of IKEA’s BEKVAM spice racks in the past to make a small jewelry organization station in my closet, and I had considered just buying a few extra and using them for the book display in this corner. But they were simply too short, and I really didn’t want to put two of them side by side.
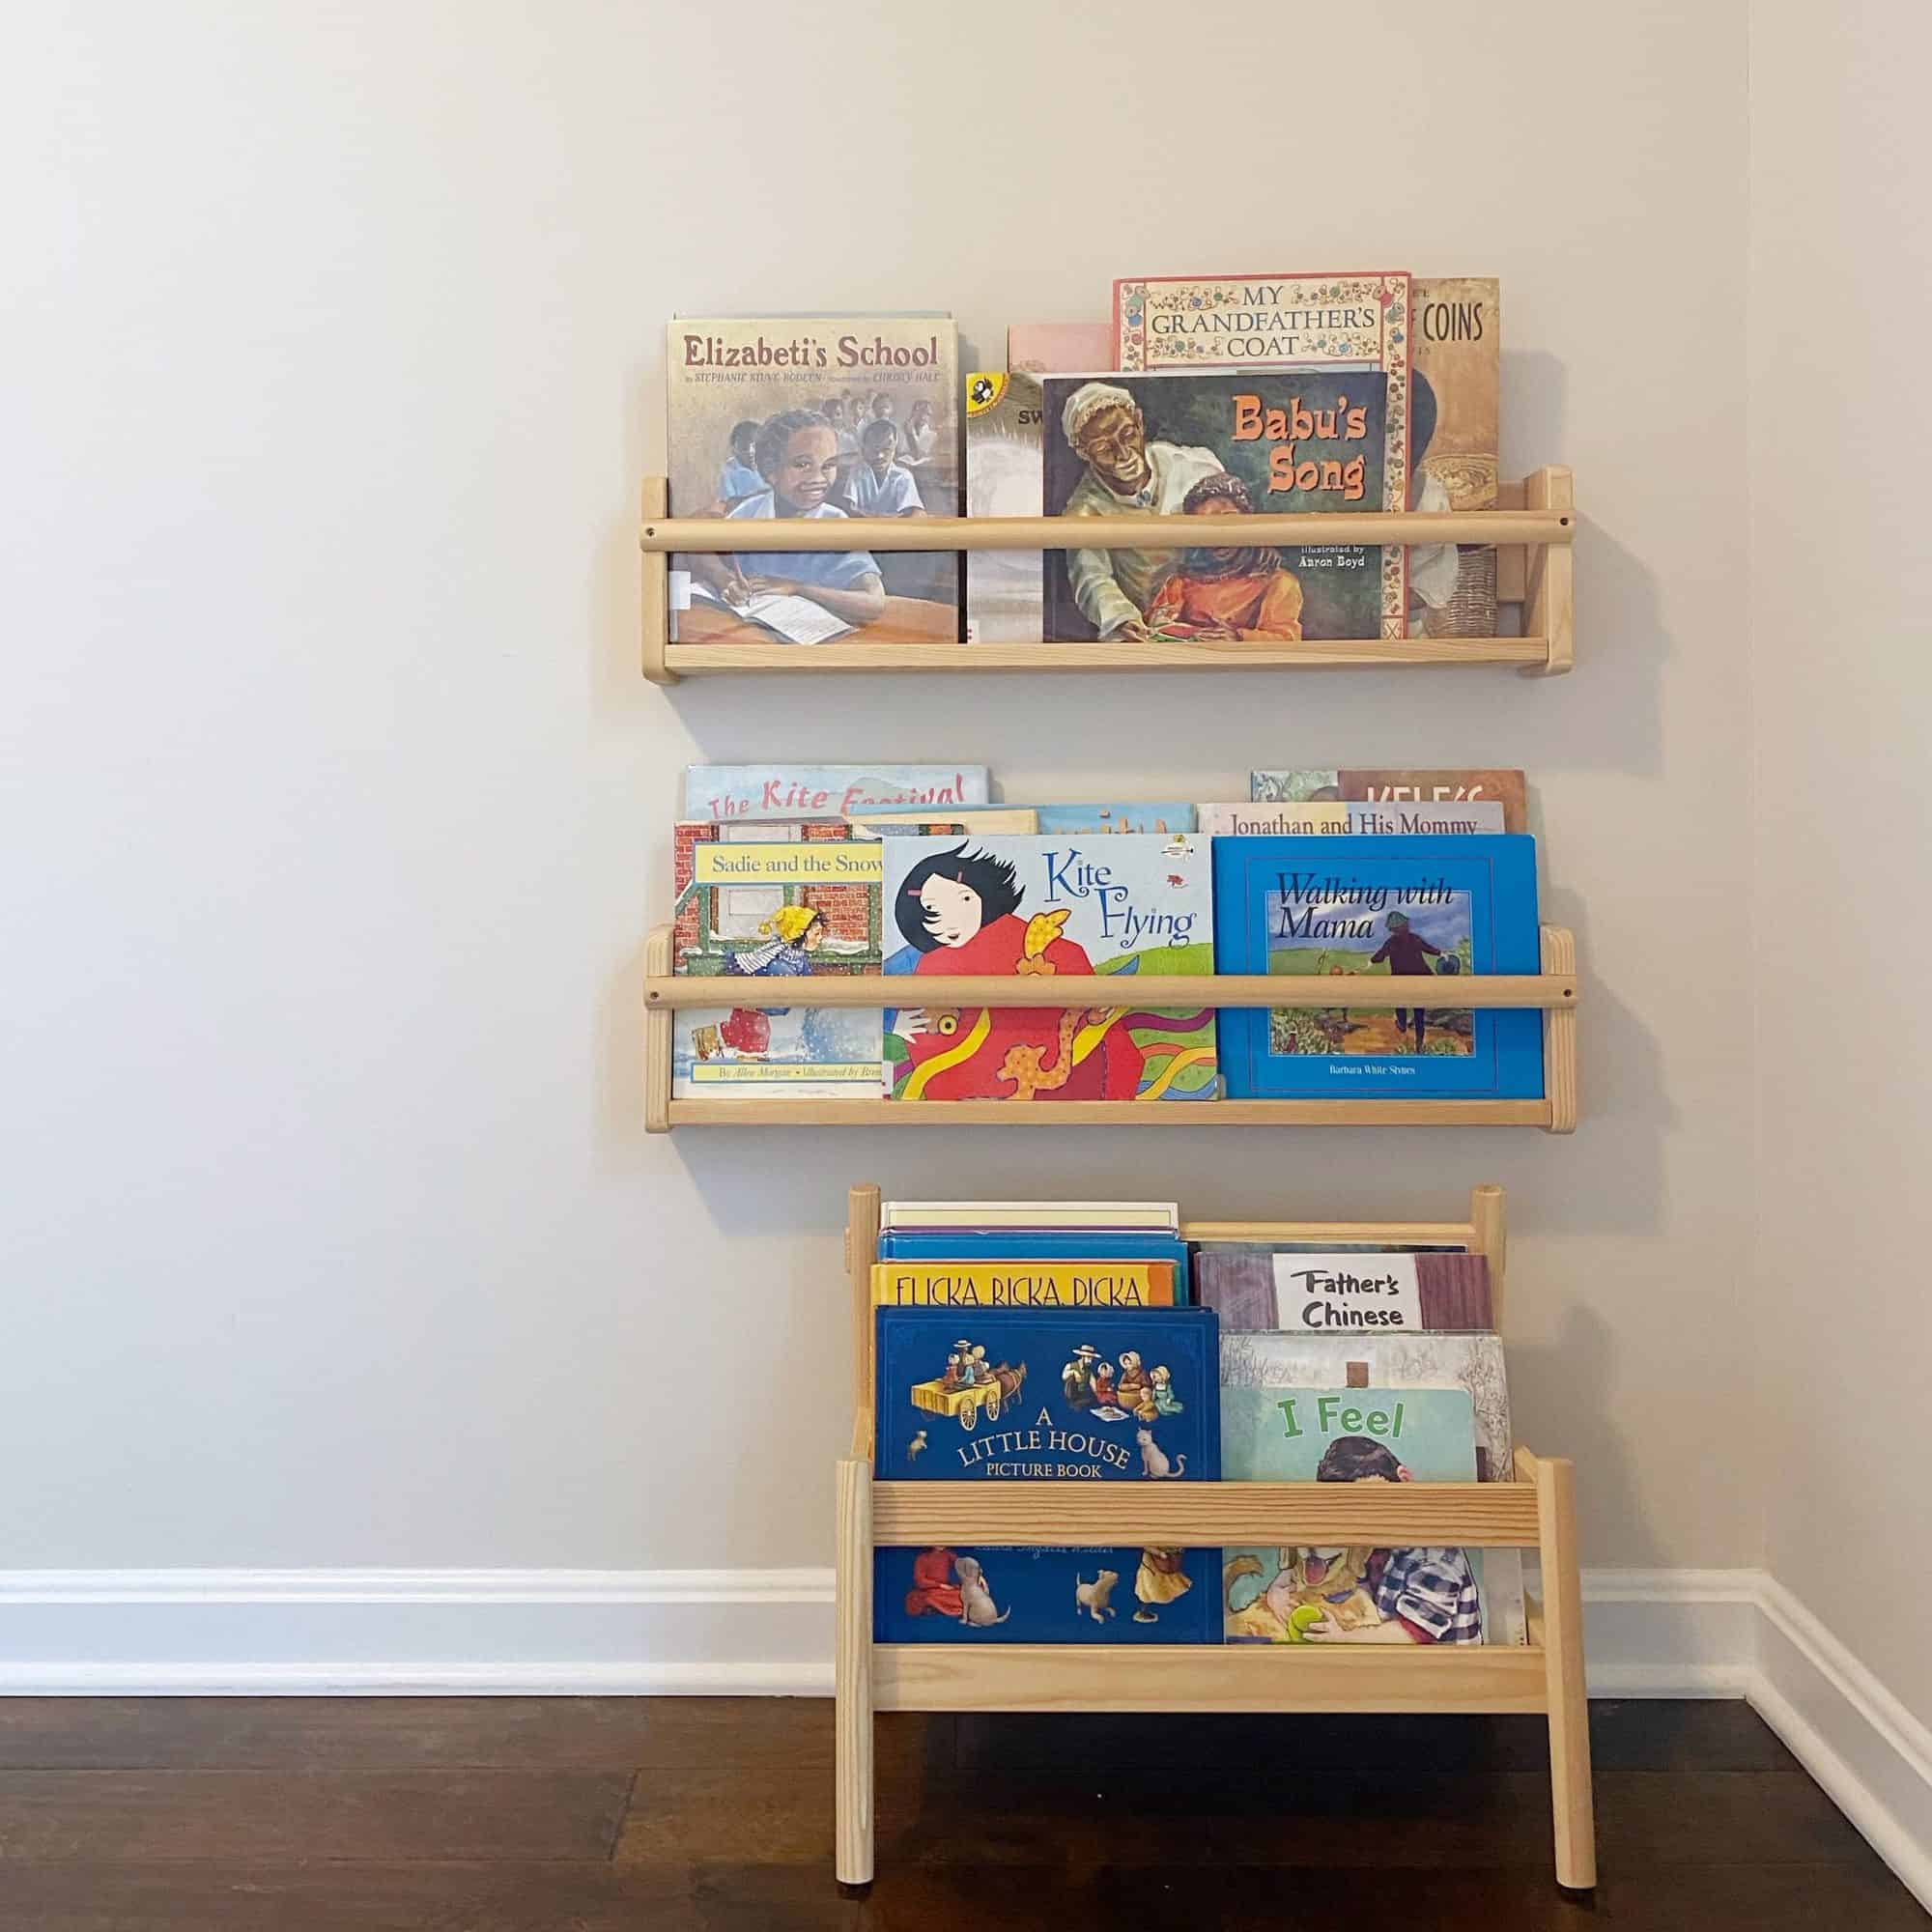
Luckily, we had some scrap 1×2’s lying around in our garage, so I figured we’d simply make our own version of the spice rack bookshelves to the specific dimensions we needed. It’s a super simple project to undertake and would work great for displaying books for elementary- and middle school-age kids.
Just FYI, I would not recommend these for toddler use. For those ages I’d definitely recommend the FLISAT shelves I mentioned above.
Based on the dimensions of our wall, we ended up make (2) 31″ inch long shelves and (1) 15.5″ inch shelf. You can adjust the measurements as necessary when building these, but I’ll go ahead and refer to both sizes we built specifically for our room in this tutorial.
SUPPLIES & MATERIALS:
- (1) 1×4 select pine board @ 8 ft.
- (1) 1×2 select pine board @ 8 ft.
- (5) rectangular wood trim pieces, 36″ inches each (We opted to use Red Oak since it’s sturdier than pine)
- Wood Glue
- Kreg Jig
- 2″ screws
- Finish Nails
First, cut the 1×4 into desired shelf lengths. We made (3) cuts: two @ 31″ inches and one @ 15.5″ inches.
Then cut the 1×4 into (6) pieces @ 2.75″ inches length each. These will be the sides of the bookshelves.
Next, you’ll want to subtract 1.5″ inches from the shelf length, and use this measurement to cut the 1×2 board. We made (3) cuts: two at 29.5″ inches and one at 14″ inches. This will be used as the back panel for each shelf that will be attached to the wall.
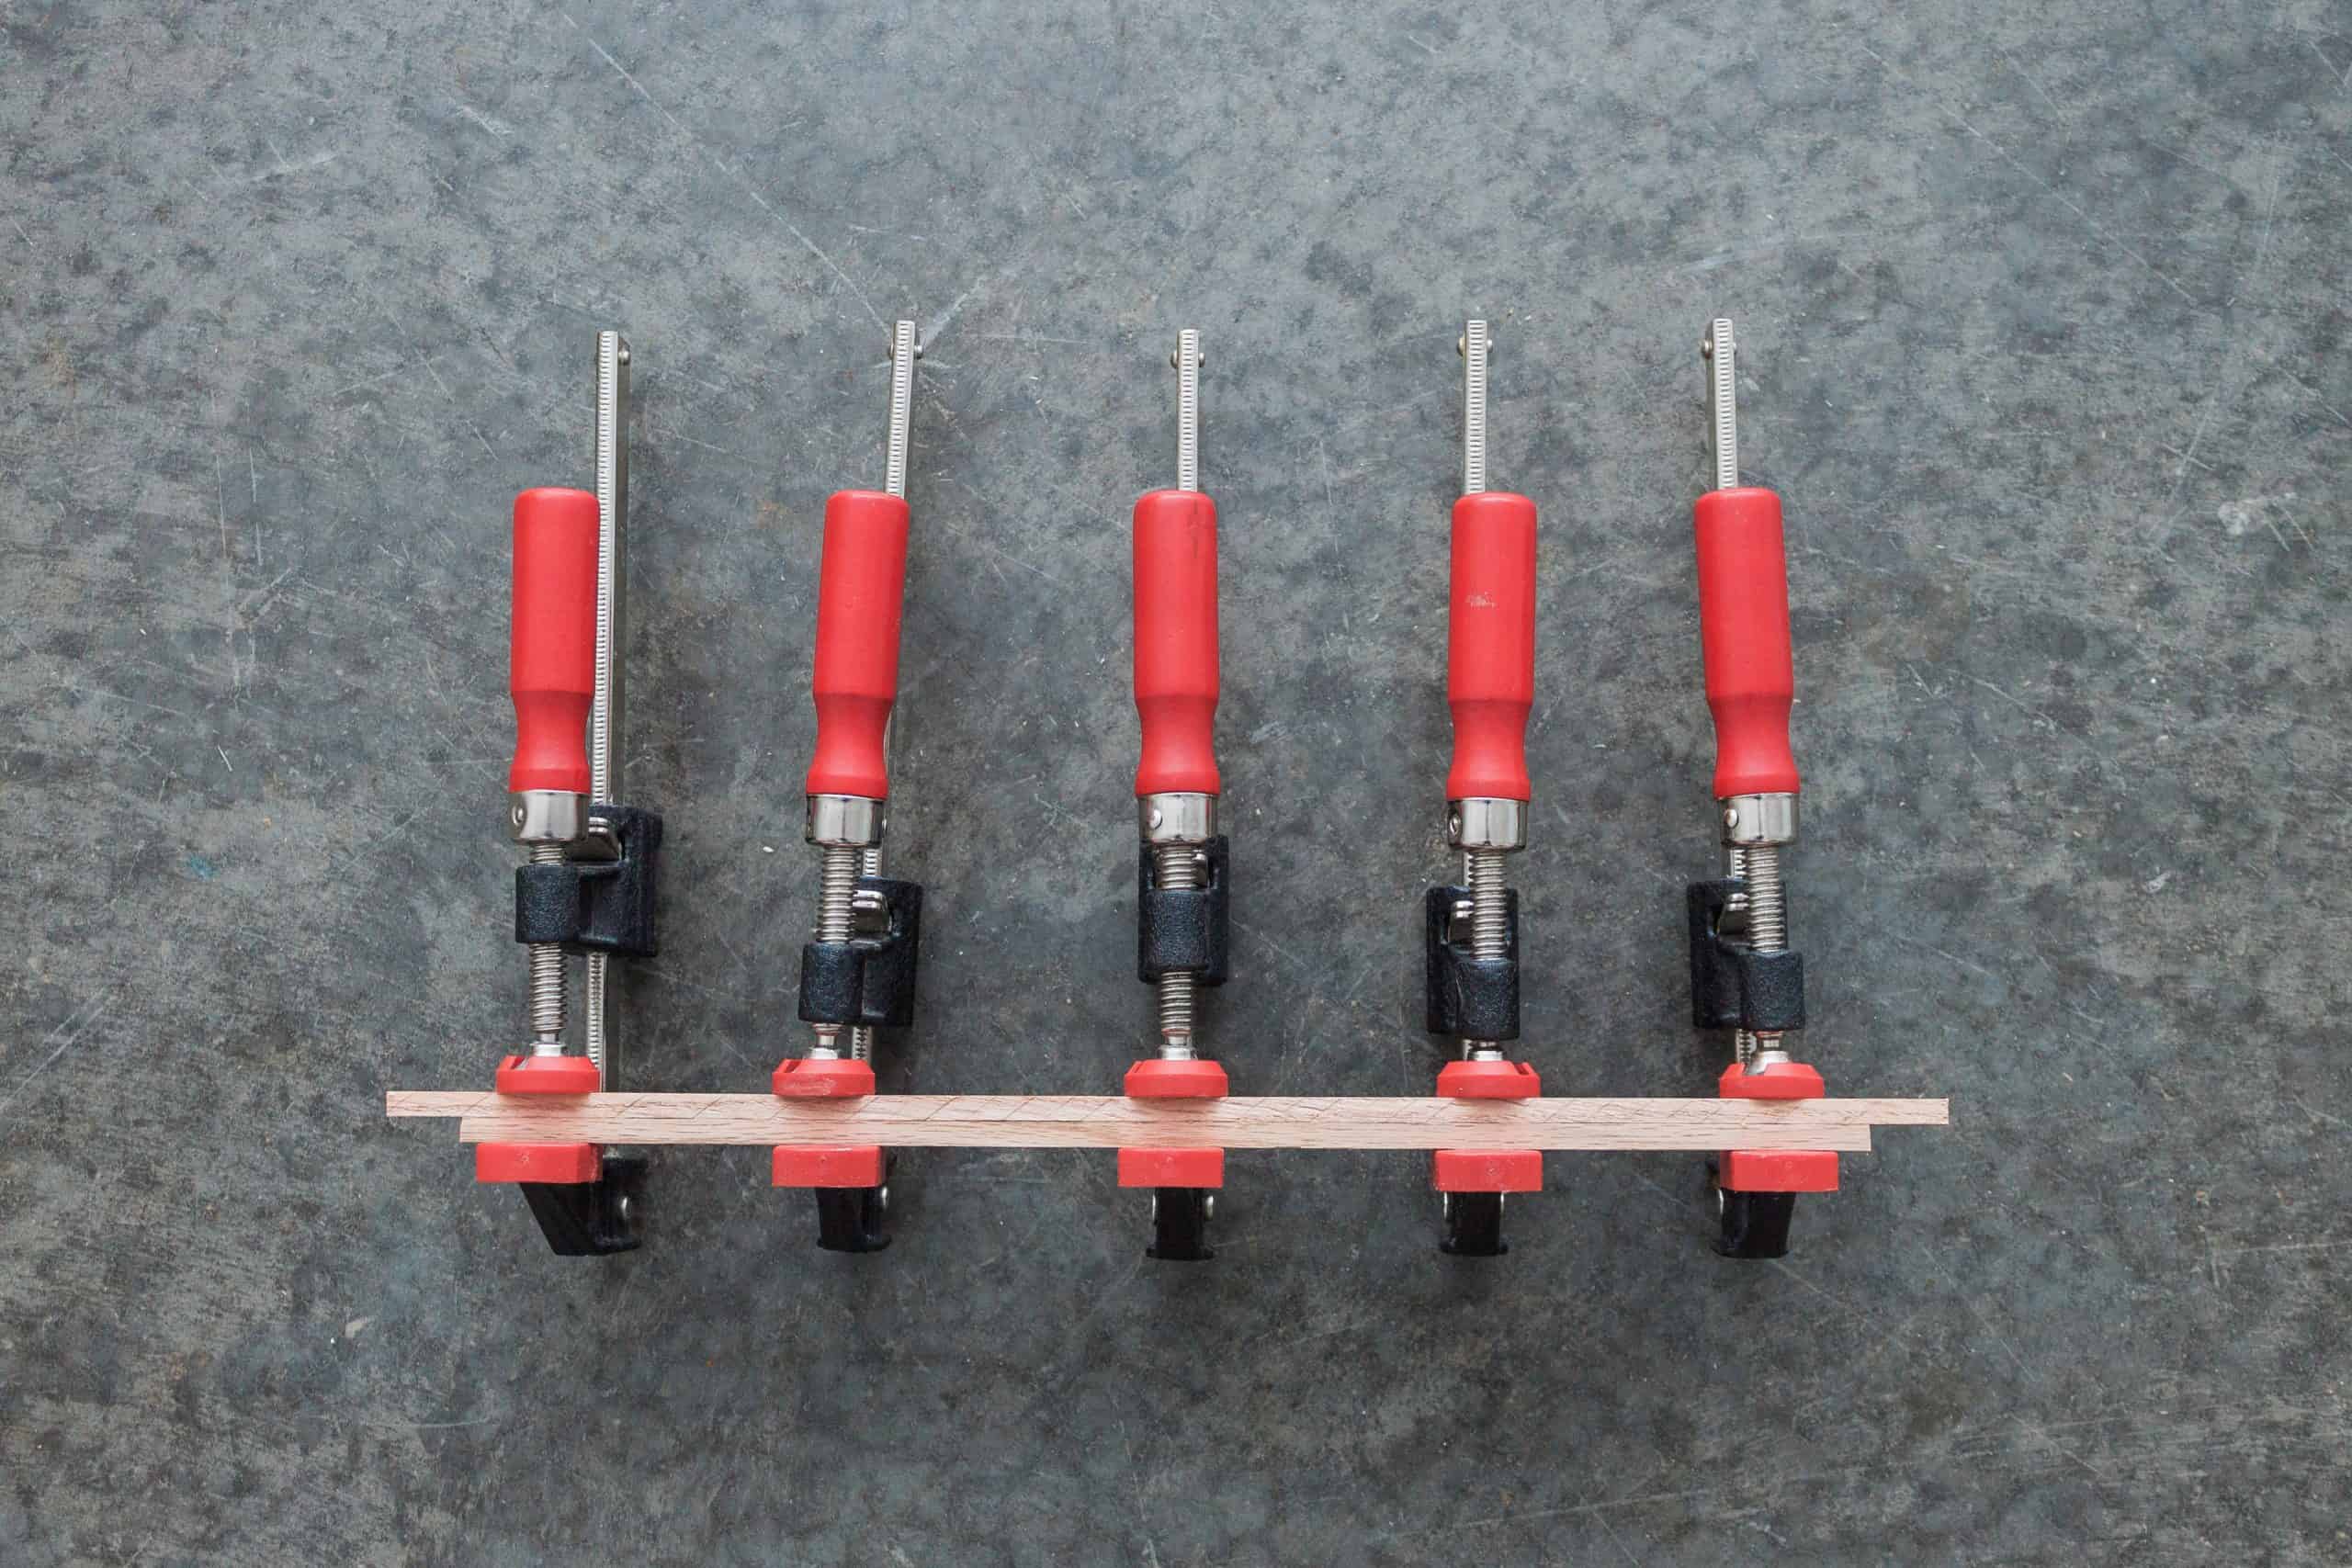
Cut two of the dowel rods to the desired length of shelf, or in our case 31″ inches. Then cut two more at 29.5″ inches. For the shorter shelf, we cut one at 15.5″ inches and one at 14″ inches. Once these are cut, you’ll want to glue them together. Center the shorter length on the longer length (e.g. take the 29.5″ inch dowel and center it onto the 31″ inch dowel), ensuring there is 3/4-inches space remaining on each side. Once these are glued and positioned properly, you’ll want to clamp them together while they dry. Once dry, heavily sand and then stain/paint as desired.
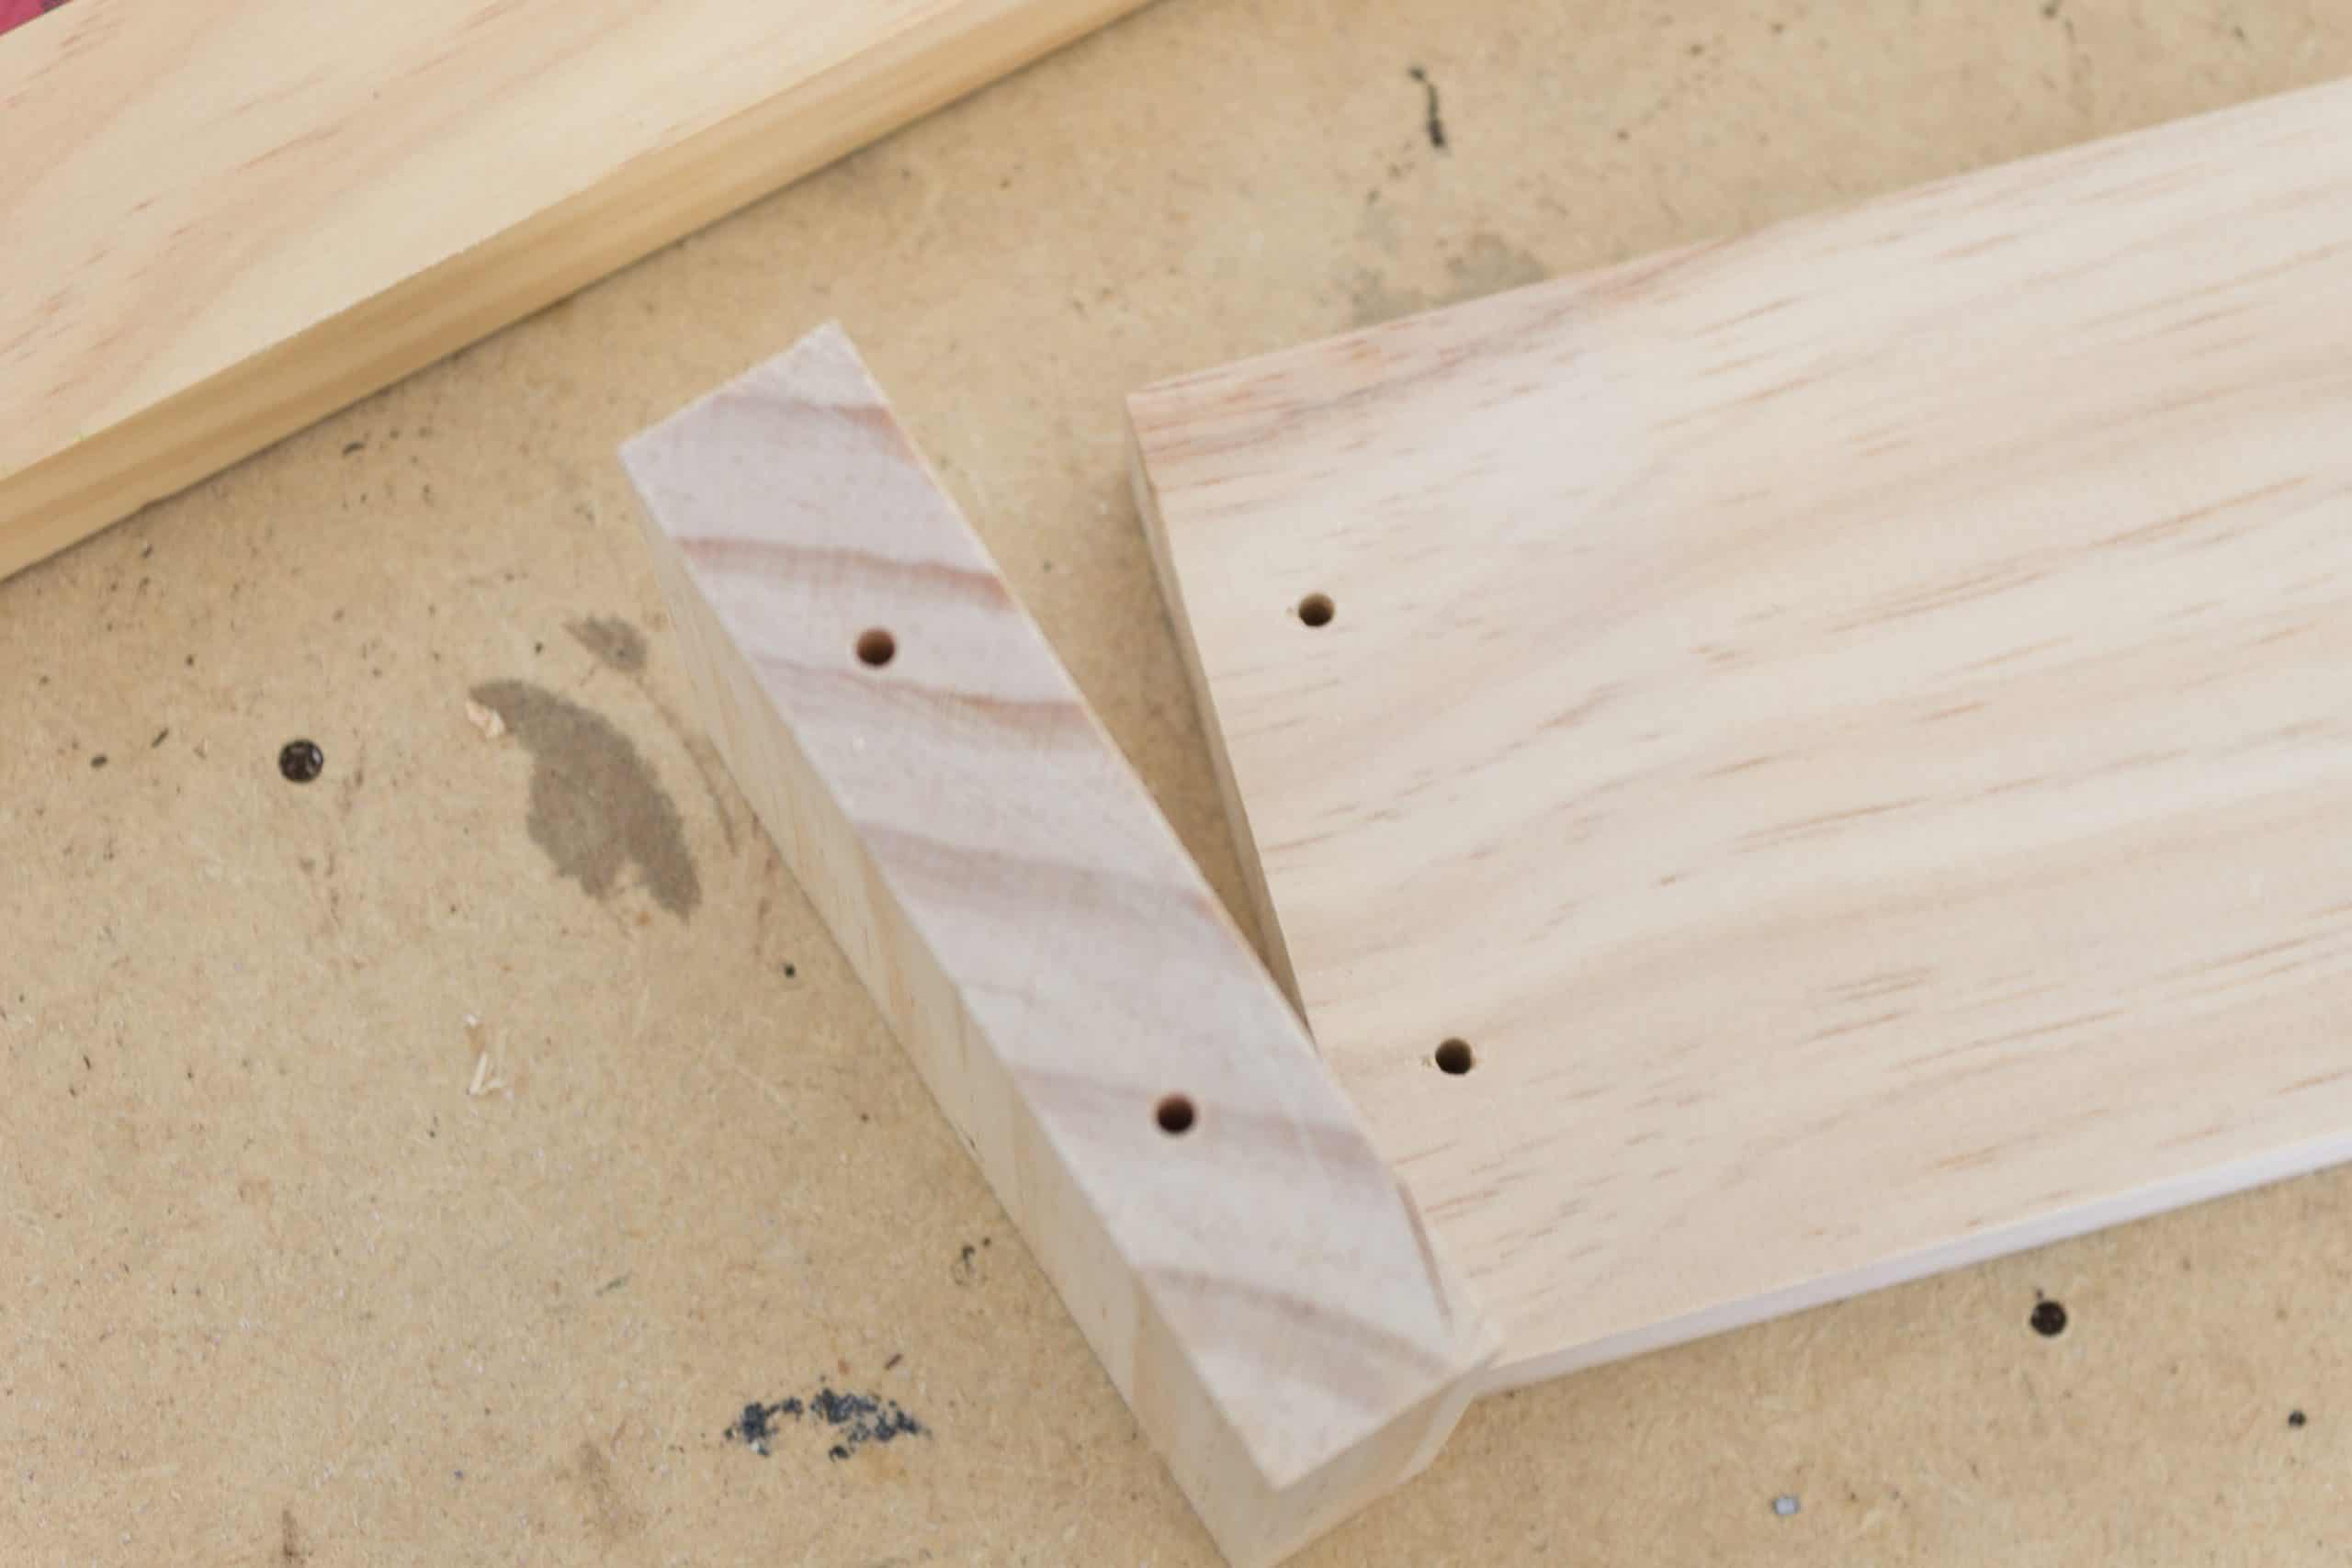
Take the side pieces and attach them to the shelf. You will want to pre-drill holes on both the bottom and side 1×4’s to avoid splitting the wood. I’d also recommend to go ahead and countersink your screws unless you prefer them to be visible. Use wood filler to fill the screw holes and then let dry.

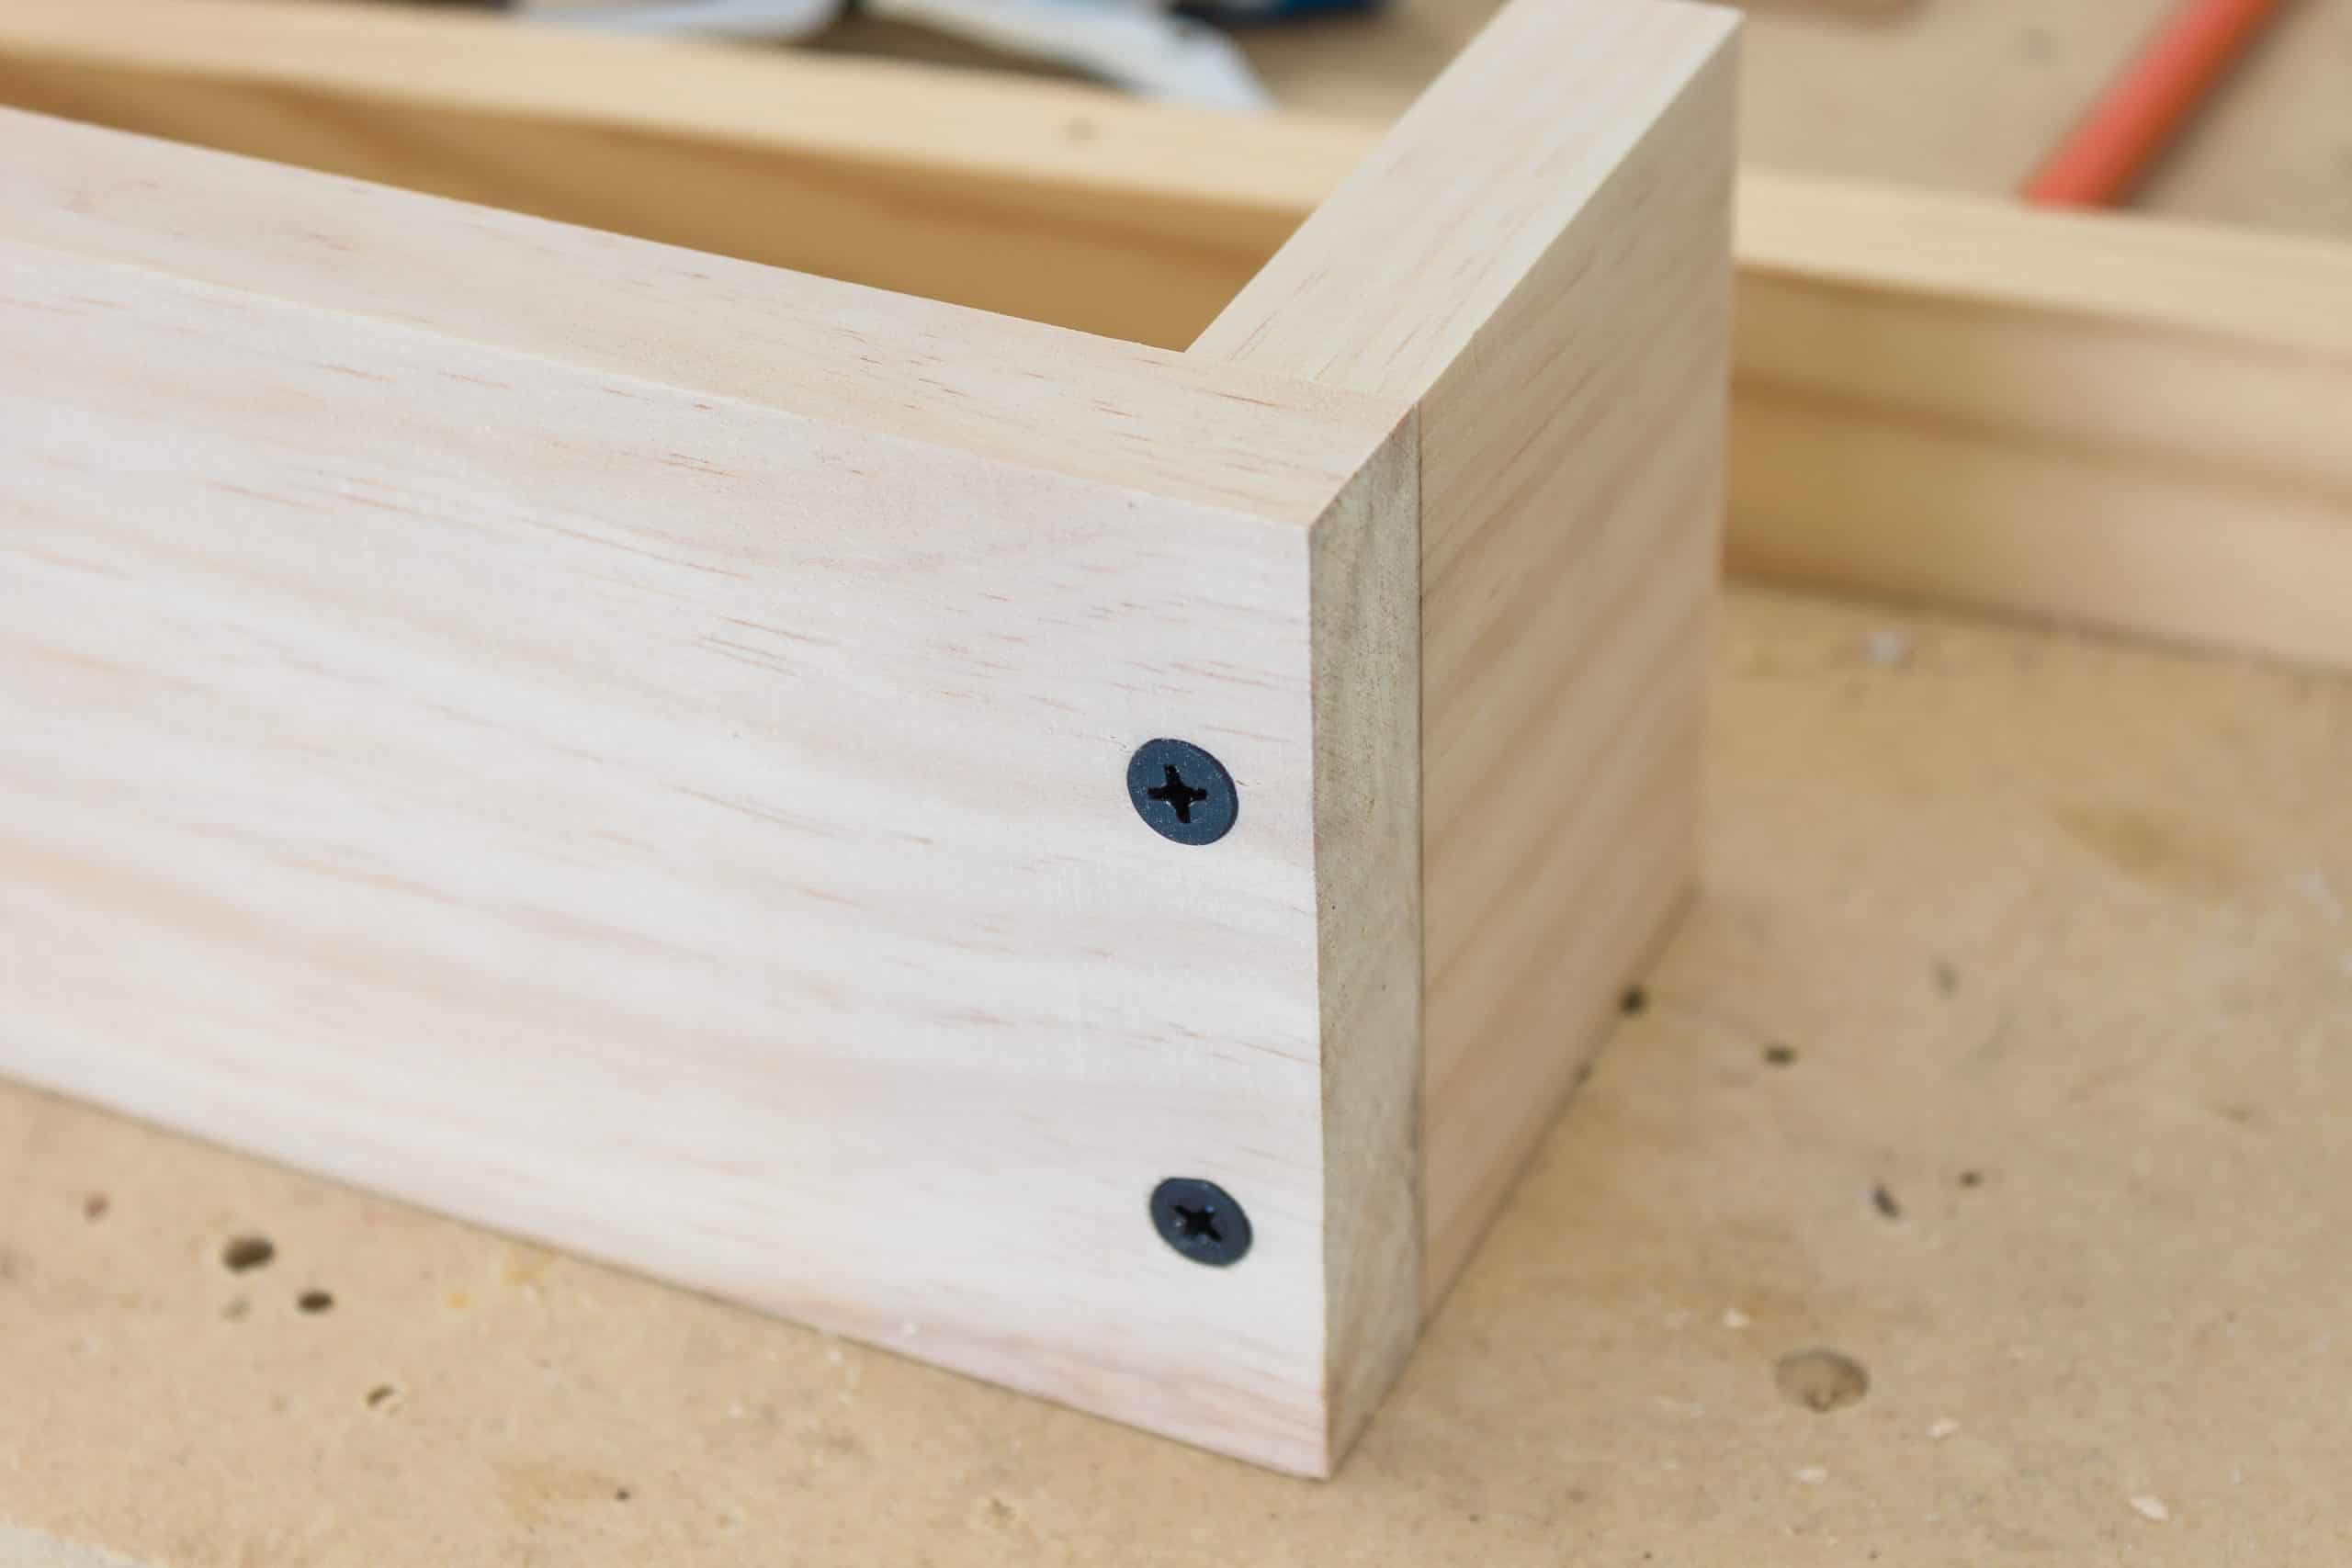
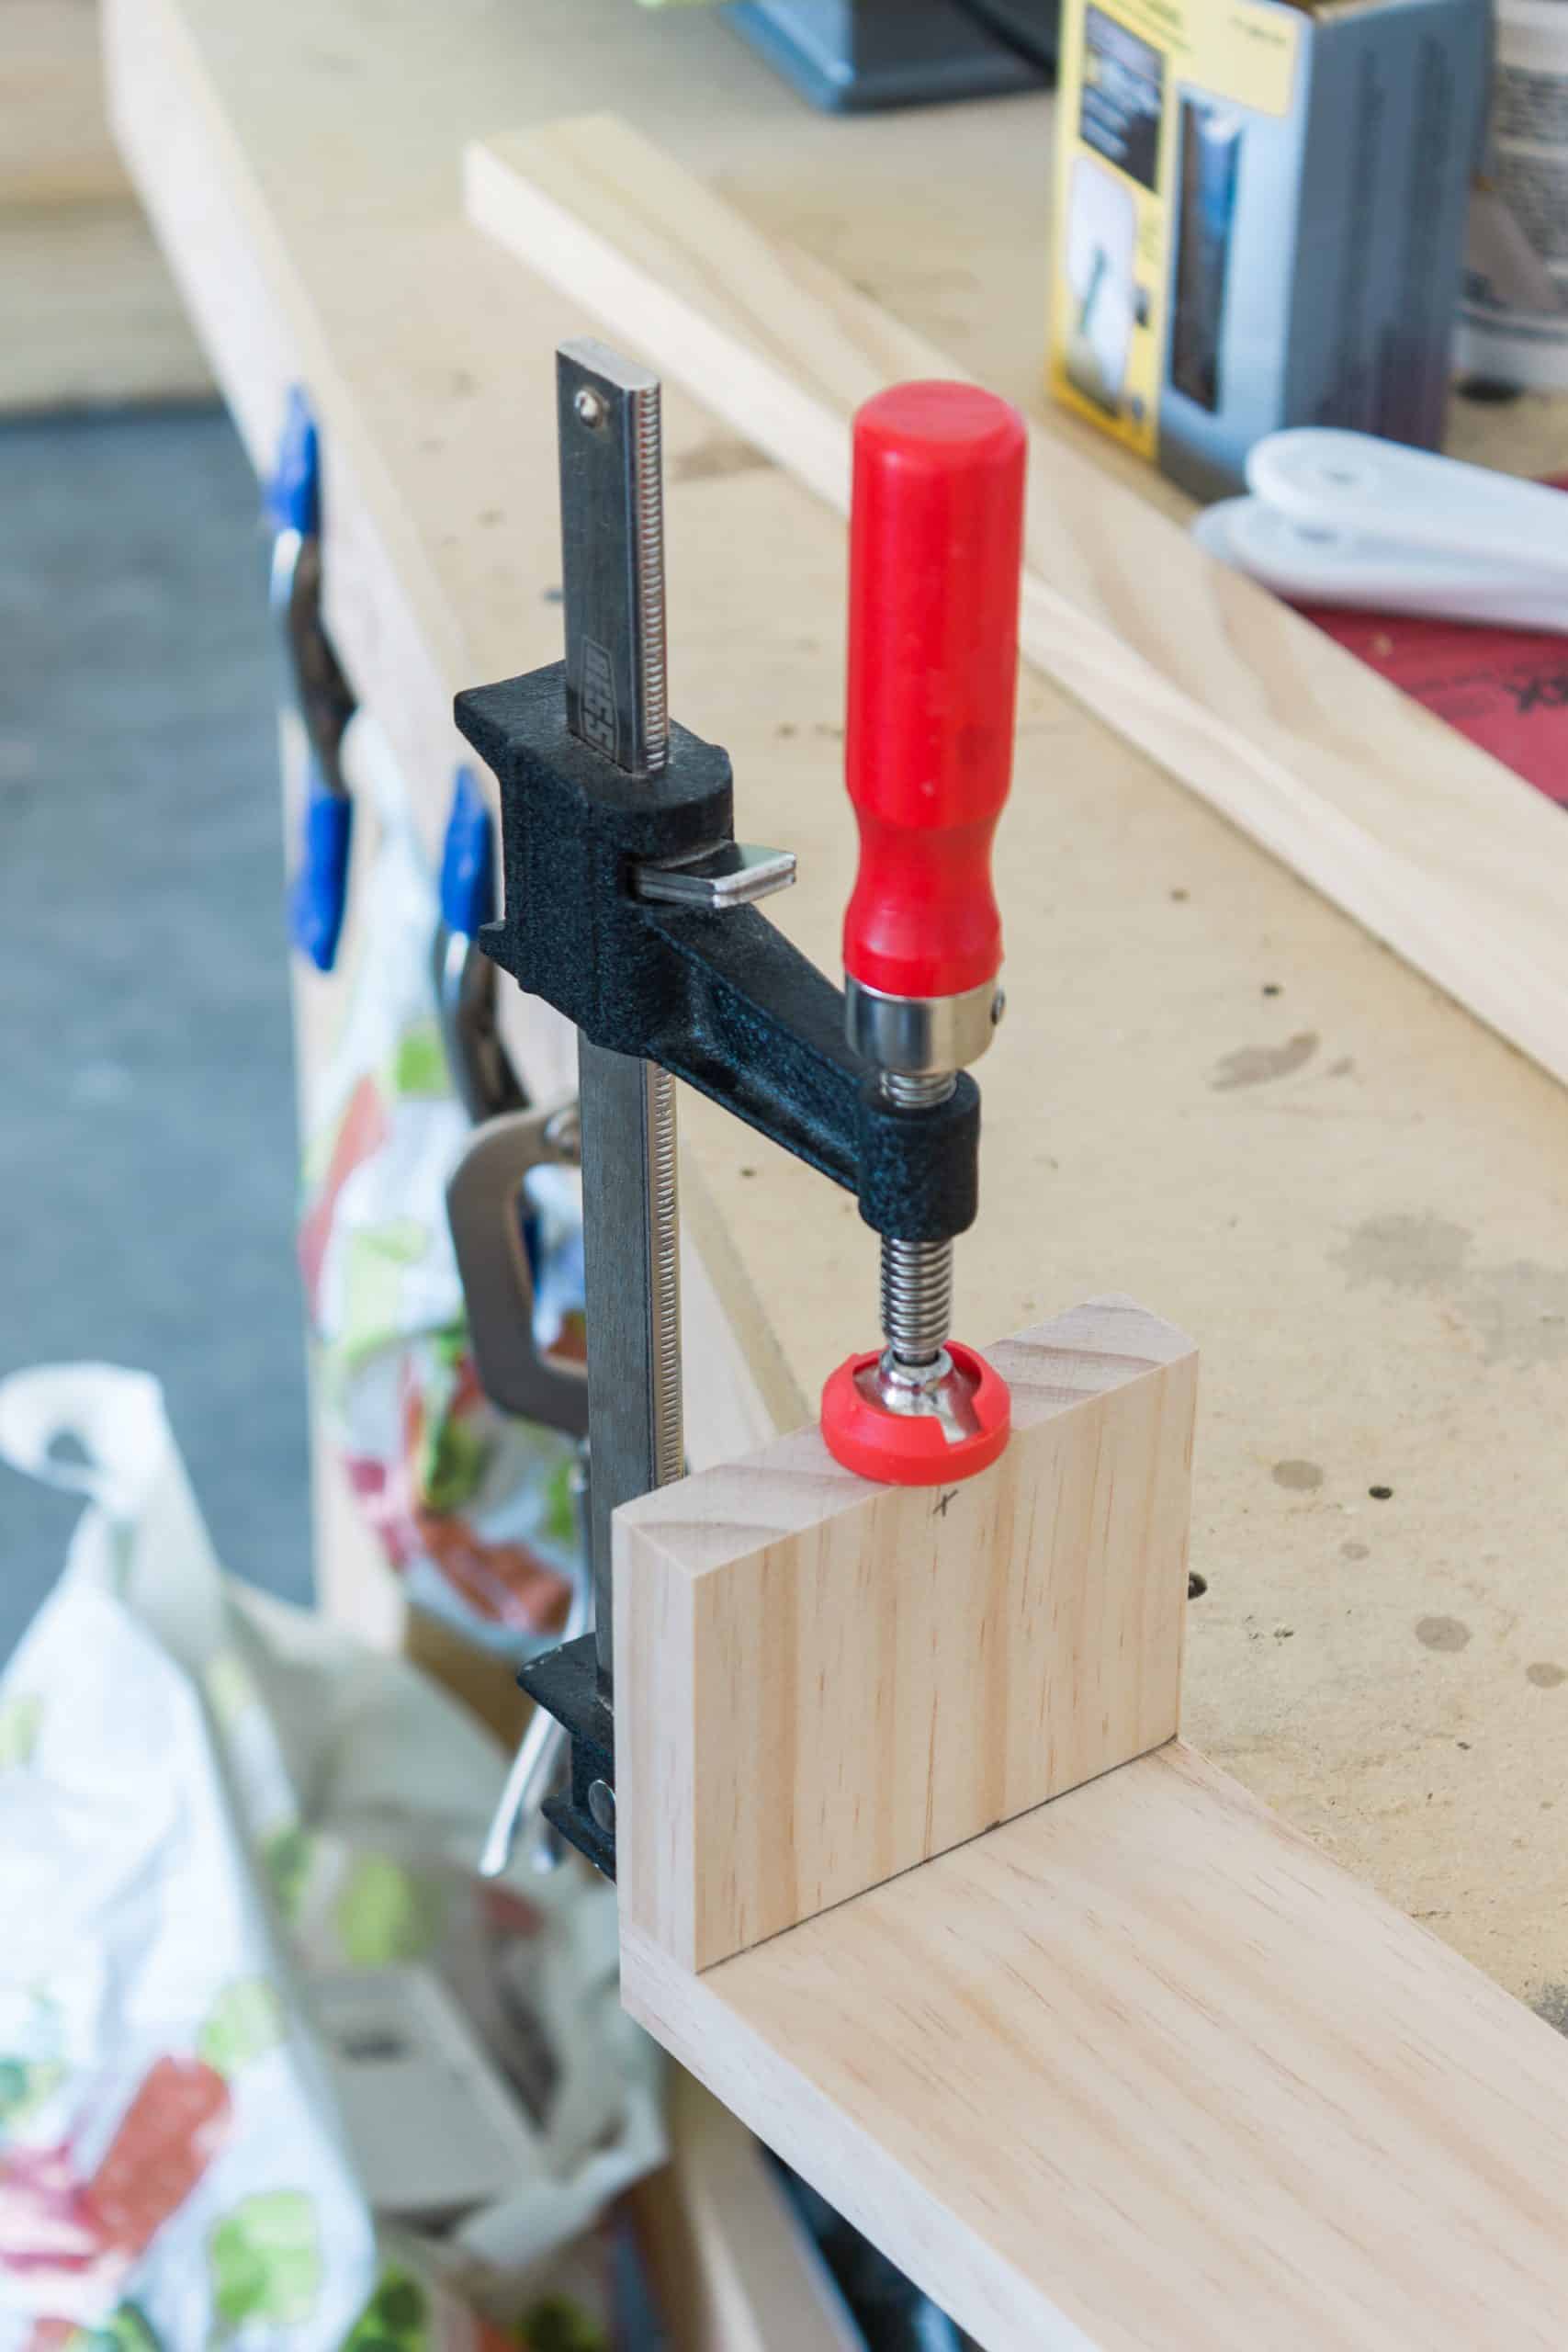
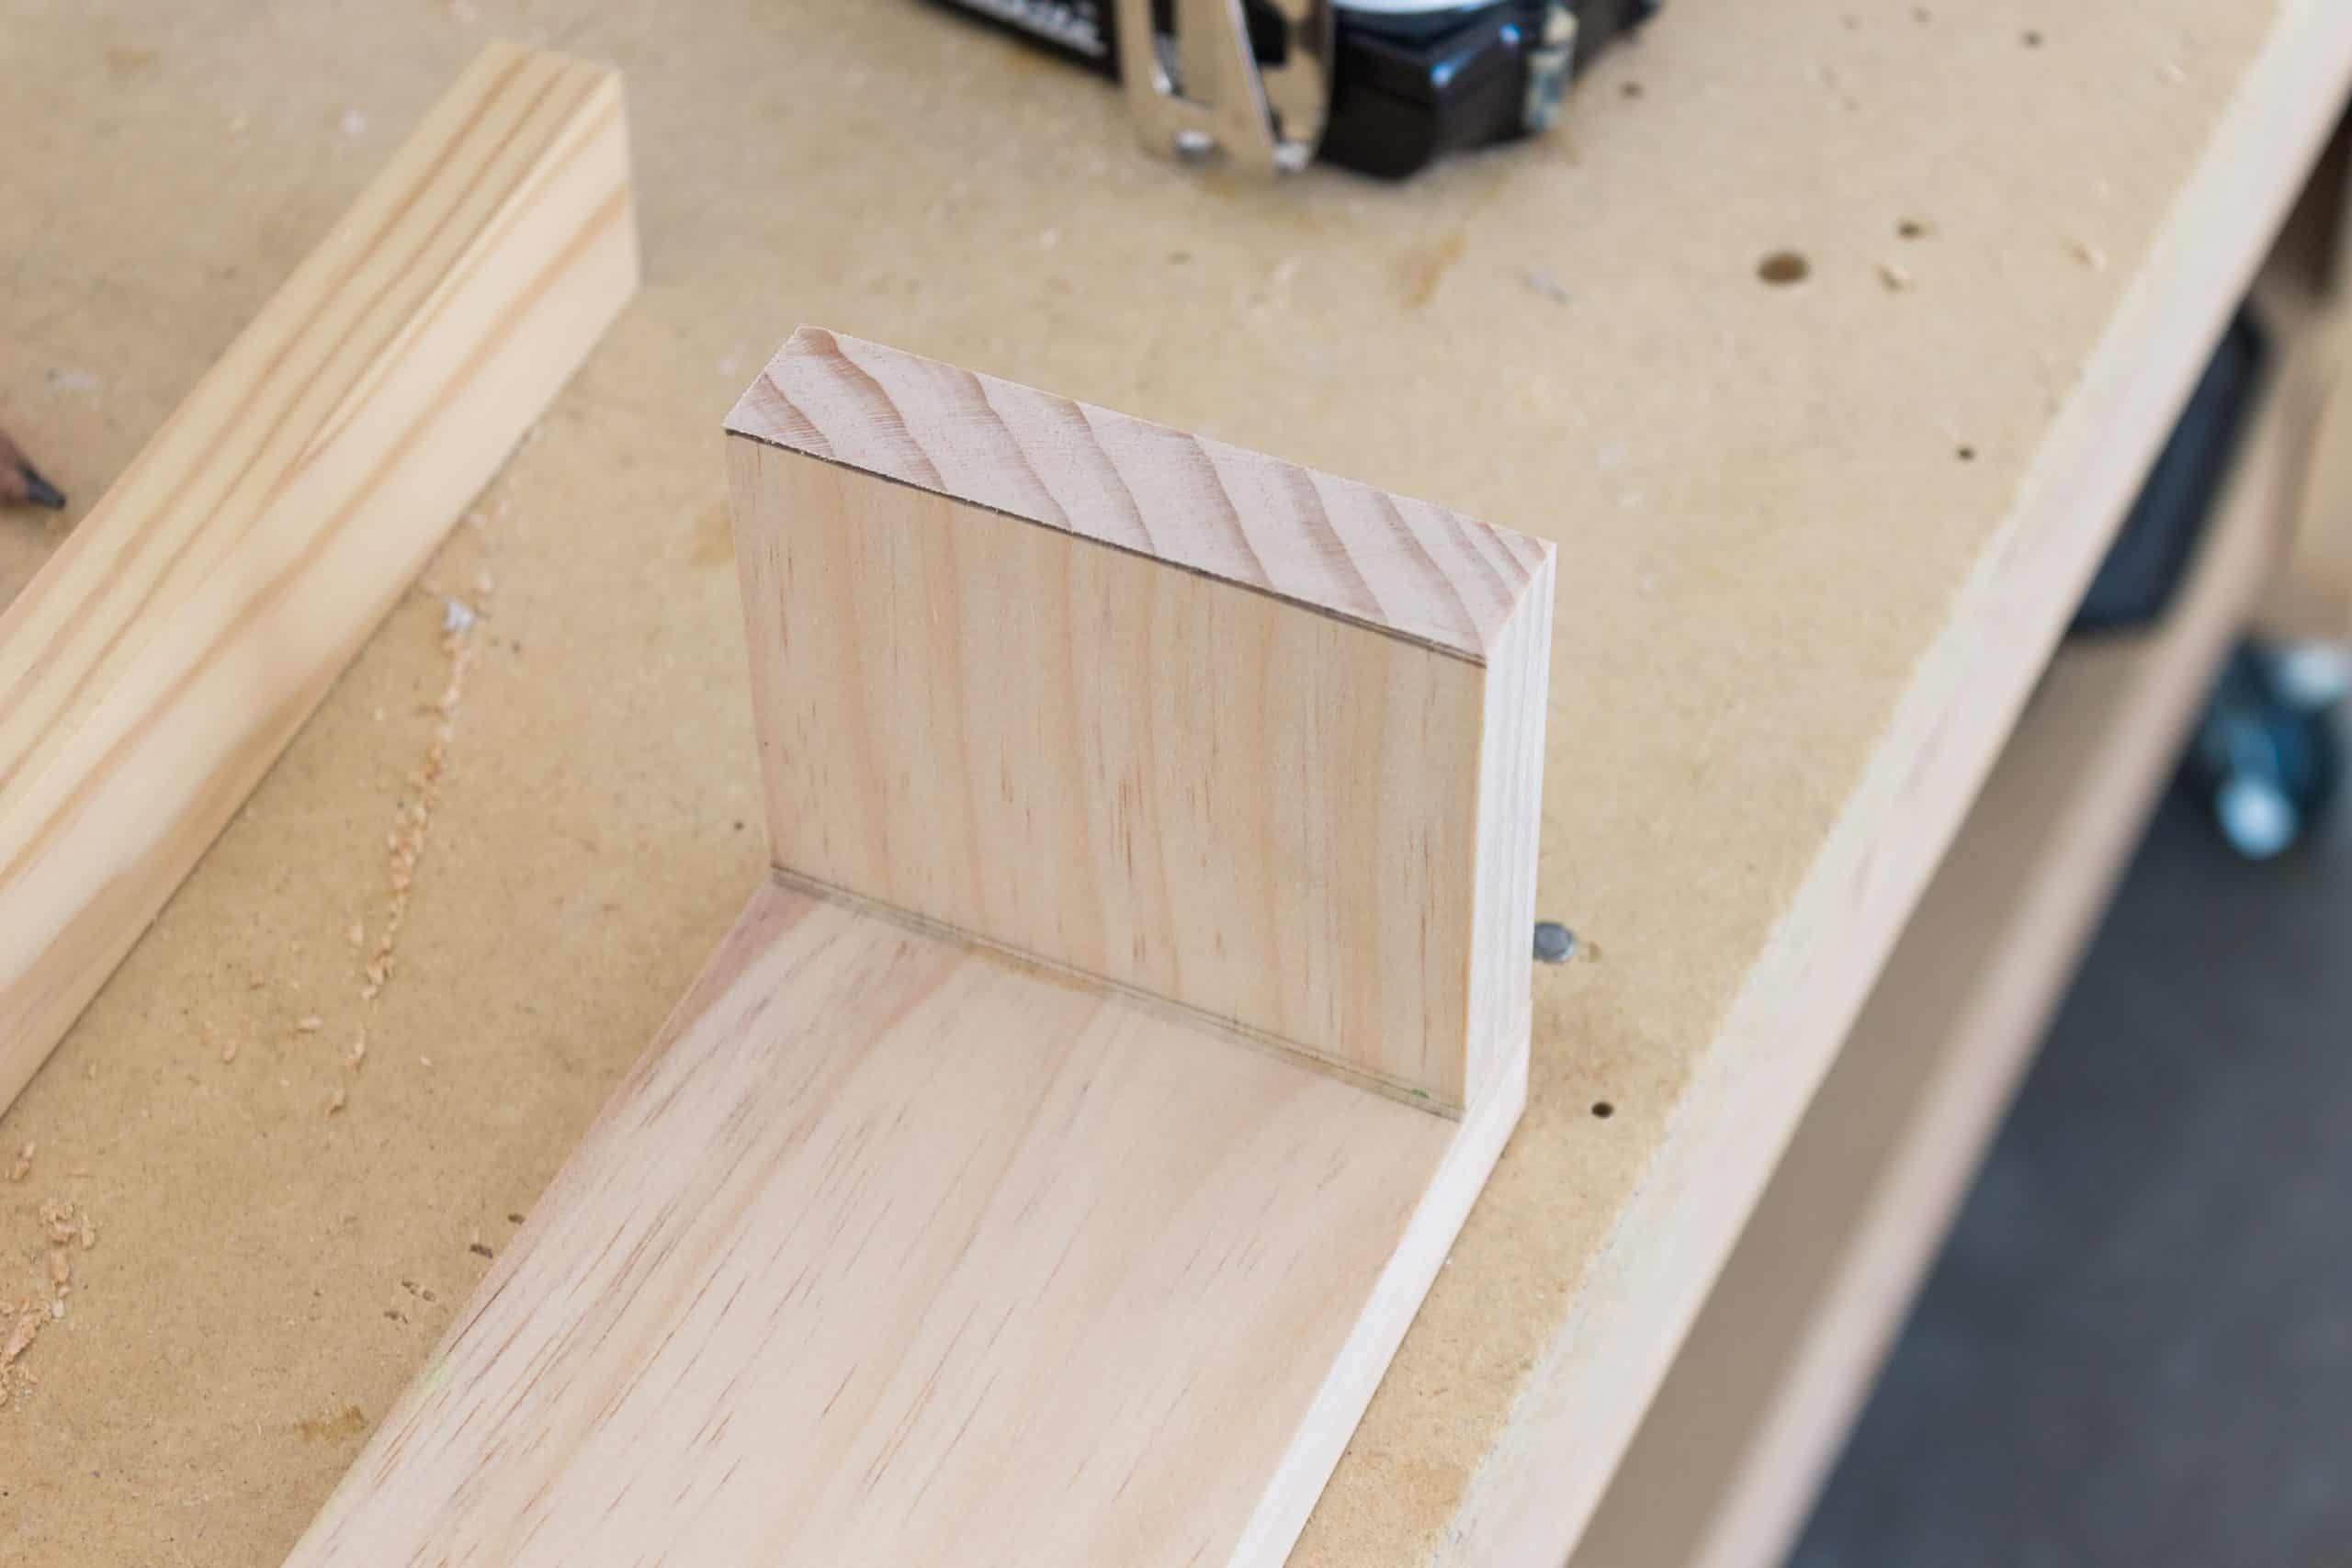
Next, you’ll want to attach the back panel to the shelf bottom. We used our Kreg Jig to screw the back panel down to the base of the shelf. Use wood glue to ensure a tighter bond. Also, be sure to check for square using a triangle. Again, pre-drill holes to ensure the wood doesn’t split.


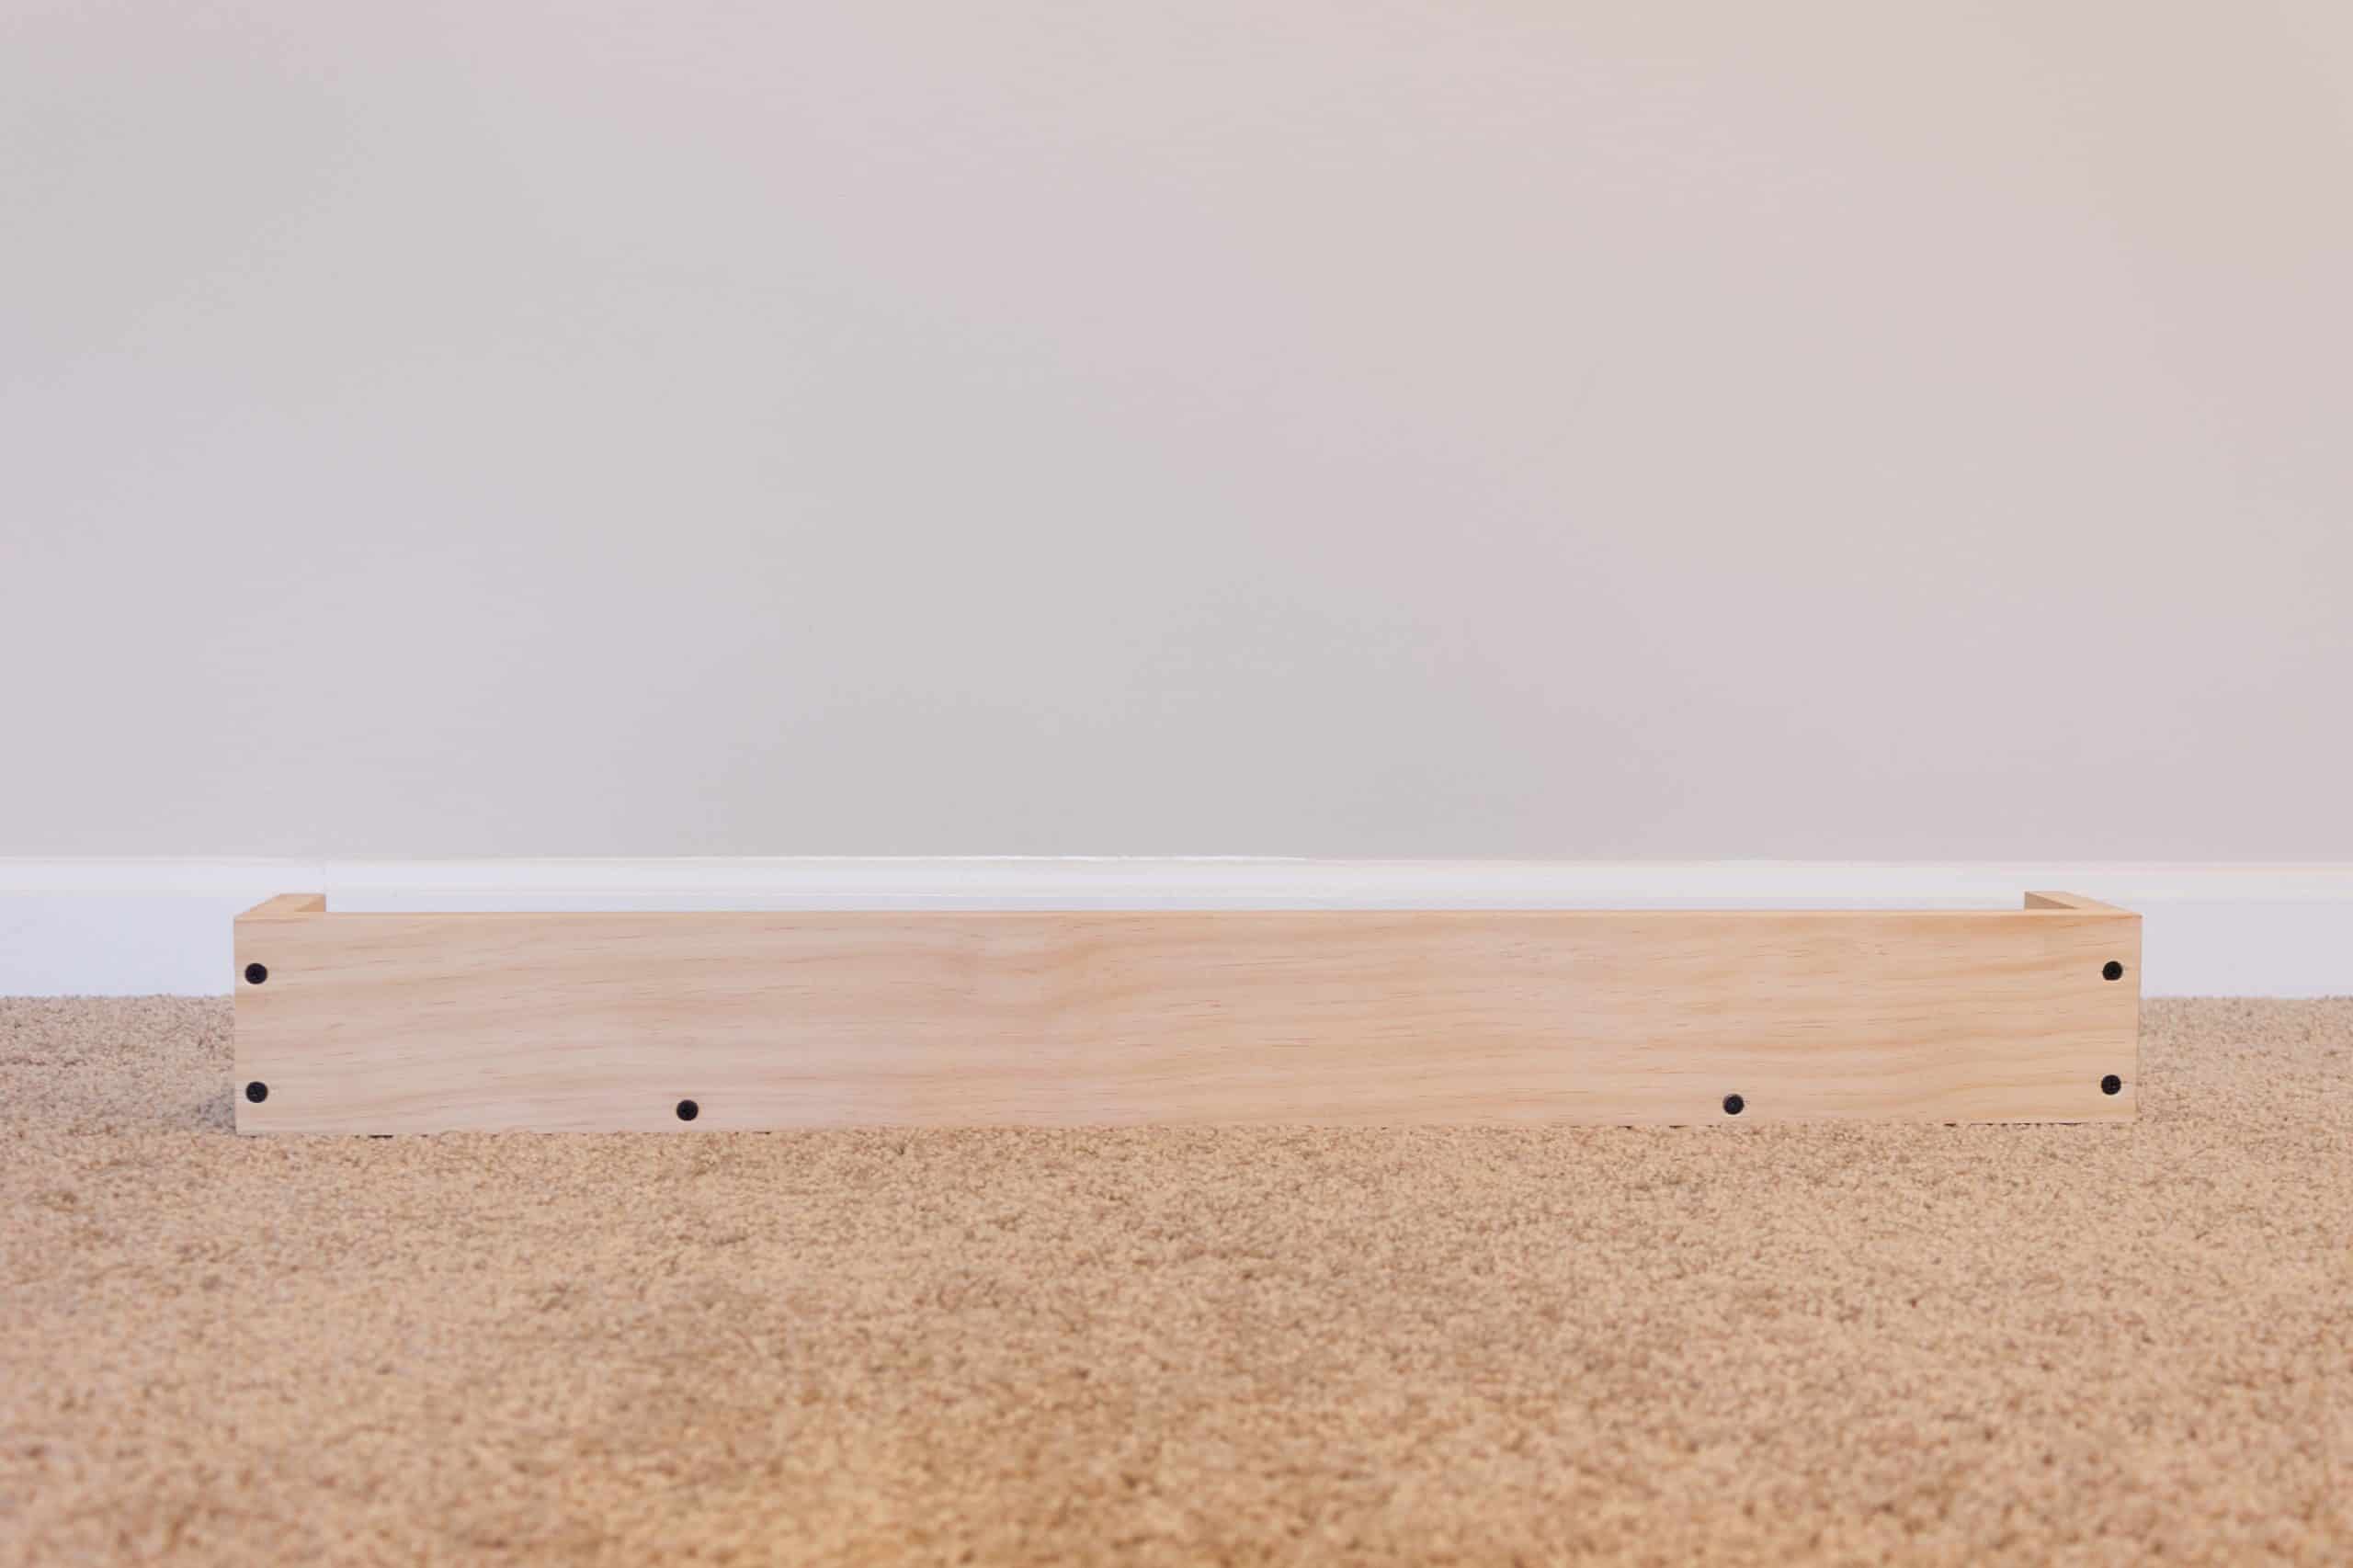

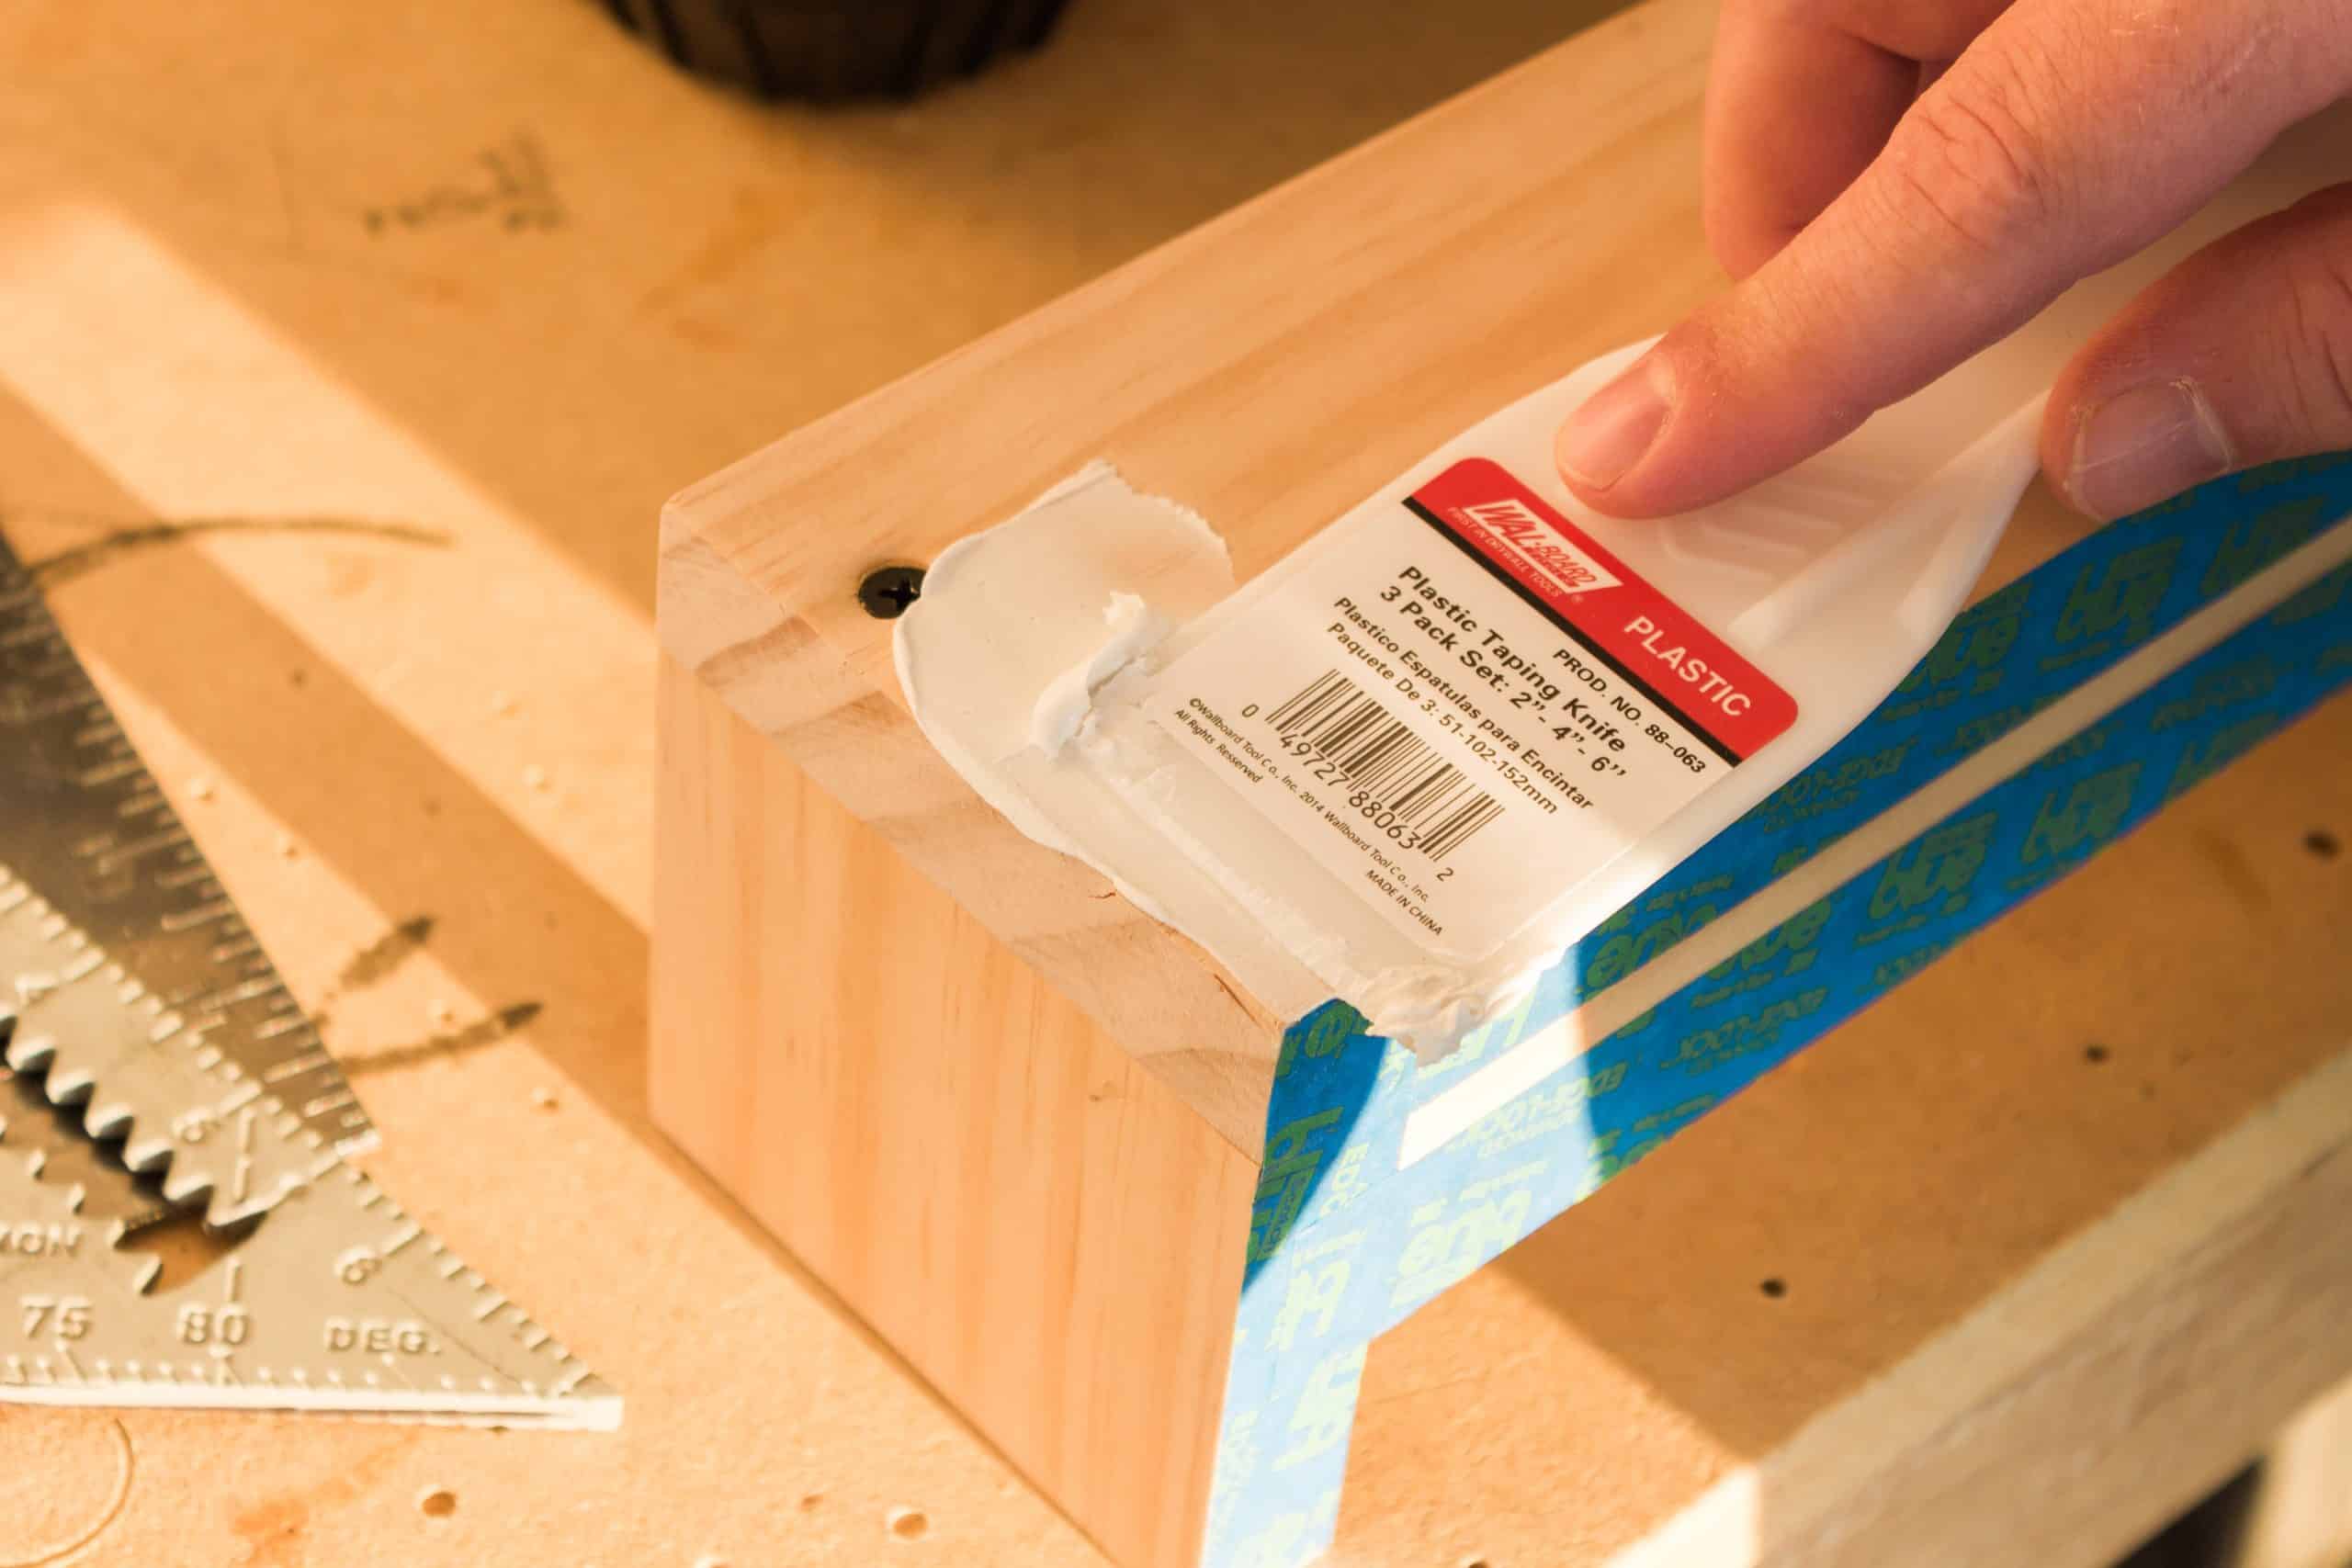
Once side pieces are attached and wood filler is dry, thoroughly sand the shelf. Next, attach the rod to the front using a combination of wood glue and nails. We used 1-inch brown panel nails to attach each rod 2.25″ inches from the very bottom of each shelf. You will definitely need to pre-drill the holes here with a slightly smaller drill bit, or the boards will split.
I actually painted our shelves before attaching the rod, thinking it would save us work in the long run. But the paint ended up preventing a tight bond with the wood glue (a definite, “Duh! Jillian,” moment here…) so definitely build the entire shelf before stain/paint is applied.

Once you’ve attached the rod to the front of the bookcase, then you’re ready to either stain or paint the bookshelf if desired. Use painter’s tape to protect the dowel rod if you’ve chosen to stain it like we did.
To attach each bookshelf to the wall, you’ll first want to find where the studs are in the wall and where that corresponds to the back of the bookshelf. Mark with a pencil as needed. Pre-drill holes and then attach to the studs in your wall using 2-inch screws.

All done! Super easy, right? Again, the front rod is not sturdy enough to be used in an environment where young children may be pulling/pushing on it regularly, so this type of shelf definitely works better for elementary-age and older kids.
All told, we spent under $15 dollars total on this project since we had scrap wood and leftover paint available.
If you build these floating bookshelves, I’d love to see. Please tag me @freeandunfettered on Instagram!
Have any questions? Be sure to leave them in the comments below!


2 Comments
Comments are closed.