DIY: Montessori Baby Activity Gym
Since we’re expecting a baby this holiday season, we are slowly getting things ready for Christmas so the month of December will be one of rest and relaxation (as much as can be expected with a newborn, right?). We’ve compiled the kids’ gift lists and have been ordering some things in advance as they go on sale. We’re still unsure which “big” gift our older daughter (age 3 in February) will be receiving, but for our newborn we decided to make a wooden baby activity gym. I wanted one that could easily be folded up and put away when not in use and that also allowed for the toys to be interchangeable since we plan on utilizing the activity gym with the Montessori mobiles. (More on those in a later post!)
Inspired by The Merrythought’s simple and Scandinavian-inspired baby gym, we headed to the hardware store and purchased (2) 1×2 pine boards and a 3/4-inch pine wooden dowel and then swung by the craft store to pick up some leather lacing.
First, my husband cut the boards to size. You’ll need (4) pieces of wood cut to 26.5 inches in length, and the dowel should be trimmed to 25.5 inches in length.
If you choose to round out the tops of the boards, you’ll want to go ahead and mark where the edges need sanded. Since we don’t have a nice and fancy circle template, we just used something close by to achieve the same result. Whatever works, right?
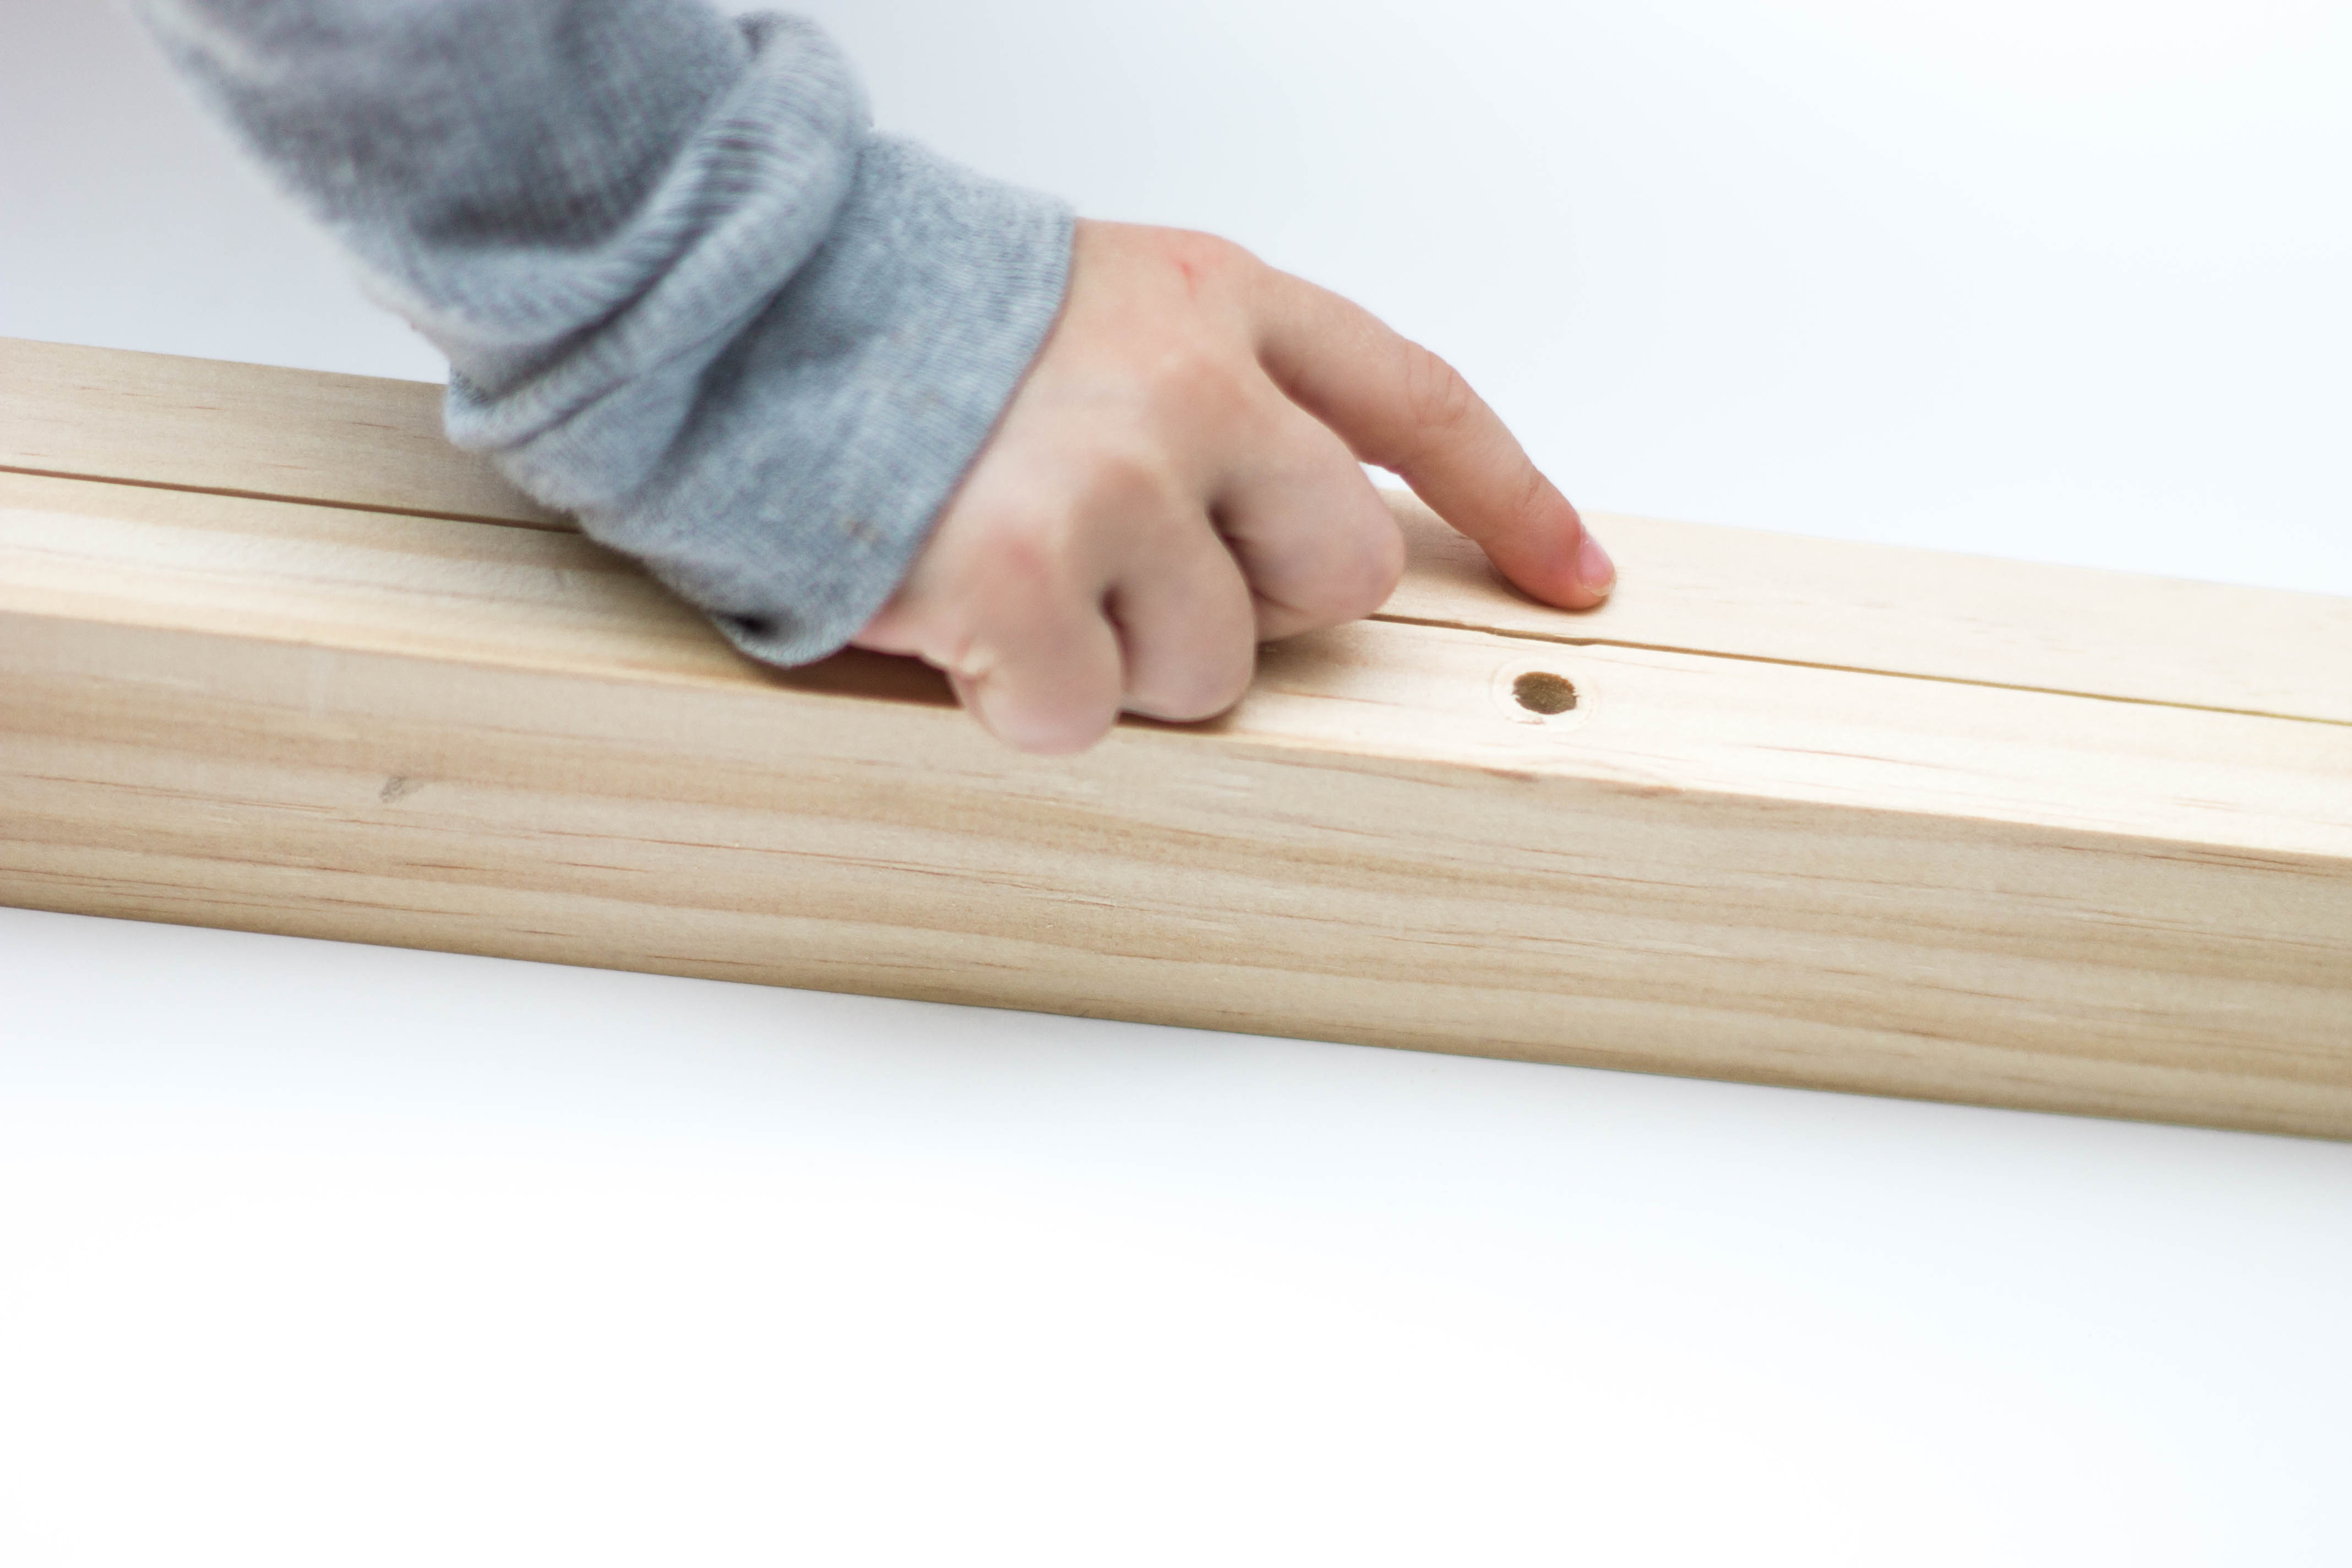
 Then you’ll want to mark the center point where the dowel will be inserted. To easily do this, use the width of your board to create a perfect square from the top of each leg and then connect the diagonals to form an “X”. The center of the “X” is where your 3/4-inch drill bit will be inserted.
 My husband then rounded off the top ends with a sander and cut the holes for the dowel. Drill completely through (2) of the boards but only about 50% of the way through the other (2) boards.
Lilly and I sanded the boards after he was finished cutting and smoothed out the top ends a bit.
And then she took a break to sing and dance…
 All work and no play, right? Children know best!
After the boards were sanded, we then measured 11 inches down from the top of each board and drilled a hole that’s just large enough for the leather lace to be threaded through.

After drilling the holes, go ahead and assemble the activity gym. Use a small amount of wood glue in the outer legs’ top holes to secure the dowel. We used a hammer to tap the dowel through the holes since it’s a snug fit. Just make sure to use a spare piece of wood if you choose to hammer so you won’t leave any indentations on the activity gym itself.
If available, use a clamp to hold the boards together while the glue is drying.
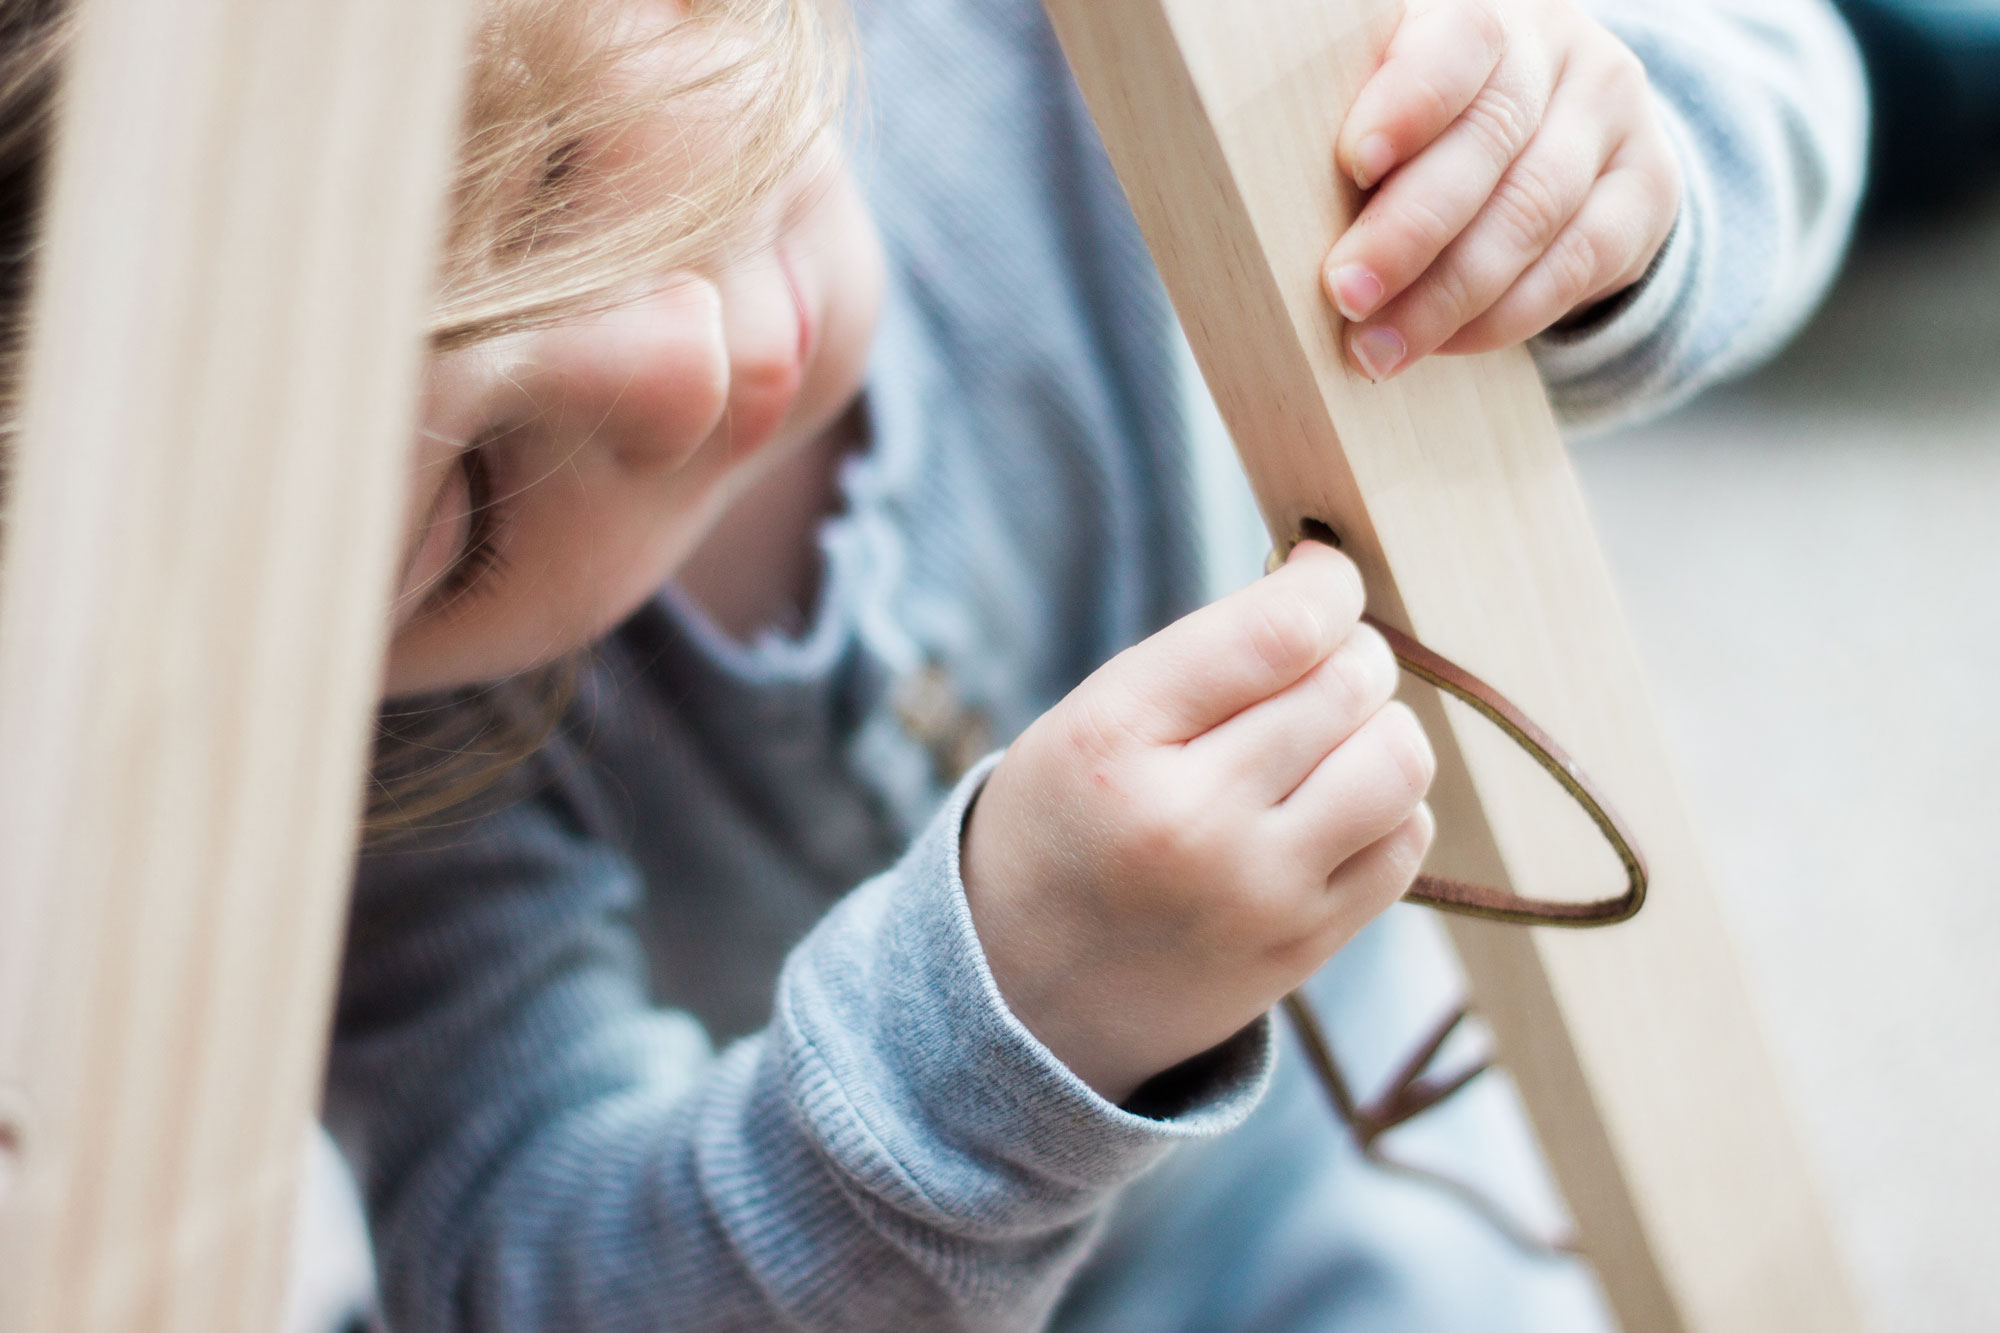
Once dry, decide how far you would like to extend the legs. We chose to extend them about 10 inches. Once you decide upon your desired width, thread the leather through the holes, knot the ends, and then trim if needed.
Lilly really enjoyed threading the leather lace through the holes.
 At this point, you can either choose to drill holes through the dowel and attach some simple toys with the leather lace as seen here, or if you’re a fellow Montessori mama like me, you can optimize the play gym to easily hang the mobiles.
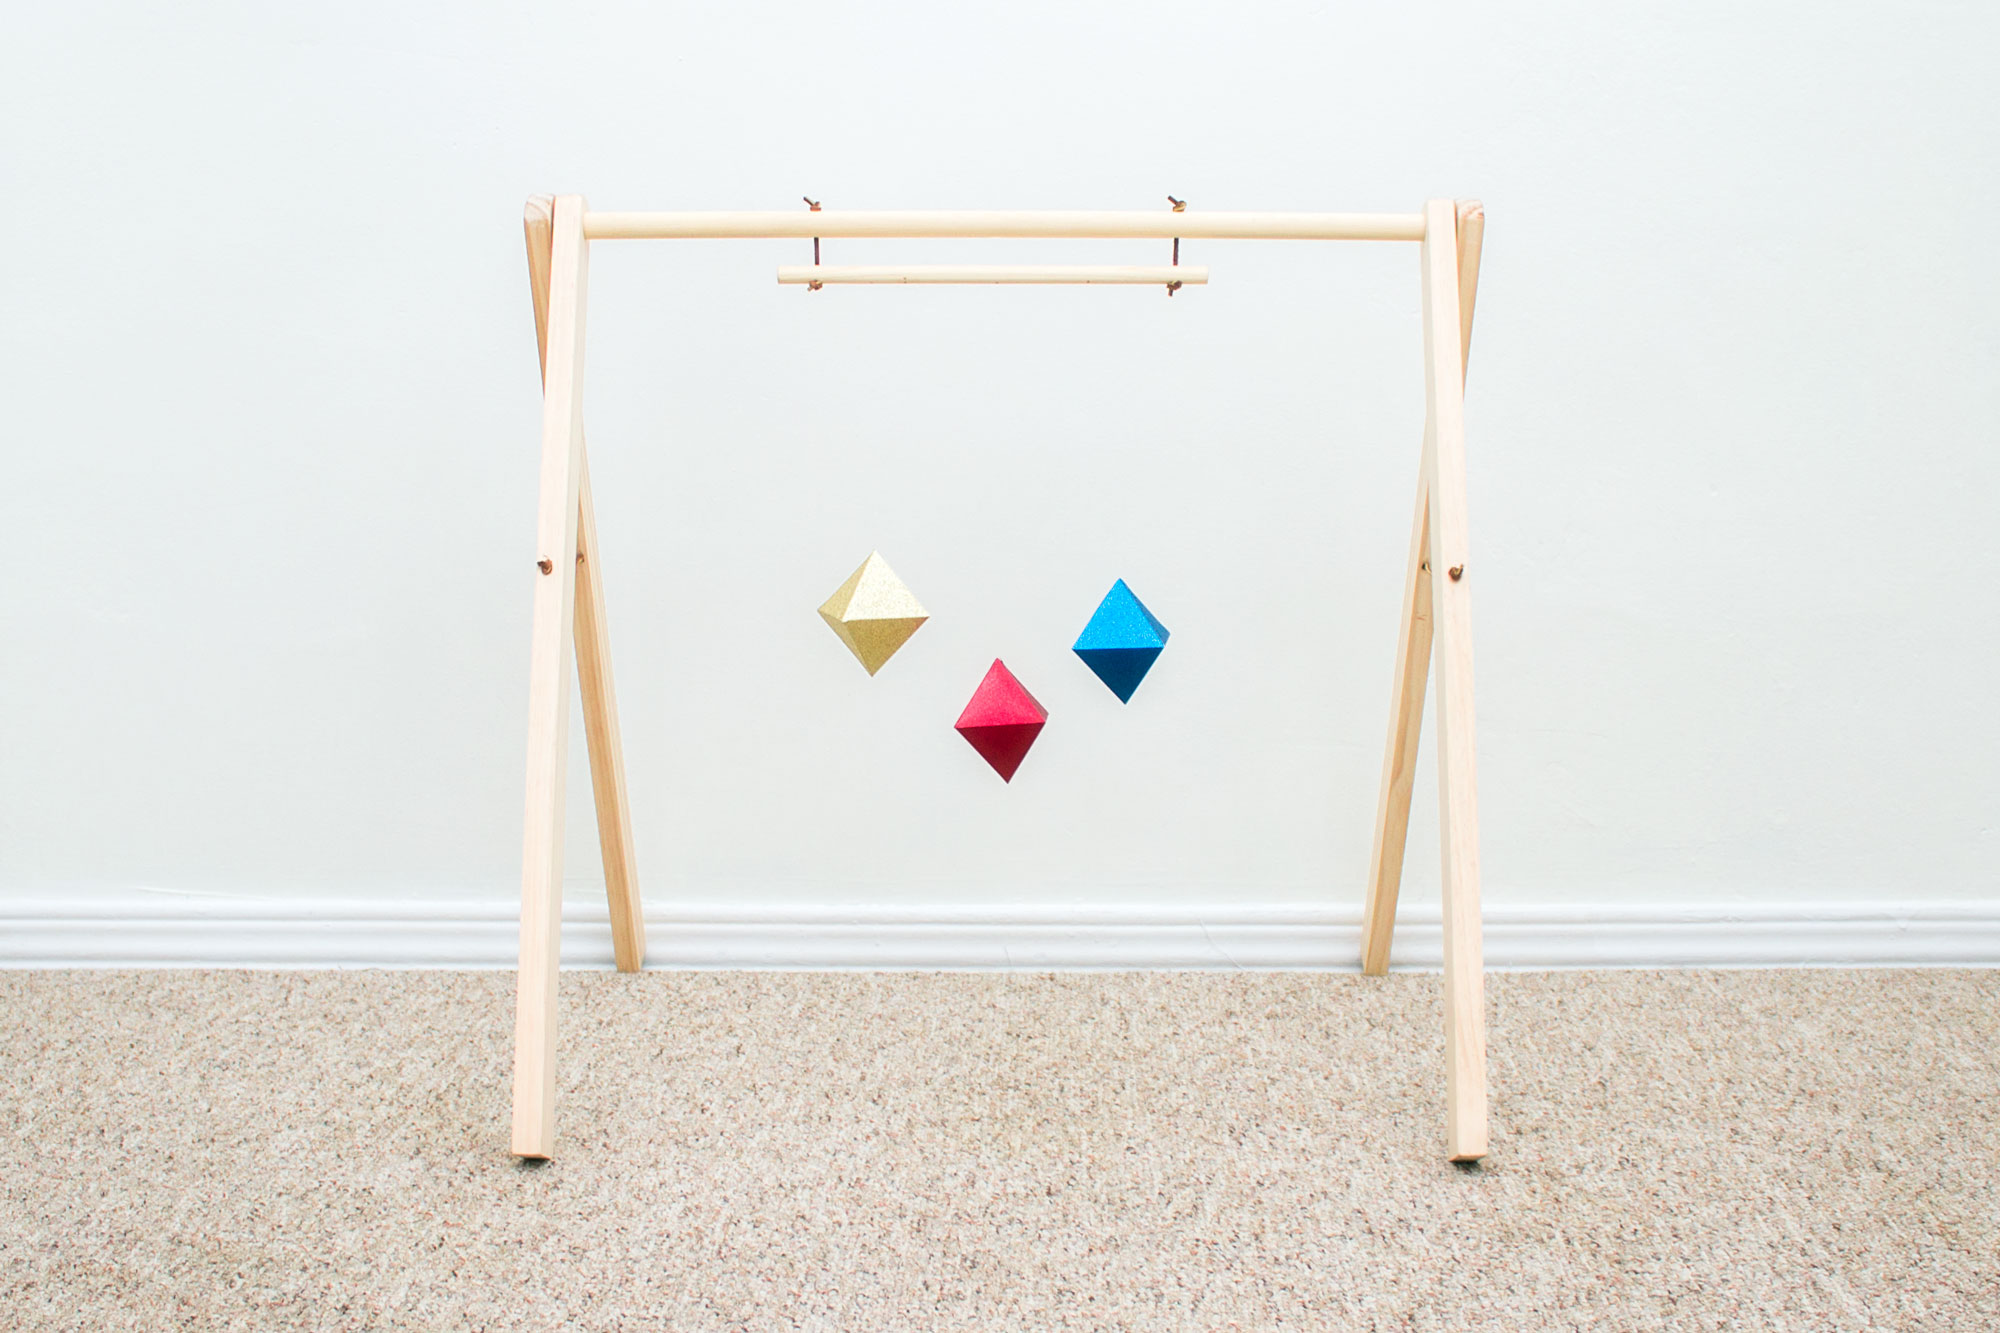
To do so, we cut down a thinner dowel to the length we needed for each mobile. In order to attach the mobile to the activity gym, my husband drilled a hole at each end of the dowel that lined up with the outer holes in the top dowel of the activity gym. Then we simply used leather lace to attach the smaller dowel to the larger one.

Here is the gym with the Montessori Octahedron mobile attached:

My husband drilled smaller holes at equal increments along the thinner dowel to hang the mobile attachments (3 holes for the Octahedron mobile, 5 holes for the Gobbi mobile).
When not in use, I am using IKEA’s Bumerang pants/skirt hangers ($0.99/each) to easily store the mobiles in our coat closet. We just simply undo the leather lacing knot and clip the dowel into the hanger as shown below:  The wooden activity gym cost us about $15 dollars to make. It’s easy to set up and fold away and sturdy enough that our 27-pound daughter can hang off the top bar. In addition to the Montessori mobiles, we plan on utilizing several other Montessori-inspired grasping toys such as the bell and ribbon and the puzzle ball with our activity gym.
We don’t have a big house, so I love that everything can be easily stored in a closet when not in use.
And bonus points for it being a handmade gift because those are the best!
Save
Want to see how we prepared a small Montessori-inspired play area? You can read about that here.


I definitely wanted a play gym because I know that babies love them, but I wanted something that I could love as well.