A Simple IKEA Rast Nightstand Makeover | One Room Challenge – Week 6
And just like that, it’s already Week 6 of the One Room Challenge! For those who have been following along as we makeover our children’s shared bedroom, we are almost finished with all of the DIY projects we had initially planned.
Here’s a quick recap of our projects and progress during the Spring 2020 One Room Challenge.
WEEK 1: A Shared Girls’ Bedroom Makeover — The Plan
WEEK 2: DIY Twin House Headboards
WEEK 3: DIY $60 Corner Bookcase
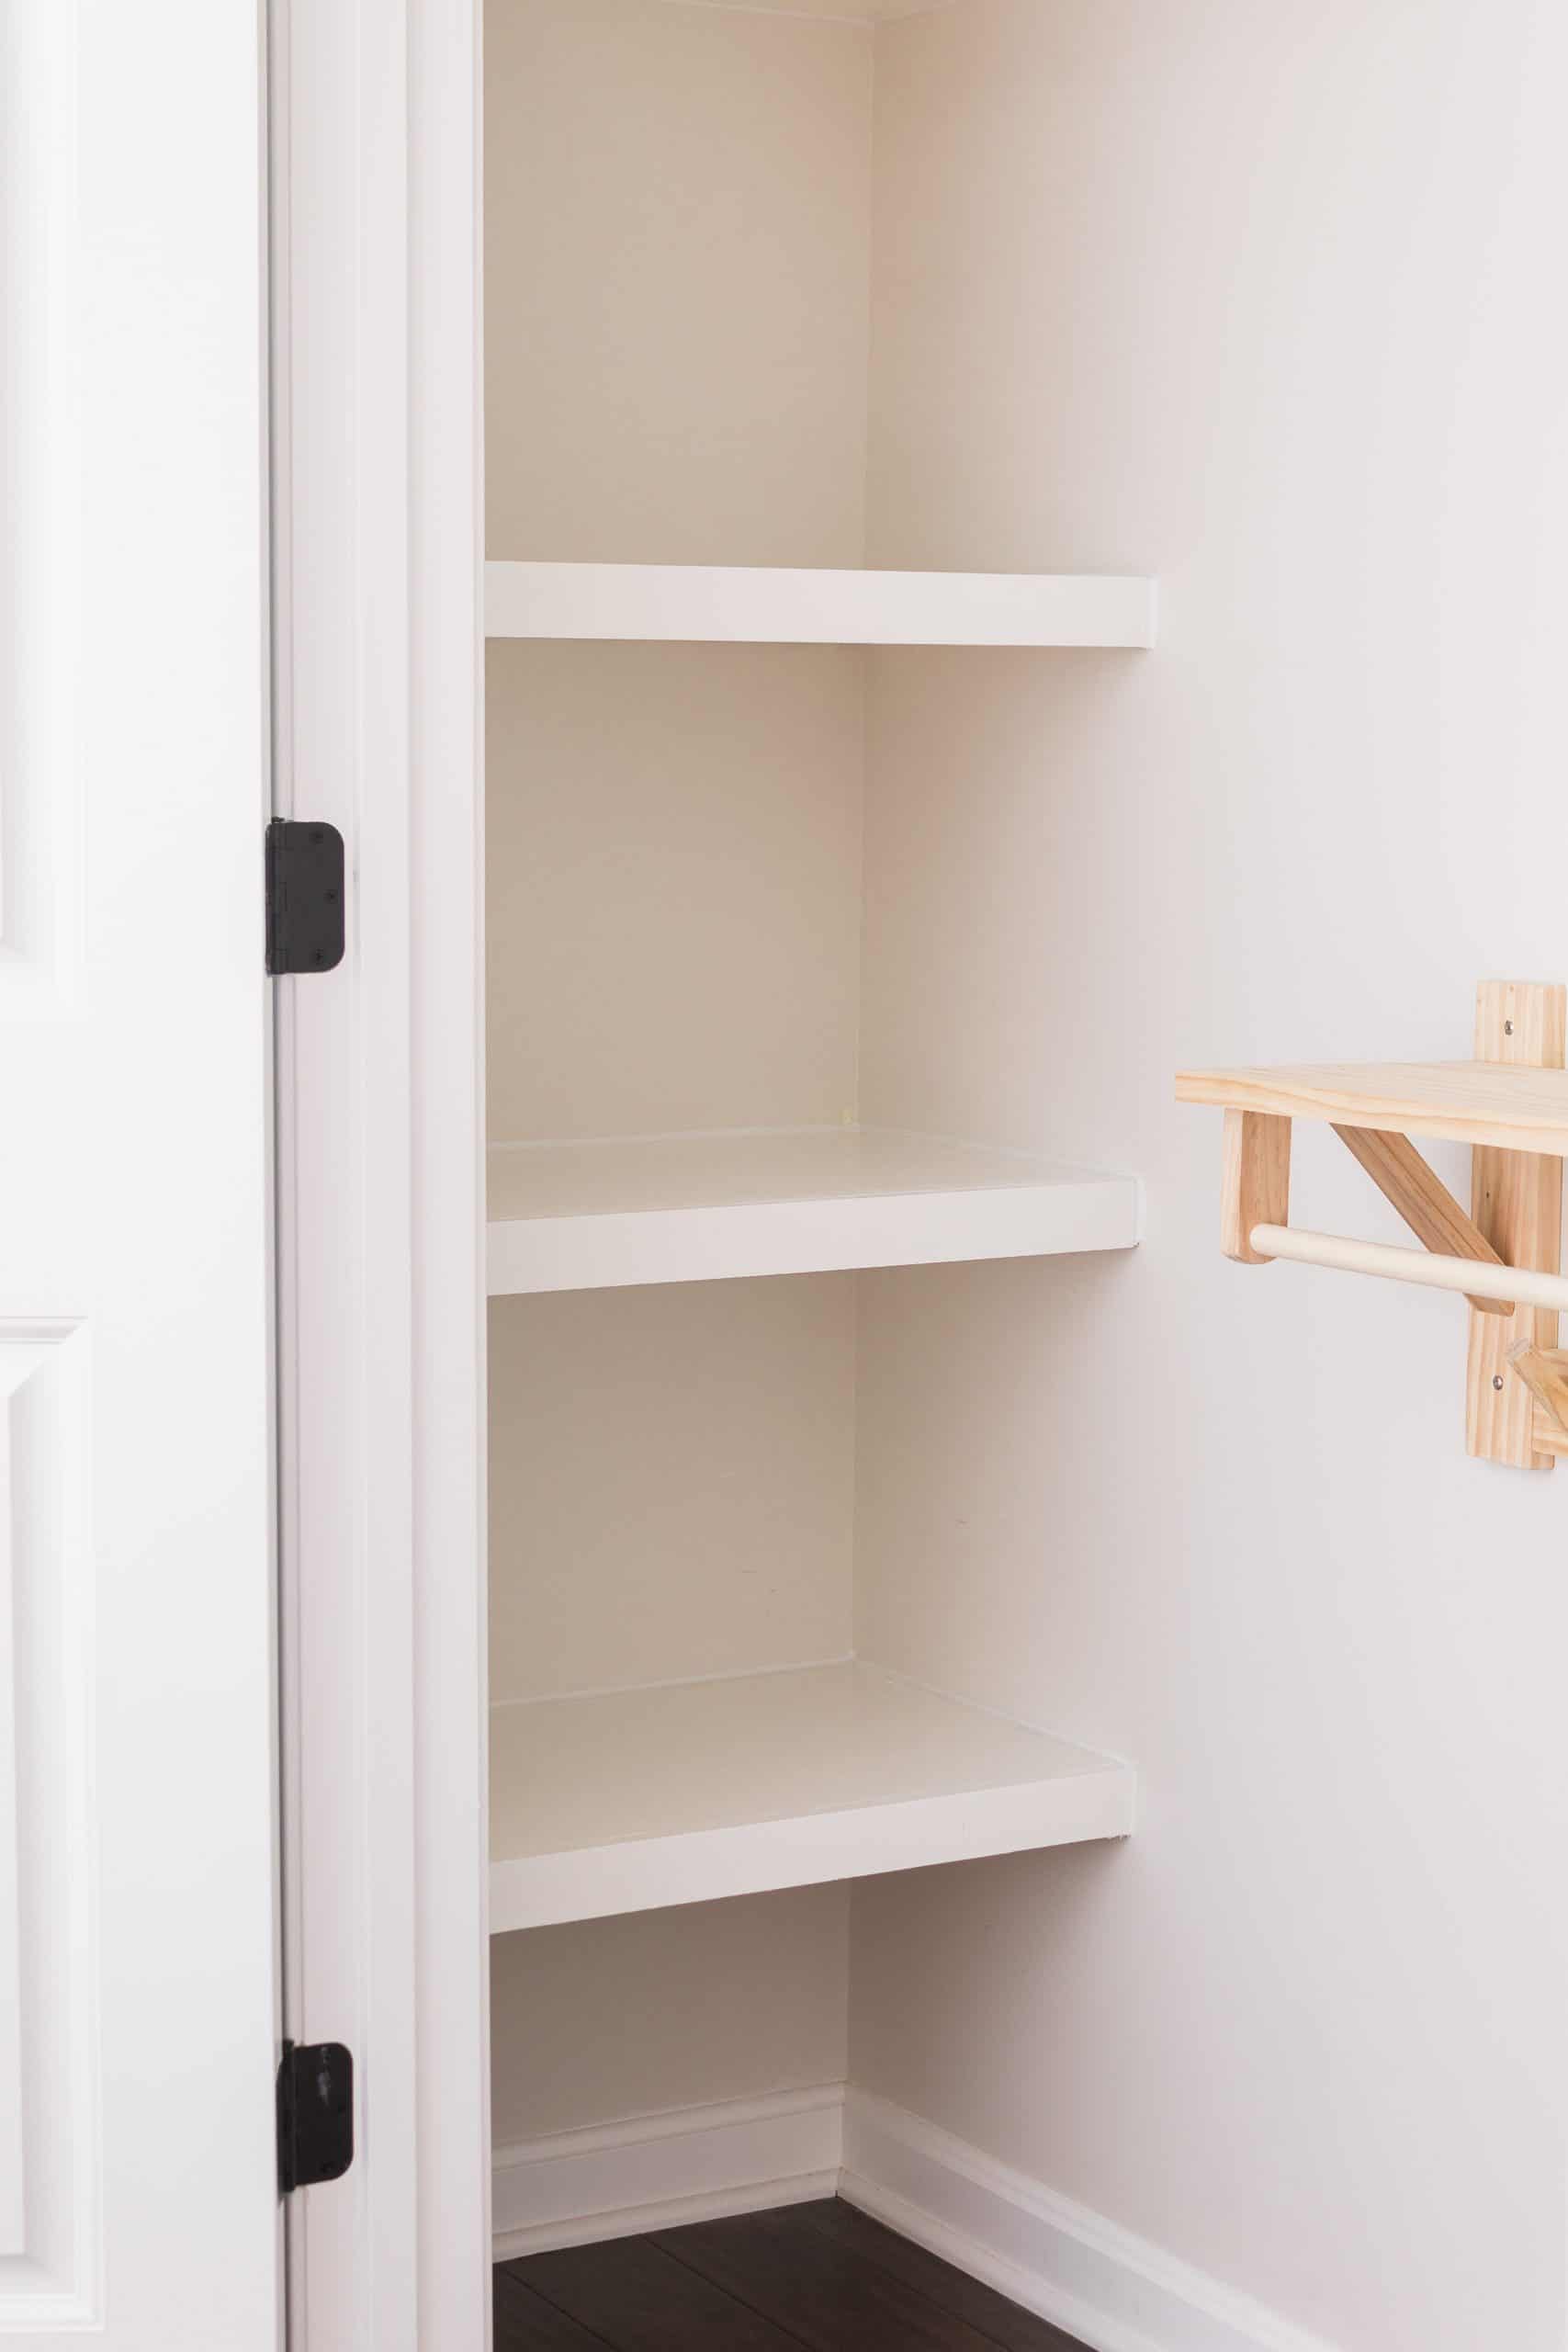
WEEK 4: Easy DIY Built-In Closet Shelving
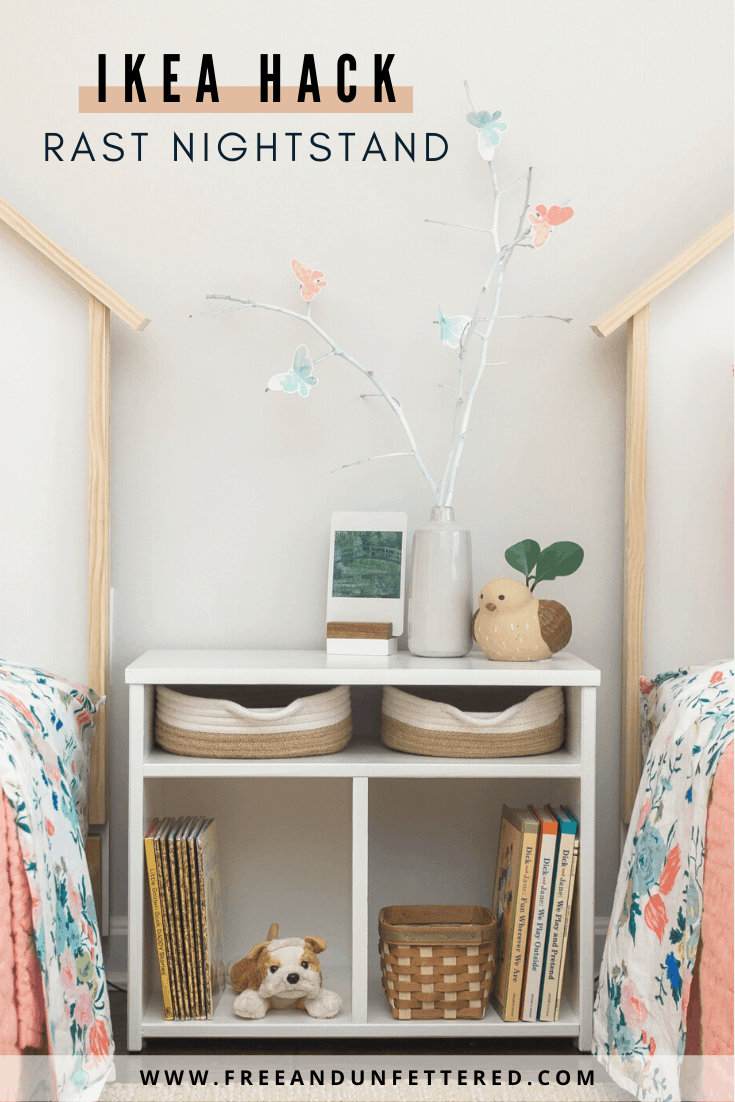
WEEK 5/6: A Simple IKEA Rast Nightstand Makeover
WEEK 7: A Children’s Rolltop Desk Makeover
WEEK 8: The Final Reveal — See the Complete Transformation of Our Shared Kids’ Bedroom!
I’m pleased with how the room is coming along but also a little nervous we still may not get everything finished before the final reveal.

This week, though, I’m going to show you how we took an old nightstand from IKEA and updated it so it would be more functional for a shared kids’ bedroom.
After completing the new built-in closet shelving in Week 4, our scrap wood pile had diminished quite a bit. Originally I had planned for us to build a nightstand from scratch, but this was no longer an option. I really didn’t want to have to go purchase more wood because we’re still trying to limit shopping trips due to the pandemic, and since we splurged on the new bedding and lighting I wanted to keep furniture costs down. Therefore, it was time to get creative.
Thankfully, we actually have two RAST nightstands from IKEA that we purchased when we set up a Montessori-inspired play space for our youngest daughter when she was an infant. Unfortunately, IKEA no longer sells them in the United States and I can’t for the life of me figure out why. We’ve absolutely loved the versatility of the RAST nightstand in our Montessori-inspired home: it’s gone from a small shelf for infant materials to a toddler food preparation station to additional shelving in the kids’ closet. And at just $15 dollars, you can’t beat the price tag!

We’re actually still using one in our girls’ schoolroom for open-ended play materials. But since we completed the built-in closet shelving in Week 4 of the One Room Challenge, it was time to find the other one a new home.

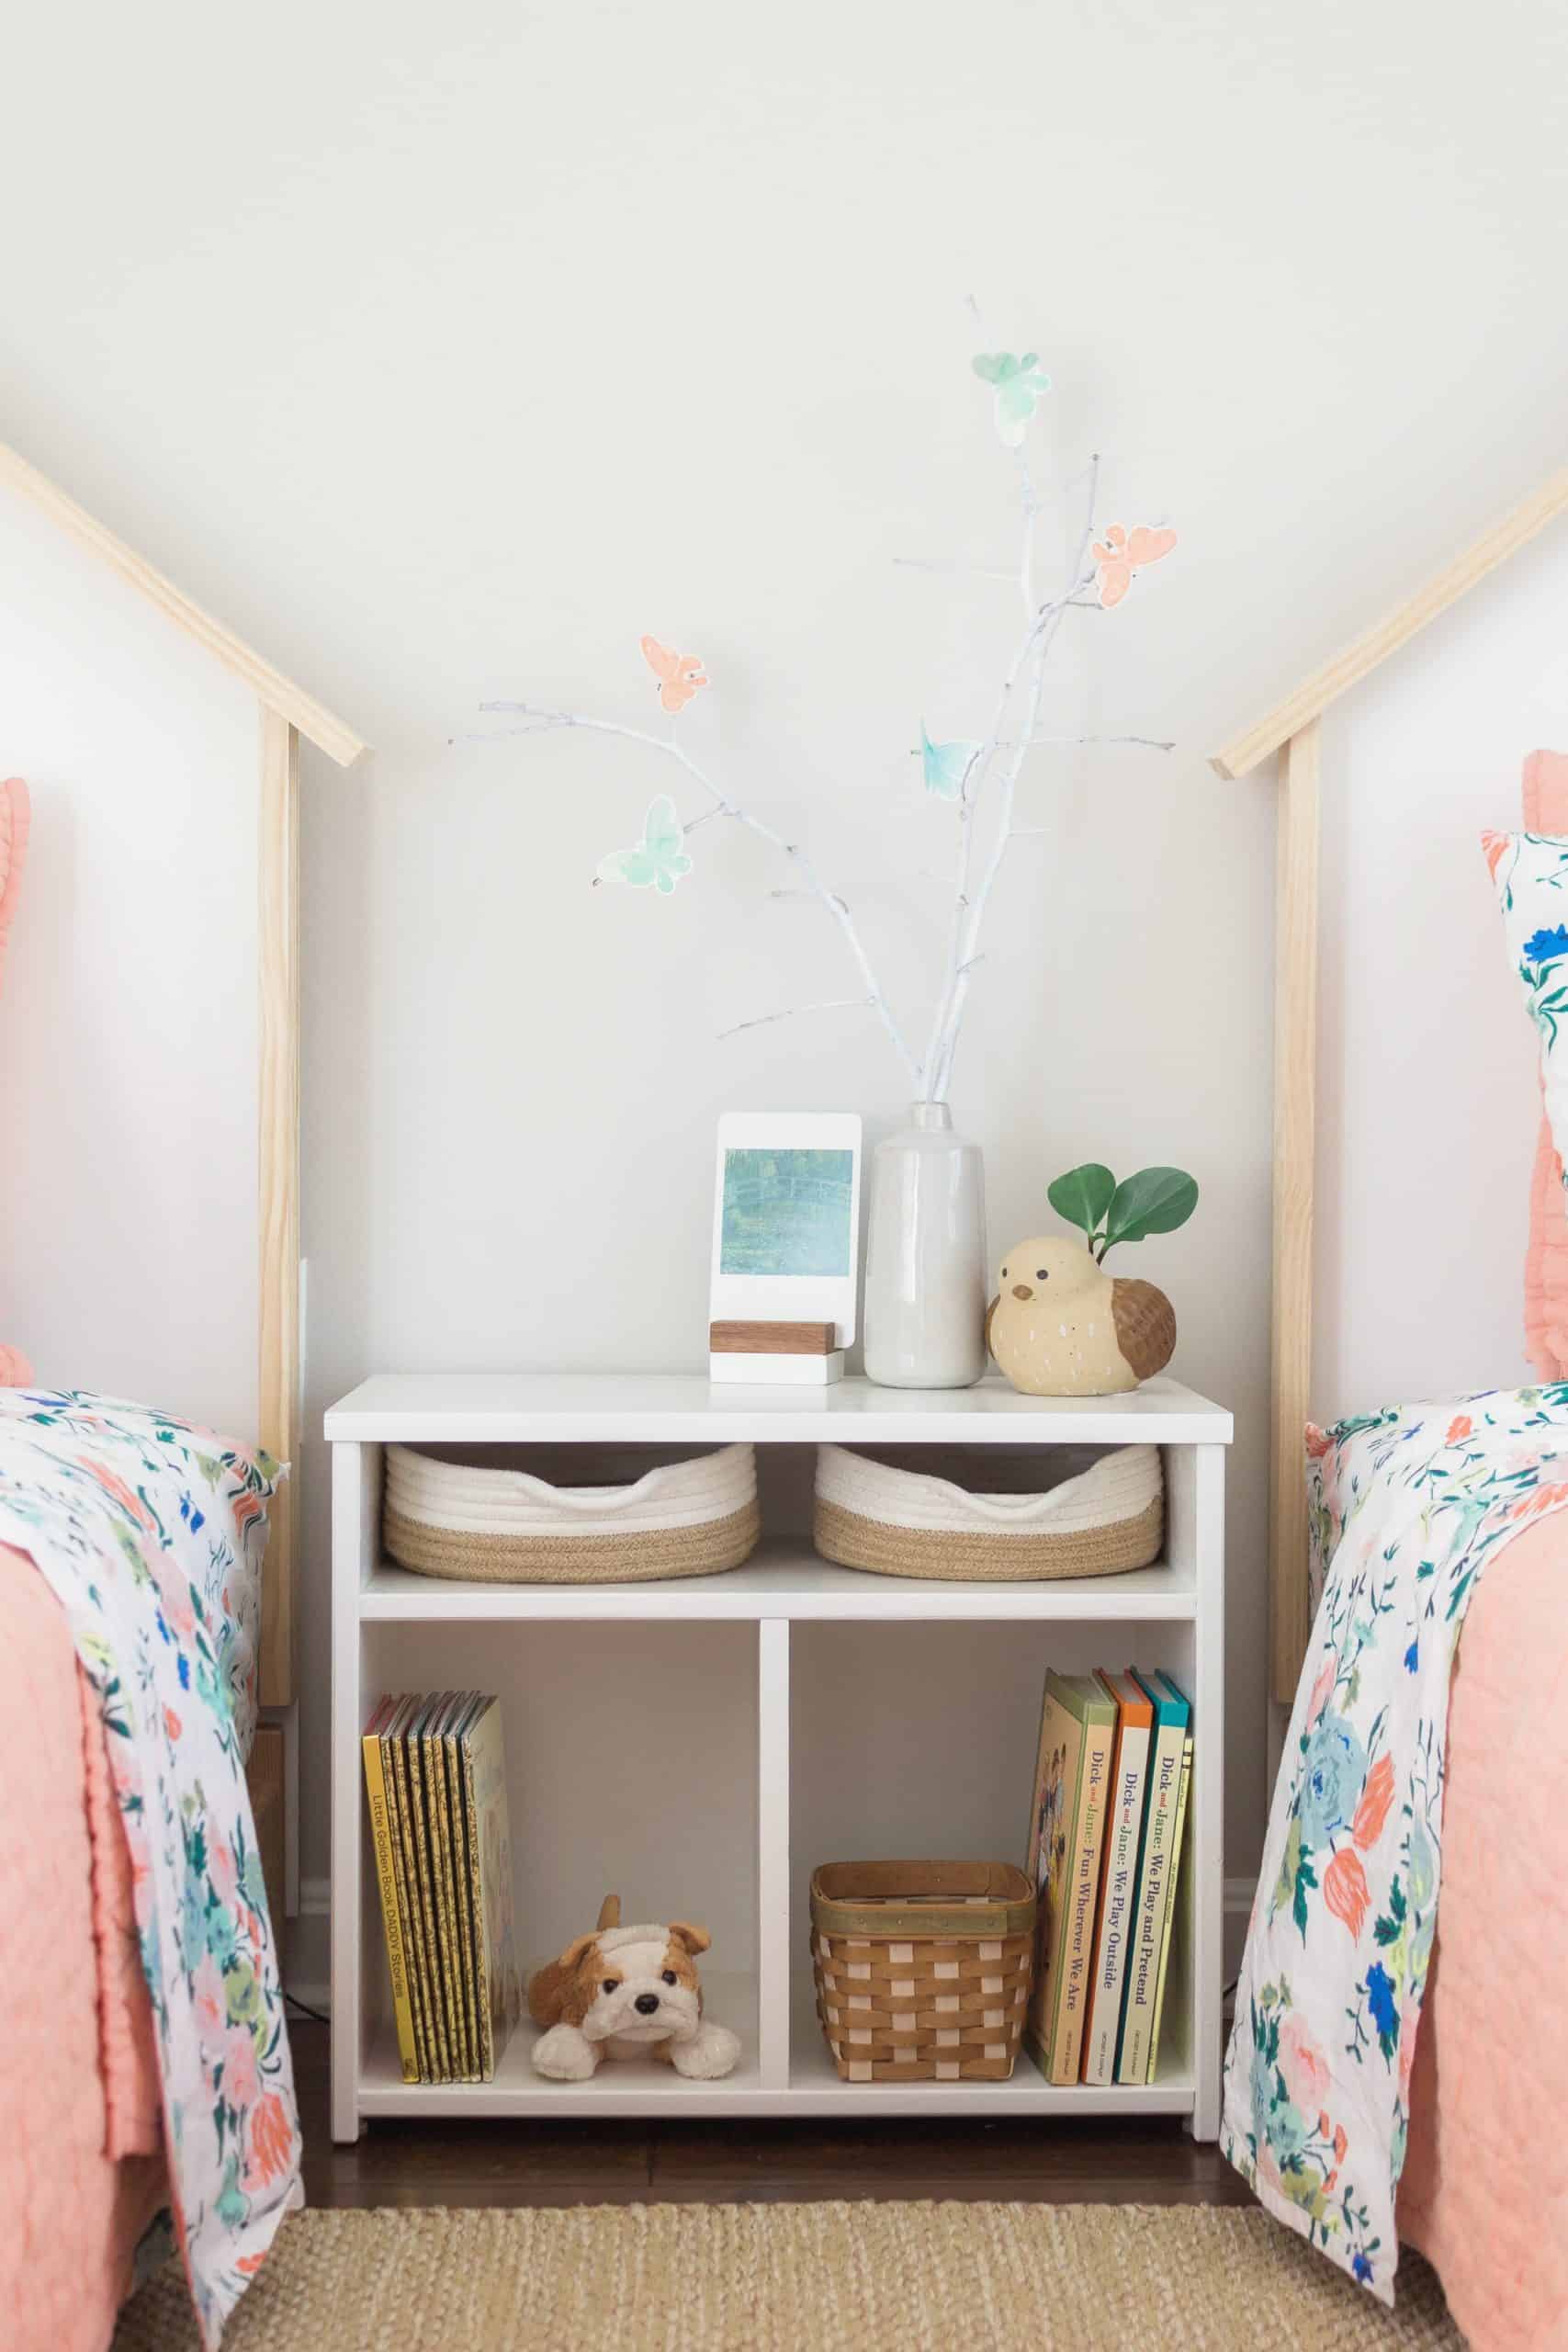
Luckily, the RAST nightstand is actually the perfect height for the girls’ low bed frames. But, let’s face it, it’s a bit plain. Plus, since our kids will be sharing the nightstand, I really wanted it to be divided in some way. I feel it’s important, especially in a shared bedroom, for each child to have special spaces of their own.
So, here’s how we easily updated the RAST nightstand using just a little bit of scrap wood and some leftover paint. For reference, here’s the original RAST:

First, we flipped the RAST nightstand upside down. Next, we cut a piece of edge-glued pine board that we had left over from a previous project to make the new top for the nightstand. We sized it so there would be a small overhang and attached it using wood glue and brad nails. We used a large clamp on each side to ensure it would remain in place while the glue dried.
To make the divider, we again used some of our leftover edge-glued pine board and attached using wood glue and brad nails.

At this point we sanded it down and began to paint. We chose to use the same white paint we used on the girls’ new twin house headboards and corner bookcase we built earlier in the challenge.

We also found a piece of chalkboard panel that was leftover from a prior project, so we cut it to size, painted it white, and attached it to the back of the nightstand. Once the paint dried, I chose to go ahead and apply a couple coats of Minwax Polycrylic Protective Finish for a bit of extra surface protection.

And that’s it! It was a super easy project and cost us absolutely nothing except a little bit of time. Gotta love those type of DIY projects, right?!
UPDATE: Here’s a picture of the updated RAST nightstand in front of the new accent wall feature we added to their bedroom. LOVE!

So, here’s where we currently stand on our One Room Challenge project list:
Build matching twin headboardsBuild a small-space shelving unit for books and knick-knacksDitch the dresser for a nightstand- Refinish a vintage desk to provide our children with a space to write and draw
Install custom closet shelvingAdd a rug to soften the floors- Figure out a lighting solution, particularly one that will help ease fears of the dark
- Create a minimal self-care station
- Decorate all those bare walls!
We’re slowly getting there! I hope to see you back here next week where we’ll be featuring our vintage children’s secretary desk makeover.
If you haven’t yet, be sure to check out all the other participants in this year’s One Room Challenge. If you can take a minute or two and give a couple of them some encouragement that’d be wonderful as well! We’re getting closer and closer to the Final Reveal!


Love a good IKEA hack! And those thin little baskets are perfect!!
This turned out so cute, and I love your little one helping paint it! Teach them young 🙂
Oh, yes, she wouldn’t have it any other way! Haha!
It’s been so fun following along on this space!