A Shared Girls’ Bedroom Makeover | One Room Challenge – Week 1
It’s officially the first week of the One Room Challenge! Have you heard of it? Originally created by Linda of Calling it Home in 2011, the One Room Challenge is a biannual interior design event that challenges its participants to completely transform a room over the course of six weeks, while documenting and sharing their progress along the way.
Now, this season’s event will be a little different than usual due to COVID-19. Rather than six weeks, it’s been extended to eight. And because we’re all responsibly practicing social distancing and avoiding unnecessary shopping trips, I imagine there will be a lot more creativity in using what is already available and re-purposing what we can.
Here’s a quick recap of our projects and progress during the Spring 2020 One Room Challenge.
WEEK 1: A Shared Girls’ Bedroom Makeover — The Plan
WEEK 2: DIY Twin House Headboards
WEEK 3: DIY $60 Corner Bookcase
WEEK 4: Easy DIY Built-In Closet Shelving
WEEK 5/6: A Simple IKEA Rast Nightstand Makeover
WEEK 7: A Children’s Rolltop Desk Makeover
WEEK 8: The Final Reveal — See the Complete Transformation of Our Shared Kids’ Bedroom!
This will be our first time participating in the challenge, and we’re really excited to share with you all the details as we make over our children’s shared bedroom! We tend to hop from project to project in different rooms, so we’re hoping this challenge helps motivate us to bring one room to completion.
First, if you’re new here, welcome! I’m Jillian and my husband’s Eric. We have two small children, ages 3 and 6. Shortly after our oldest daughter was born I discovered Maria Montessori and her thoughts on child development, and, as a result, most of the projects we undertake in our home do incorporate child-friendly design principles.
Our family began our DIY journey a little over four years ago, and we really enjoy learning and challenging ourselves with new builds whenever we have a bit of extra time and money.
the floor plan
Let’s jump straight to their room, shall we? Our daughters will be helping us throughout this design challenge. They’re all about color right now, so we’ll try our best to accommodate their wishes, while making sure the design plan remains neutral enough to grow with them over the next few years.
They share a small bedroom that’s 12′ x 11′ ft. It’s basically a builder grade bedroom without much character at this point.
Our biggest challenge in this room is definitely the limited amount of wall space available.
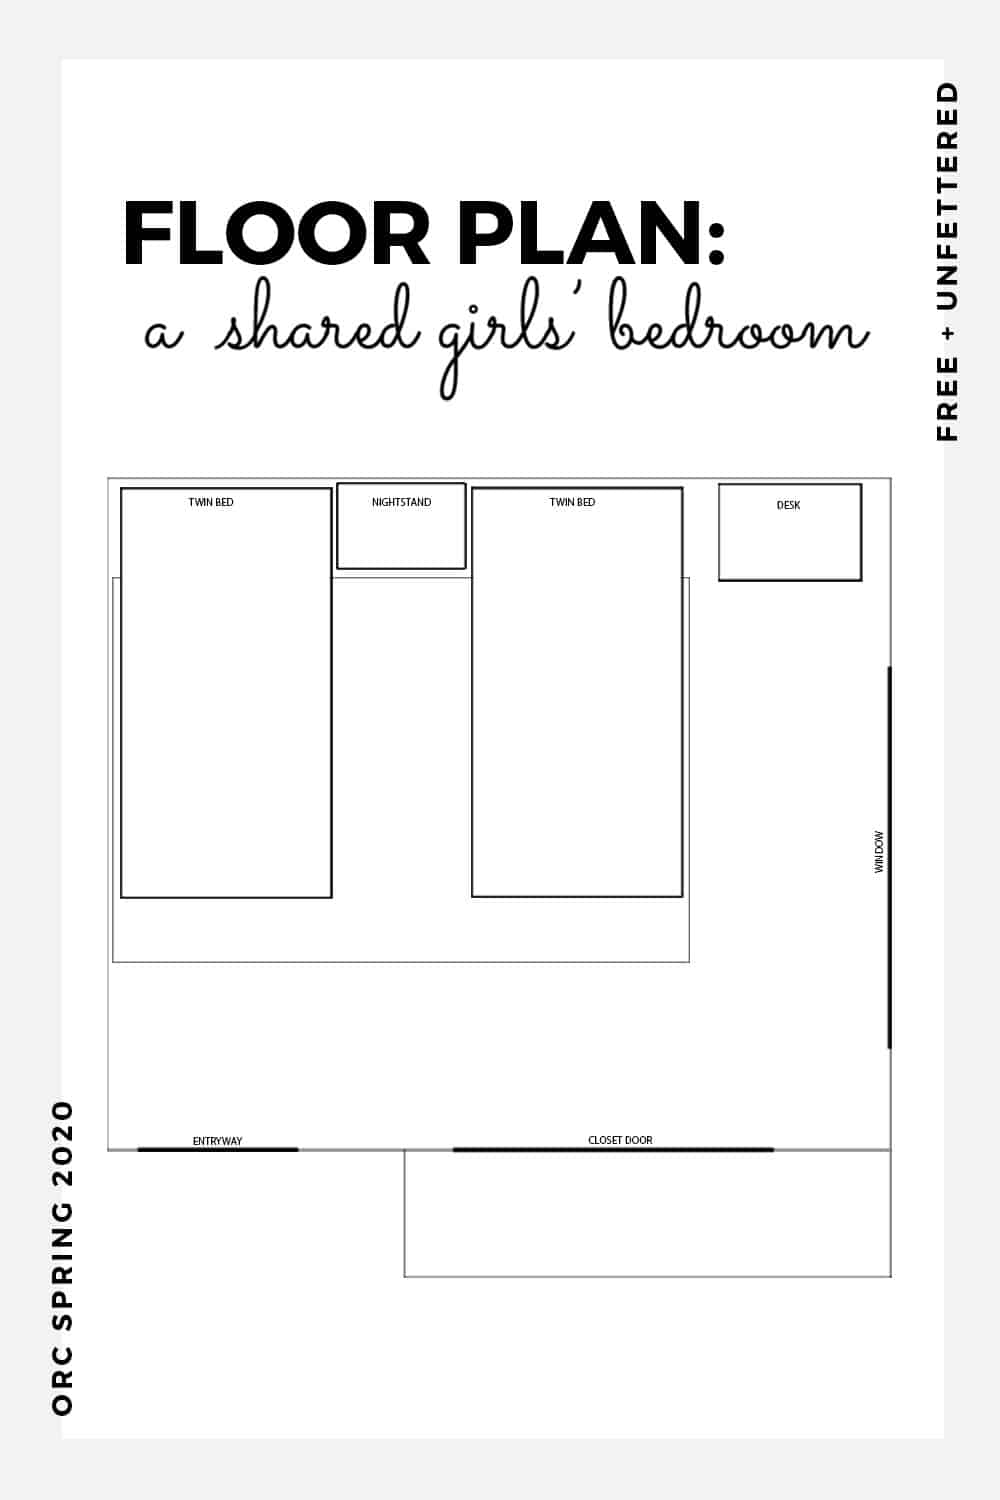
As you can see from the floor plan, there’s a large window occupying most of one wall and a closet taking up the other, leaving us with only two viable walls to put furniture against. But only one of those walls is actually wide enough for both beds, so we don’t have any option of moving them into any other arrangement at this time.
As much as I’d love to switch to bunk beds to free up more space in their room, neither of our children are independent sleepers yet and I’m not crawling into a top bunk at 2 a.m. So, for right now we’ll continue to use their current beds: IKEA’s UTAKER bed frames.
We actually purchased their bed frames right after we moved into our home about 18 months ago because (1) they’re low to the ground which was perfect for our then 1-year-old daughter and (2) they actually snap together which made it more comfortable for me on the nights I ended up sleeping with them.
the ‘before’
Here’s a quick ‘Before’ picture of their bedroom from the doorway:
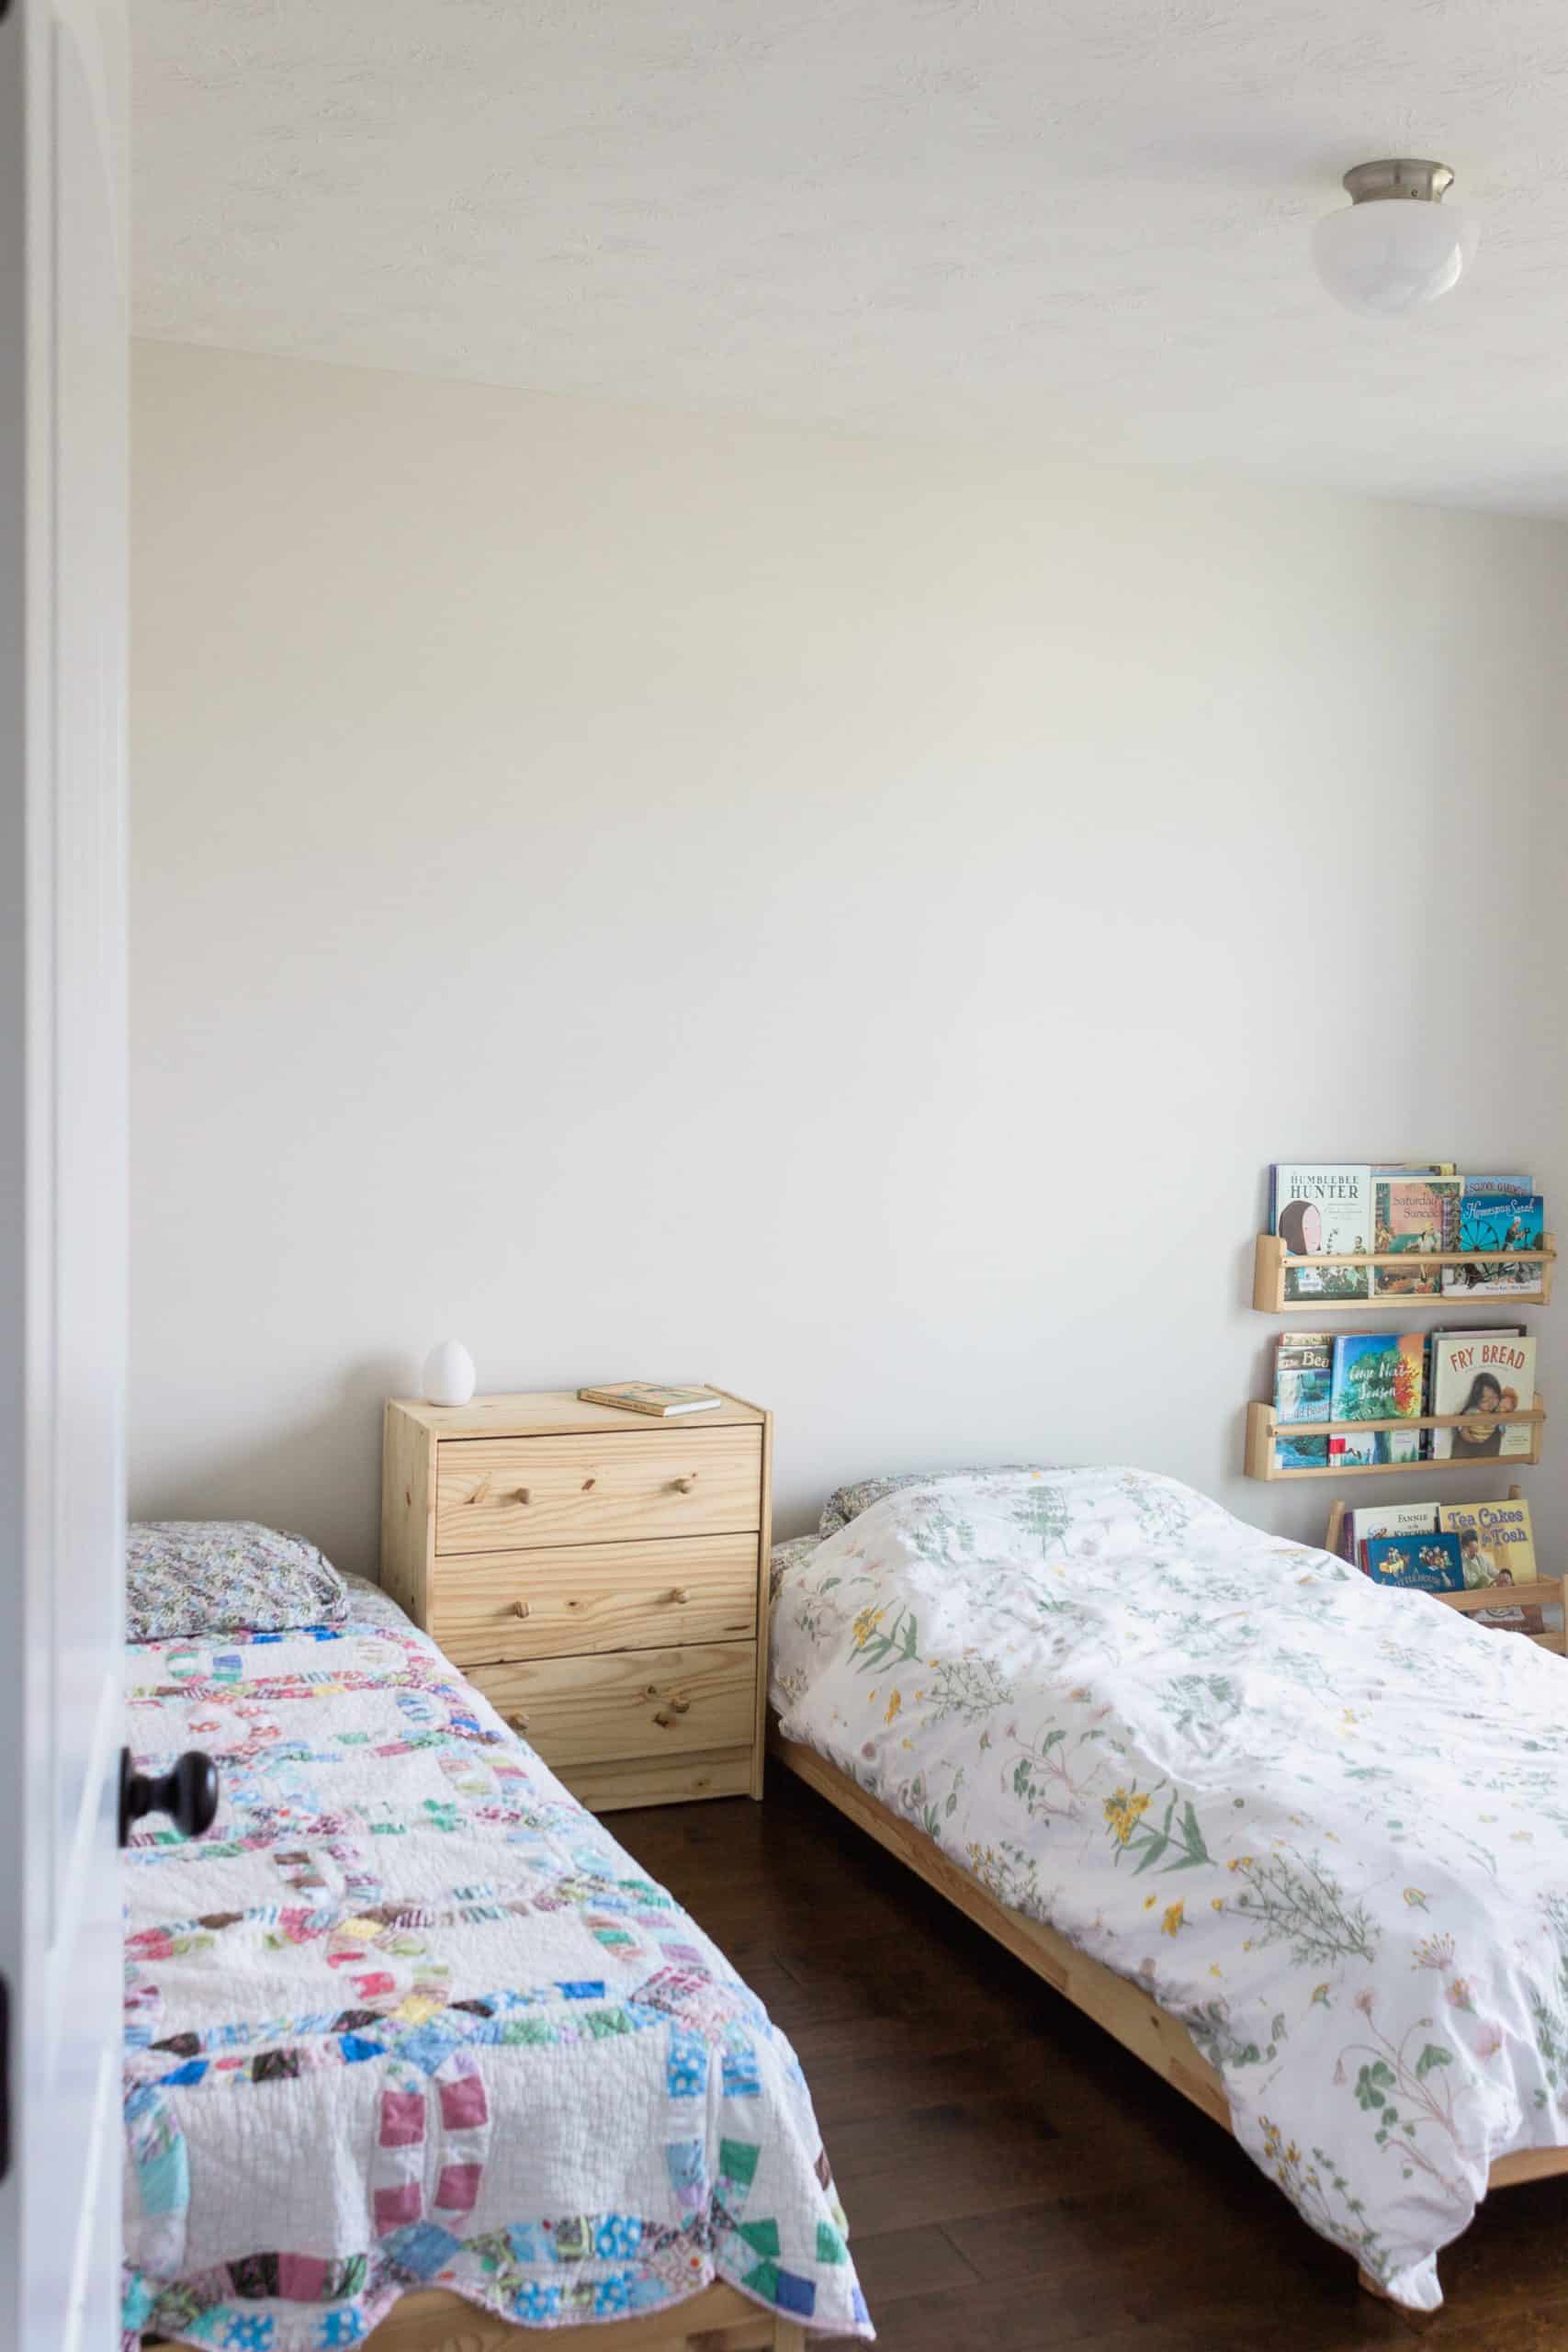
As you can see, the UTAKER beds are very, very minimalist. Add to that, there’s currently a huge blank wall behind the beds that’s just screaming, “Please decorate me!”
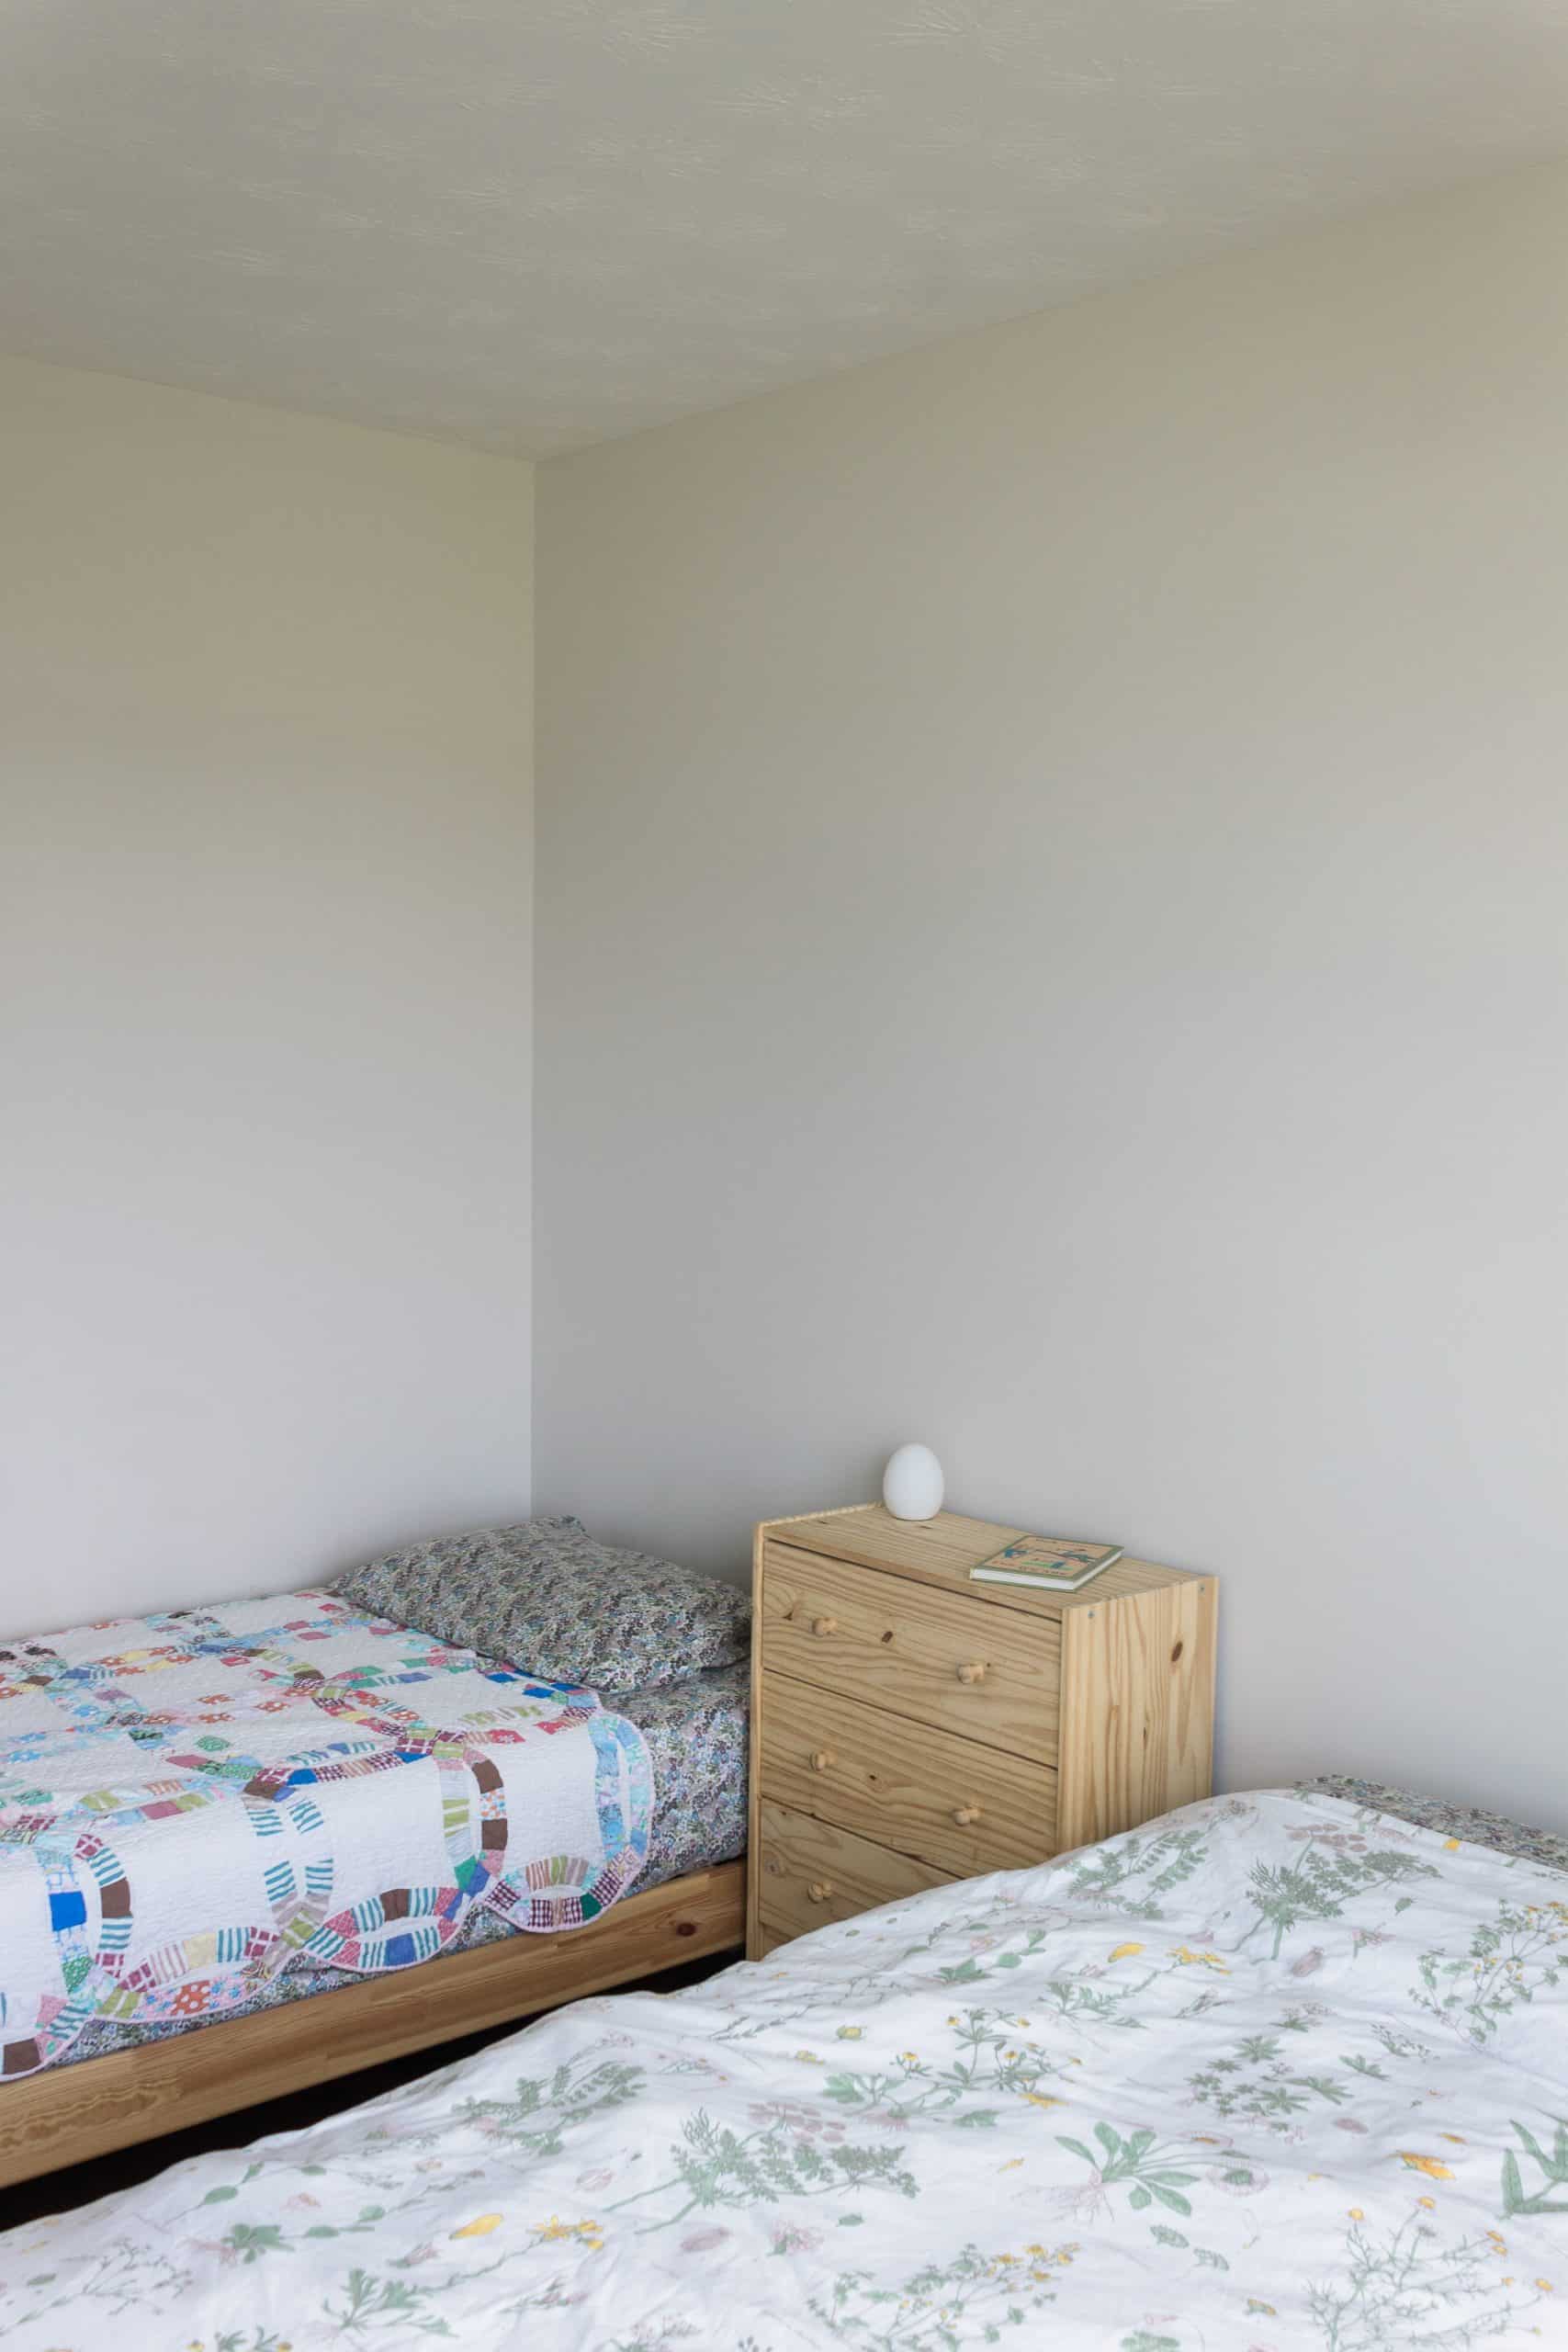
To remedy this, we’ll be building a set of matching headboards and painting a cool wall feature to add some character here. We plan on replacing the small dresser with a nightstand and figure out a better lighting solution for their bedroom to help ease fears of the dark.
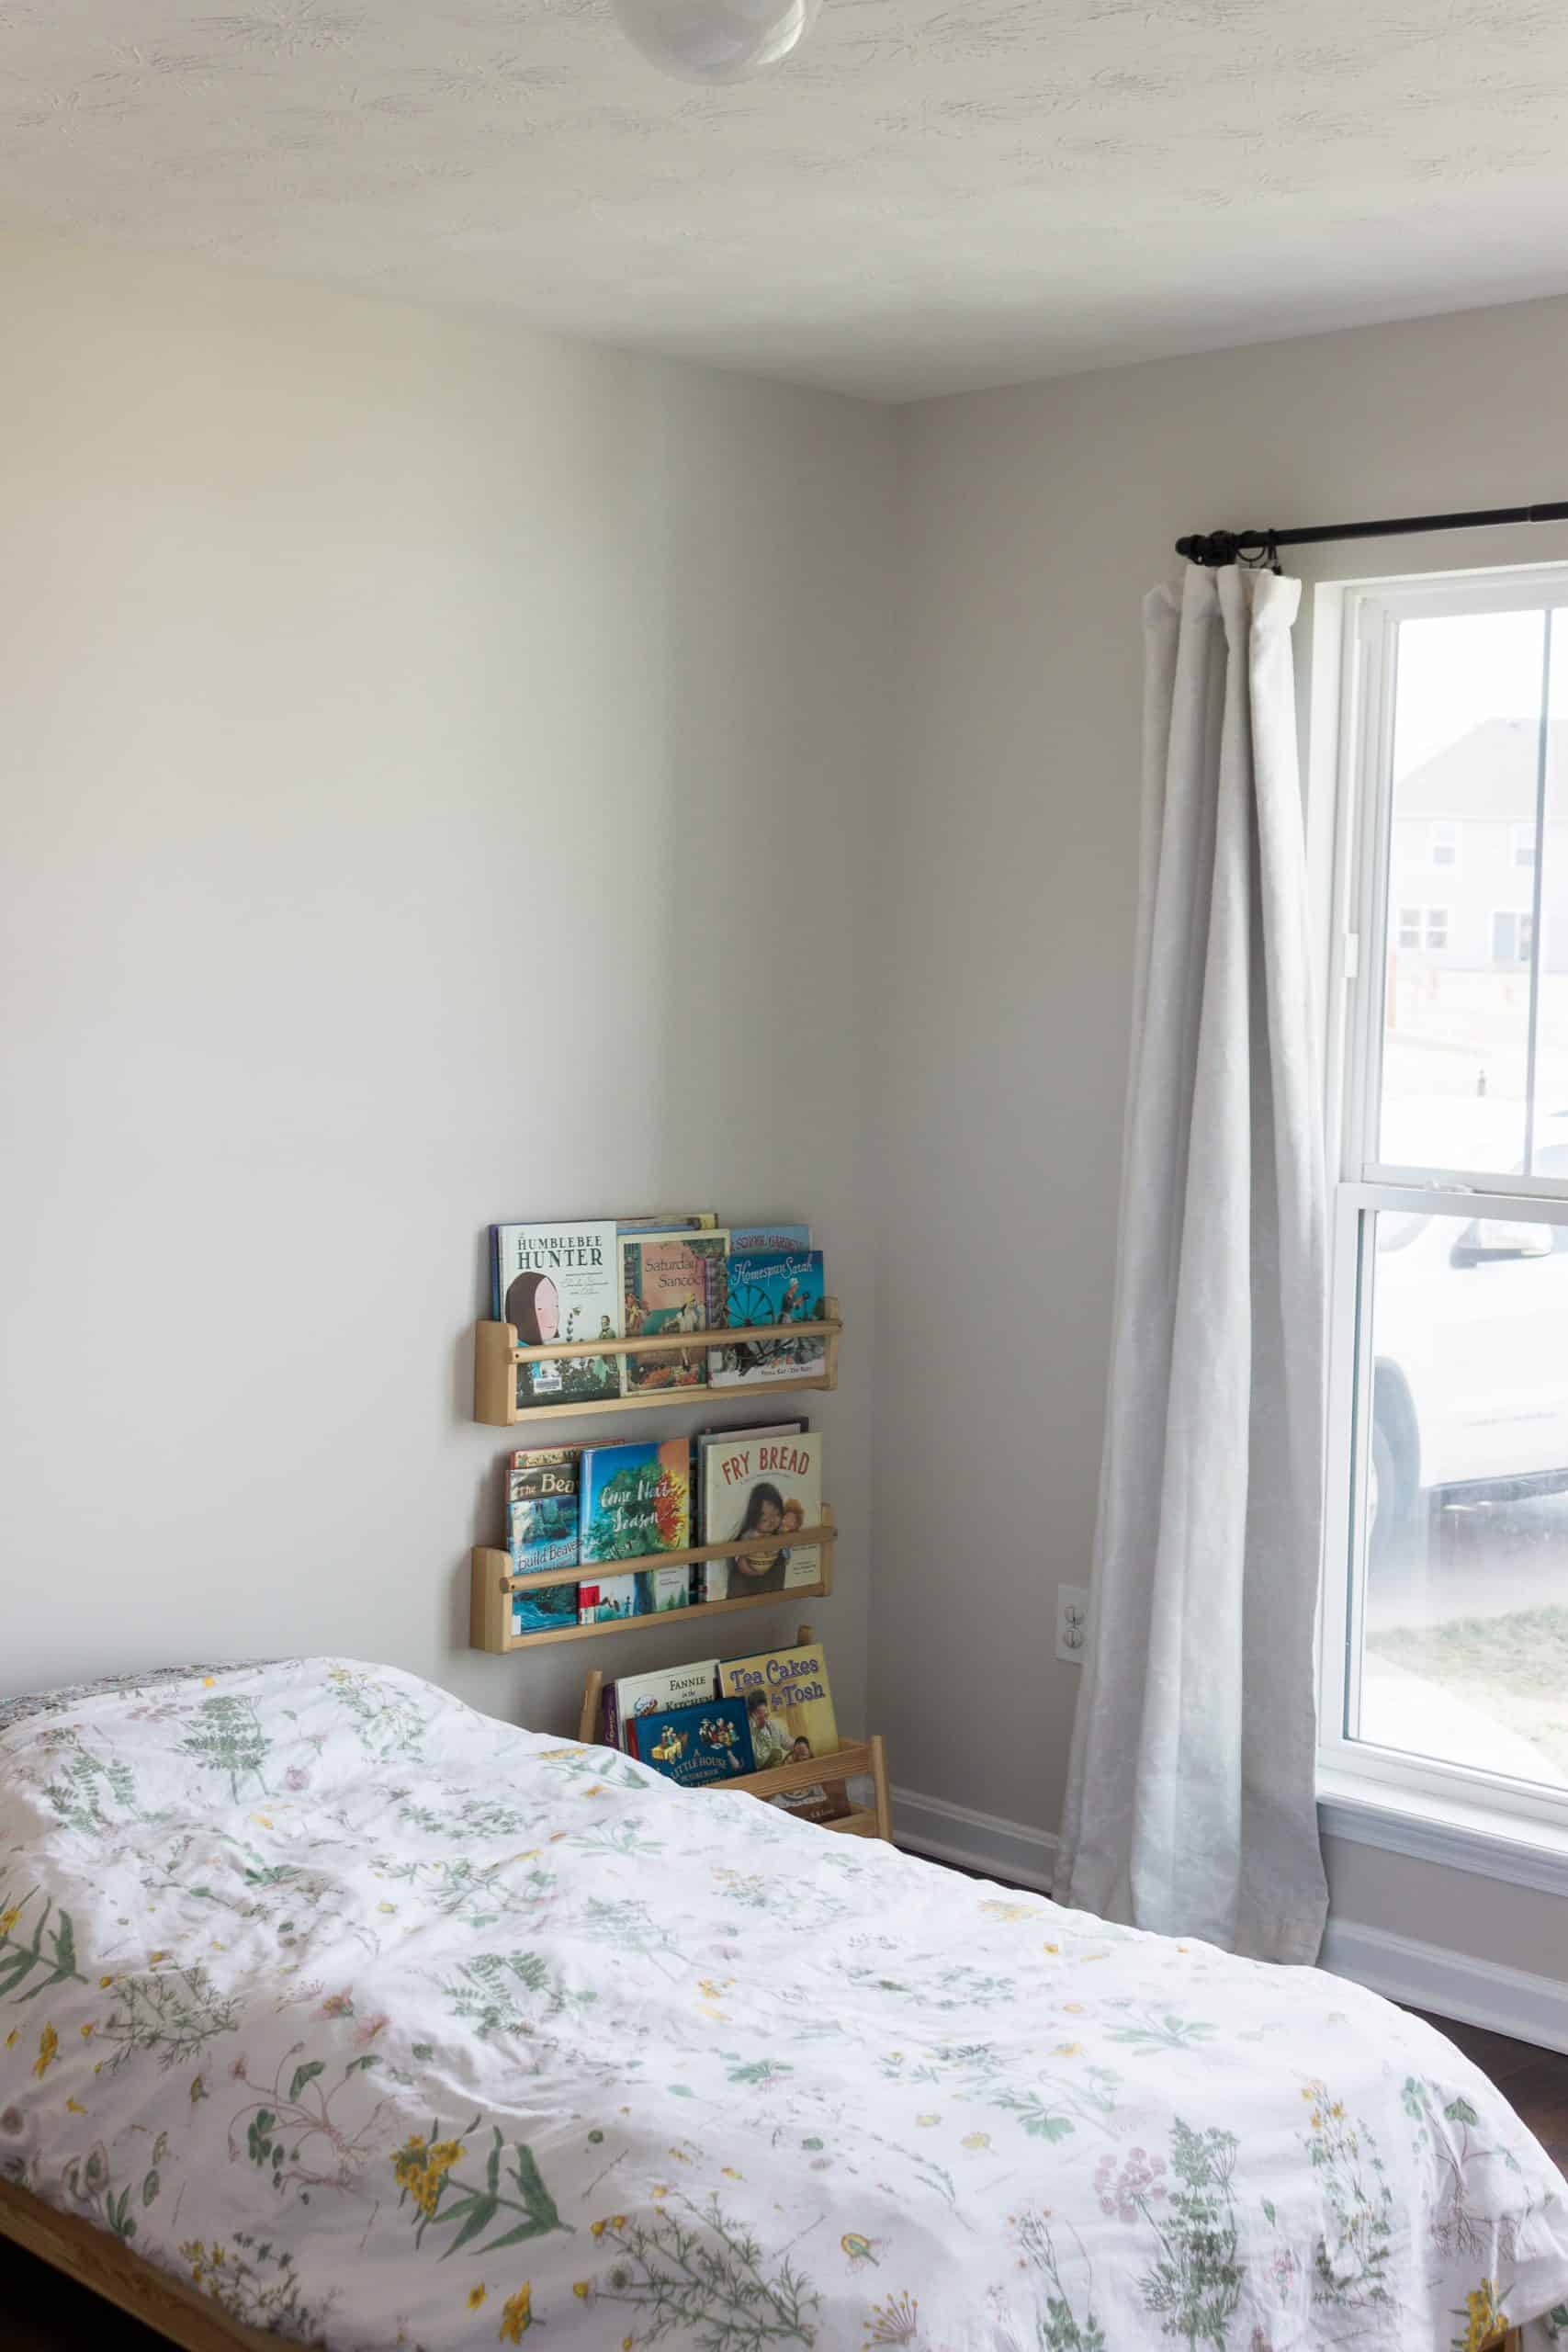
Because both our daughters love to draw, we’ll actually be replacing our small book nook here with a vintage children’s secretary desk that we managed to buy from the original owner a few years ago. It’s definitely showing its age, so we’ll finally be refinishing it for this challenge. We’ll then have to figure out another spot for displaying their books in the room.

And here’s a picture of their closet. We built their wall-mounted clothing racks shortly after we moved in, and they work perfectly for hanging clothes. But since we’re removing the dresser we’ll need to come up with a storage solution for their pajamas and pants.
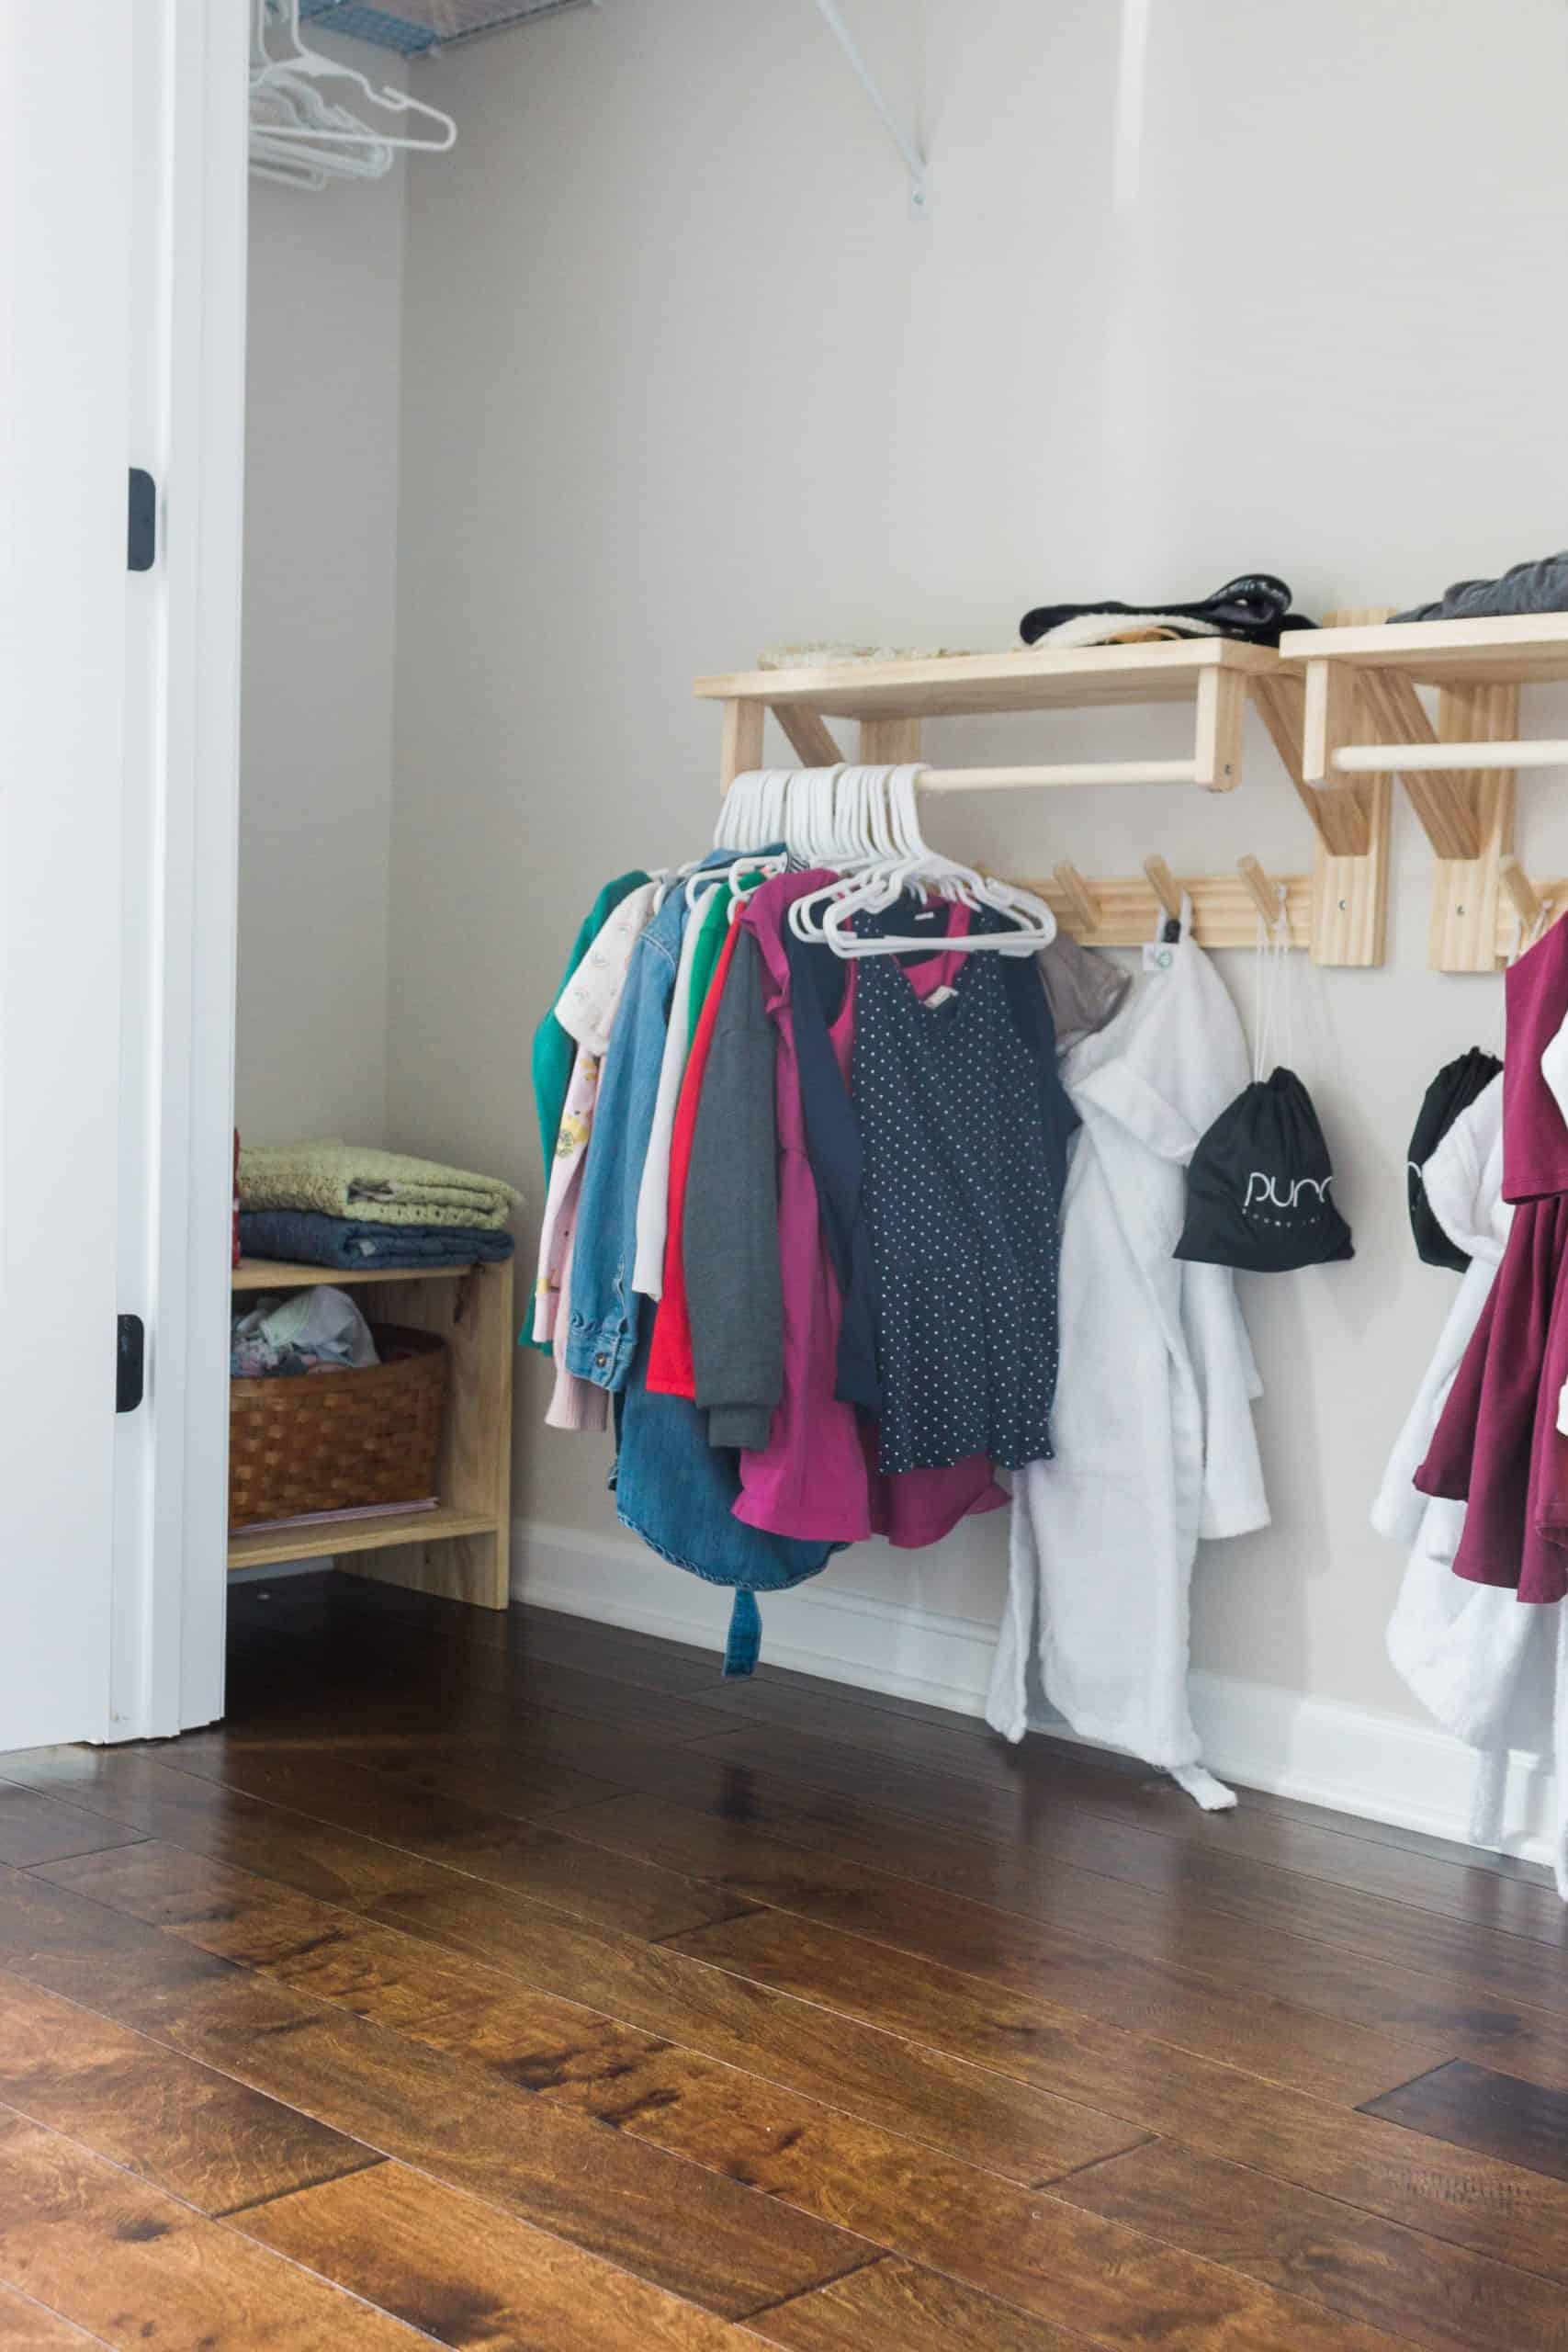
There’s also this nook of their closet that we plan to install some built-in shelving to add some practical storage space to their bedroom. I figure we’ll keep a couple baskets on the lower shelves for seasonal clothing items such as hats, gloves, bathing suits, etc. And, of course, a small basket for their doll’s clothing per their request.
the design plan
Now because we’re making over our daughters’ bedroom, we wanted to involve them in as much of the design process as possible. Before we completely re-did their room I got their thoughts about what they currently liked the most about their bedroom and what were some of the things they’d like to change.
I don’t want you to paint my room. I like this color. But I want pink and colorful things!
Lilly, 6-year-old interior designer
The room is currently painted Pale Oak by Benjamin Moore, and per our older daughter’s request we’re leaving it untouched.
Now, we did have one slight hiccup in the beginning stages of the design process.
Last fall I ordered a couple of these throw pillows for our couch. Lo and behold, when they arrived my 6-year-old daughter fell in love with them and asked if she could have them for her room. Voila! There’s our color scheme!

Or so I thought…
See, I set out to find all-natural blankets to coordinate with those beloved throw pillows in some shade of dusty or blush pink, as requested by both of our daughters. And after searching and searching I kept coming back to these linen quilts from Crate & Kids.

The color looks like a perfect match, right?
Well, it totally wasn’t. Crate & Kids calls the color “Dark Pink”. To me, it’s definitely more of a coral color. I was pretty bummed to say the least, mainly because I hadn’t been able to find any other twin size quilts made of natural materials that were not white or grey. “I don’t want those boring colors, Mama,” our 6-year-old had very explicitly stated when we began searching for their new bedding together.
But, oh, the shouts of joy when the coral-pink blankets emerged from their box! Needless to say, there was no returning them once the girls had laid eyes upon them.
So, scratch that original color scheme that’d been in the making for a couple months.
We’re now doing something with coral pink.
Normally, I would’ve have gone out to Target or World Market or somewhere and browsed through the aisles looking for some artwork or throw pillow or something to get an idea on a color scheme, but since we’re #stayinghome my daughters and I began rummaging through some of the things we had on hand, looking for inspiration.
And in between walking back and forth between my craft supplies and the girls’ bedroom I noticed these little butterflies that I had printed years ago for my oldest daughter’s second birthday party. We tend to pull them out as spring decorations now, and they were hanging on our fireplace mantle. The coral one was almost a perfect match.

I had used Emily Martin Winfield’s book The Wonderful Things You Will Be as the color inspiration for her birthday decorations that year. If you’re not familiar with Emily Martin Winfield, her illustrations are simply adorable, and the color palette she uses ended up coordinating so well with the girls’ new bedspreads.
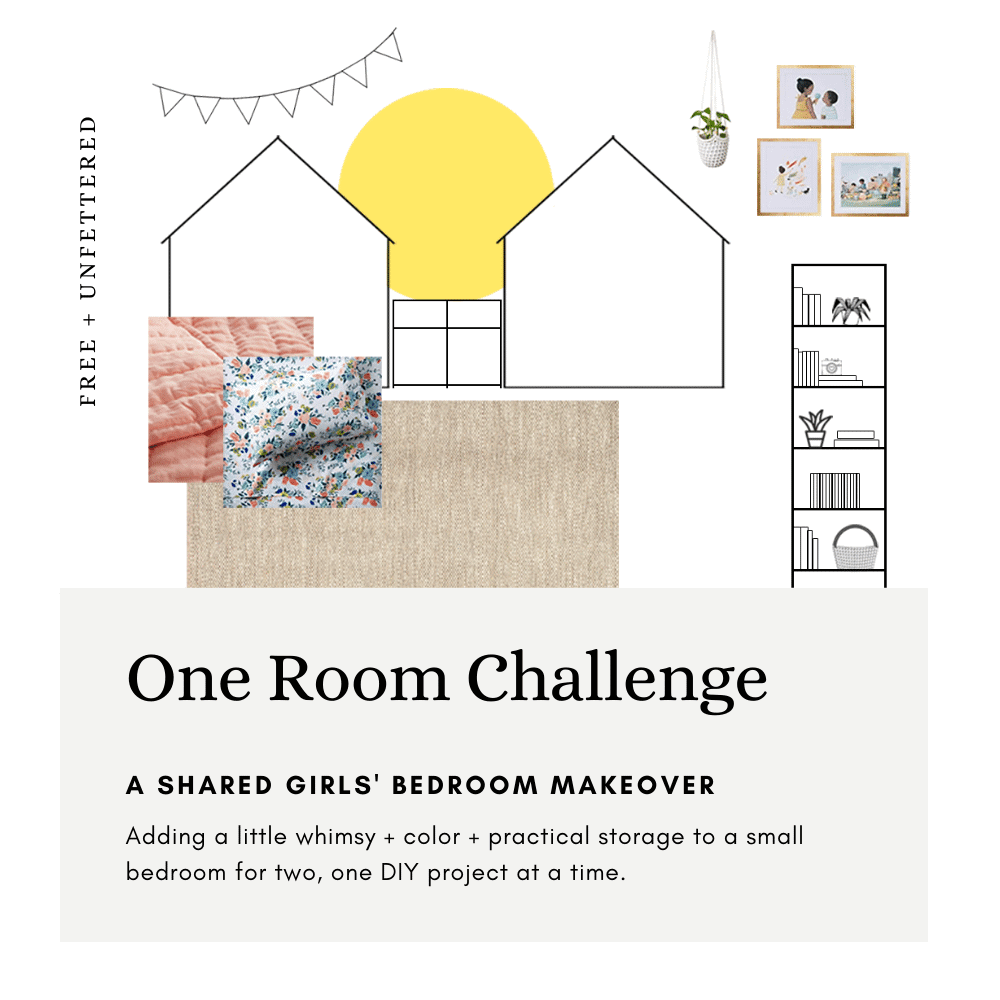
Once we had (for real this time) settled on a color scheme, it was time to put together a mood board.

My youngest daughter requested something big and yellow, so we’re planning on painting a giant yellow sun behind their headboards. Paired with the floral sheets, I hope it adds just the right amount of whimsy and fun to their space!
Obviously, some things may change during the challenge given the current pandemic and not being able to easily acquire certain items. Due to budget considerations and the number of DIY projects we have planned for this room, we actually had begun acquiring lumber and paint and a few other items at the beginning of the year. So, we’ll see how it goes. We’re always up for a good challenge!
the project list
Here’s our planned project list that we hope to accomplish over the next 8 weeks:
- Build matching twin headboards
- Build a small-space shelving unit for books and knick-knacks
- Ditch the dresser for a nightstand
- Refinish a vintage desk to provide our children with a space to write and draw
- Install custom closet shelving
- Add a rug to soften the floors
- Figure out a lighting solution, particularly one that will help ease fears of the dark
- Create a minimal self-care station
- Decorate all those bare walls!
Whew! I think that’s it. We sincerely hope you’ll follow along over the course of the next 8 weeks as we share our progress. You can look forward to lots of easy and affordable DIY projects as well as some small-space storage solutions for children.
Also, don’t forget to check out all the other talented bloggers participating in this year’s One Room Challenge. I know it’s going to be a fun event with loads of creativity on display!


One Comment
Comments are closed.