A Children’s Rolltop Desk Makeover | One Room Challenge – Week 7
You guys, I seriously can’t believe it’s the last week before the final reveal for the One Room Challenge! Eric and I got a little sidetracked last week when we had almost 9 consecutive days full of sun and no precipitation. Our deck is now 21 months old and has never been sealed. It wasn’t looking good at all, and Eric really wanted to get it cleaned and sealed before our super hot and humid weather arrives. We thought we’d be able to knock it out in a couple days. Who were we kidding?! Ugh! #overlyambitiousmuch
Of course this means we’re running a little behind on the projects we have left to complete for our daughters’ shared bedroom makeover. We did, however, manage to put the finishing touches on their vintage desk and begin (finally!) hanging some stuff up on their walls though. Yay!
Here’s a quick recap of our projects and progress during the Spring 2020 One Room Challenge.
WEEK 1: A Shared Girls’ Bedroom Makeover — The Plan
WEEK 2: DIY Twin House Headboards
WEEK 3: DIY $60 Corner Bookcase
WEEK 4: Easy DIY Built-In Closet Shelving
WEEK 5/6: A Simple IKEA Rast Nightstand Makeover
WEEK 7: A Children’s Rolltop Desk Makeover
WEEK 8: The Final Reveal — See the Complete Transformation of Our Shared Kids’ Bedroom!
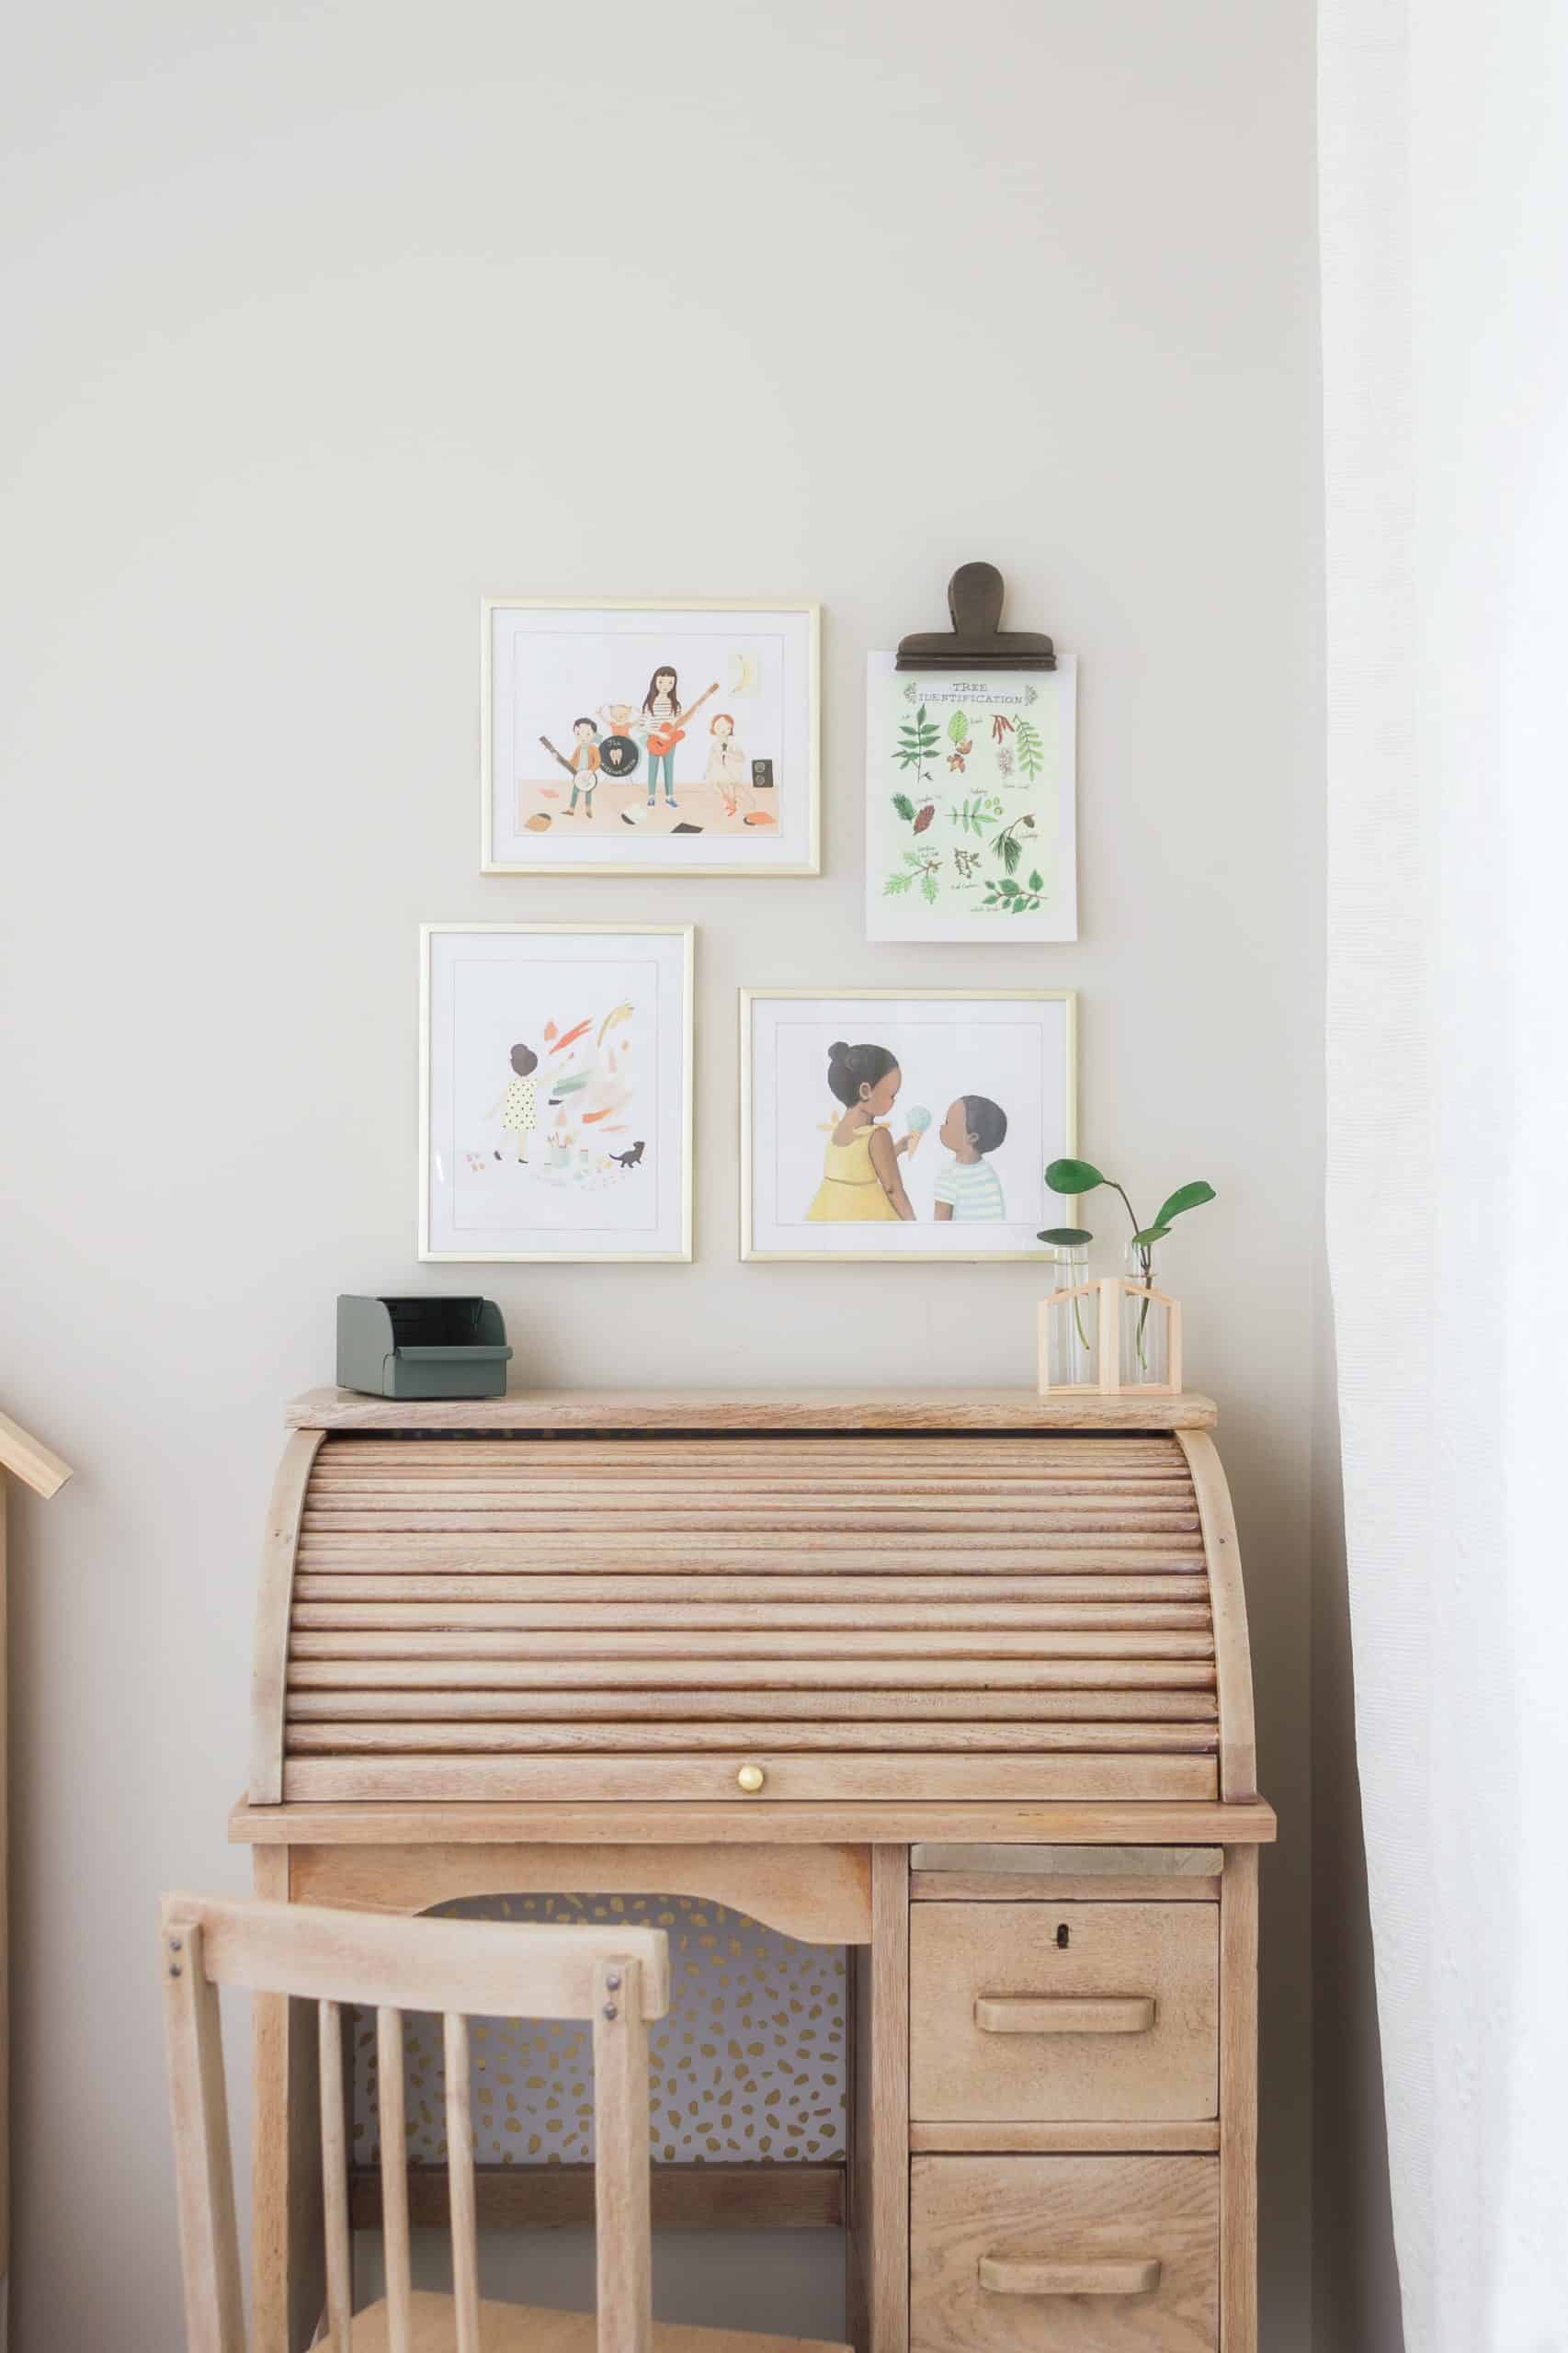
This week I’m going to show you how we gave a vintage children’s rolltop desk a slightly modern makeover so it’ll coordinate with the rest of our girls’ bedroom.
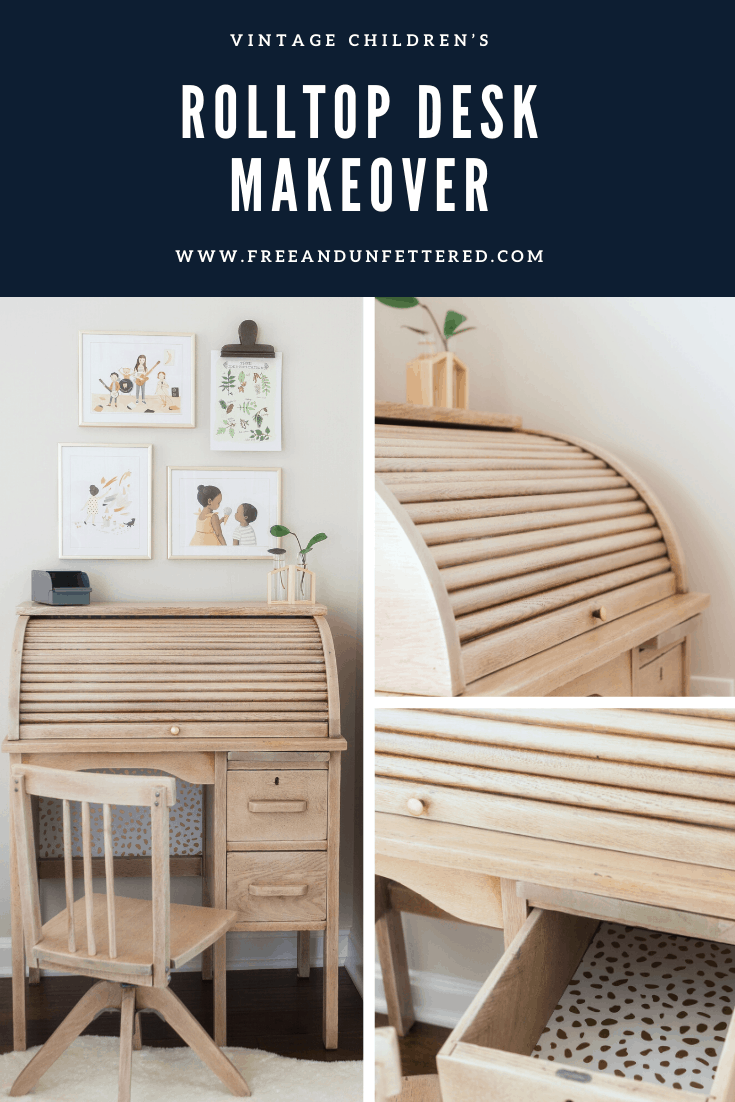
When we initially decided to transform our daughters’ shared bedroom for this challenge I had really hoped to make space for a desk area since they both love to draw and write. I knew it would be a tight squeeze, but I think it’ll be worth it.

Luckily, a few years ago I managed to snag a vintage children’s rolltop desk from the original owner at an amazing price. It was in really great condition considering its age, but it definitely needed a little TLC on the finish.
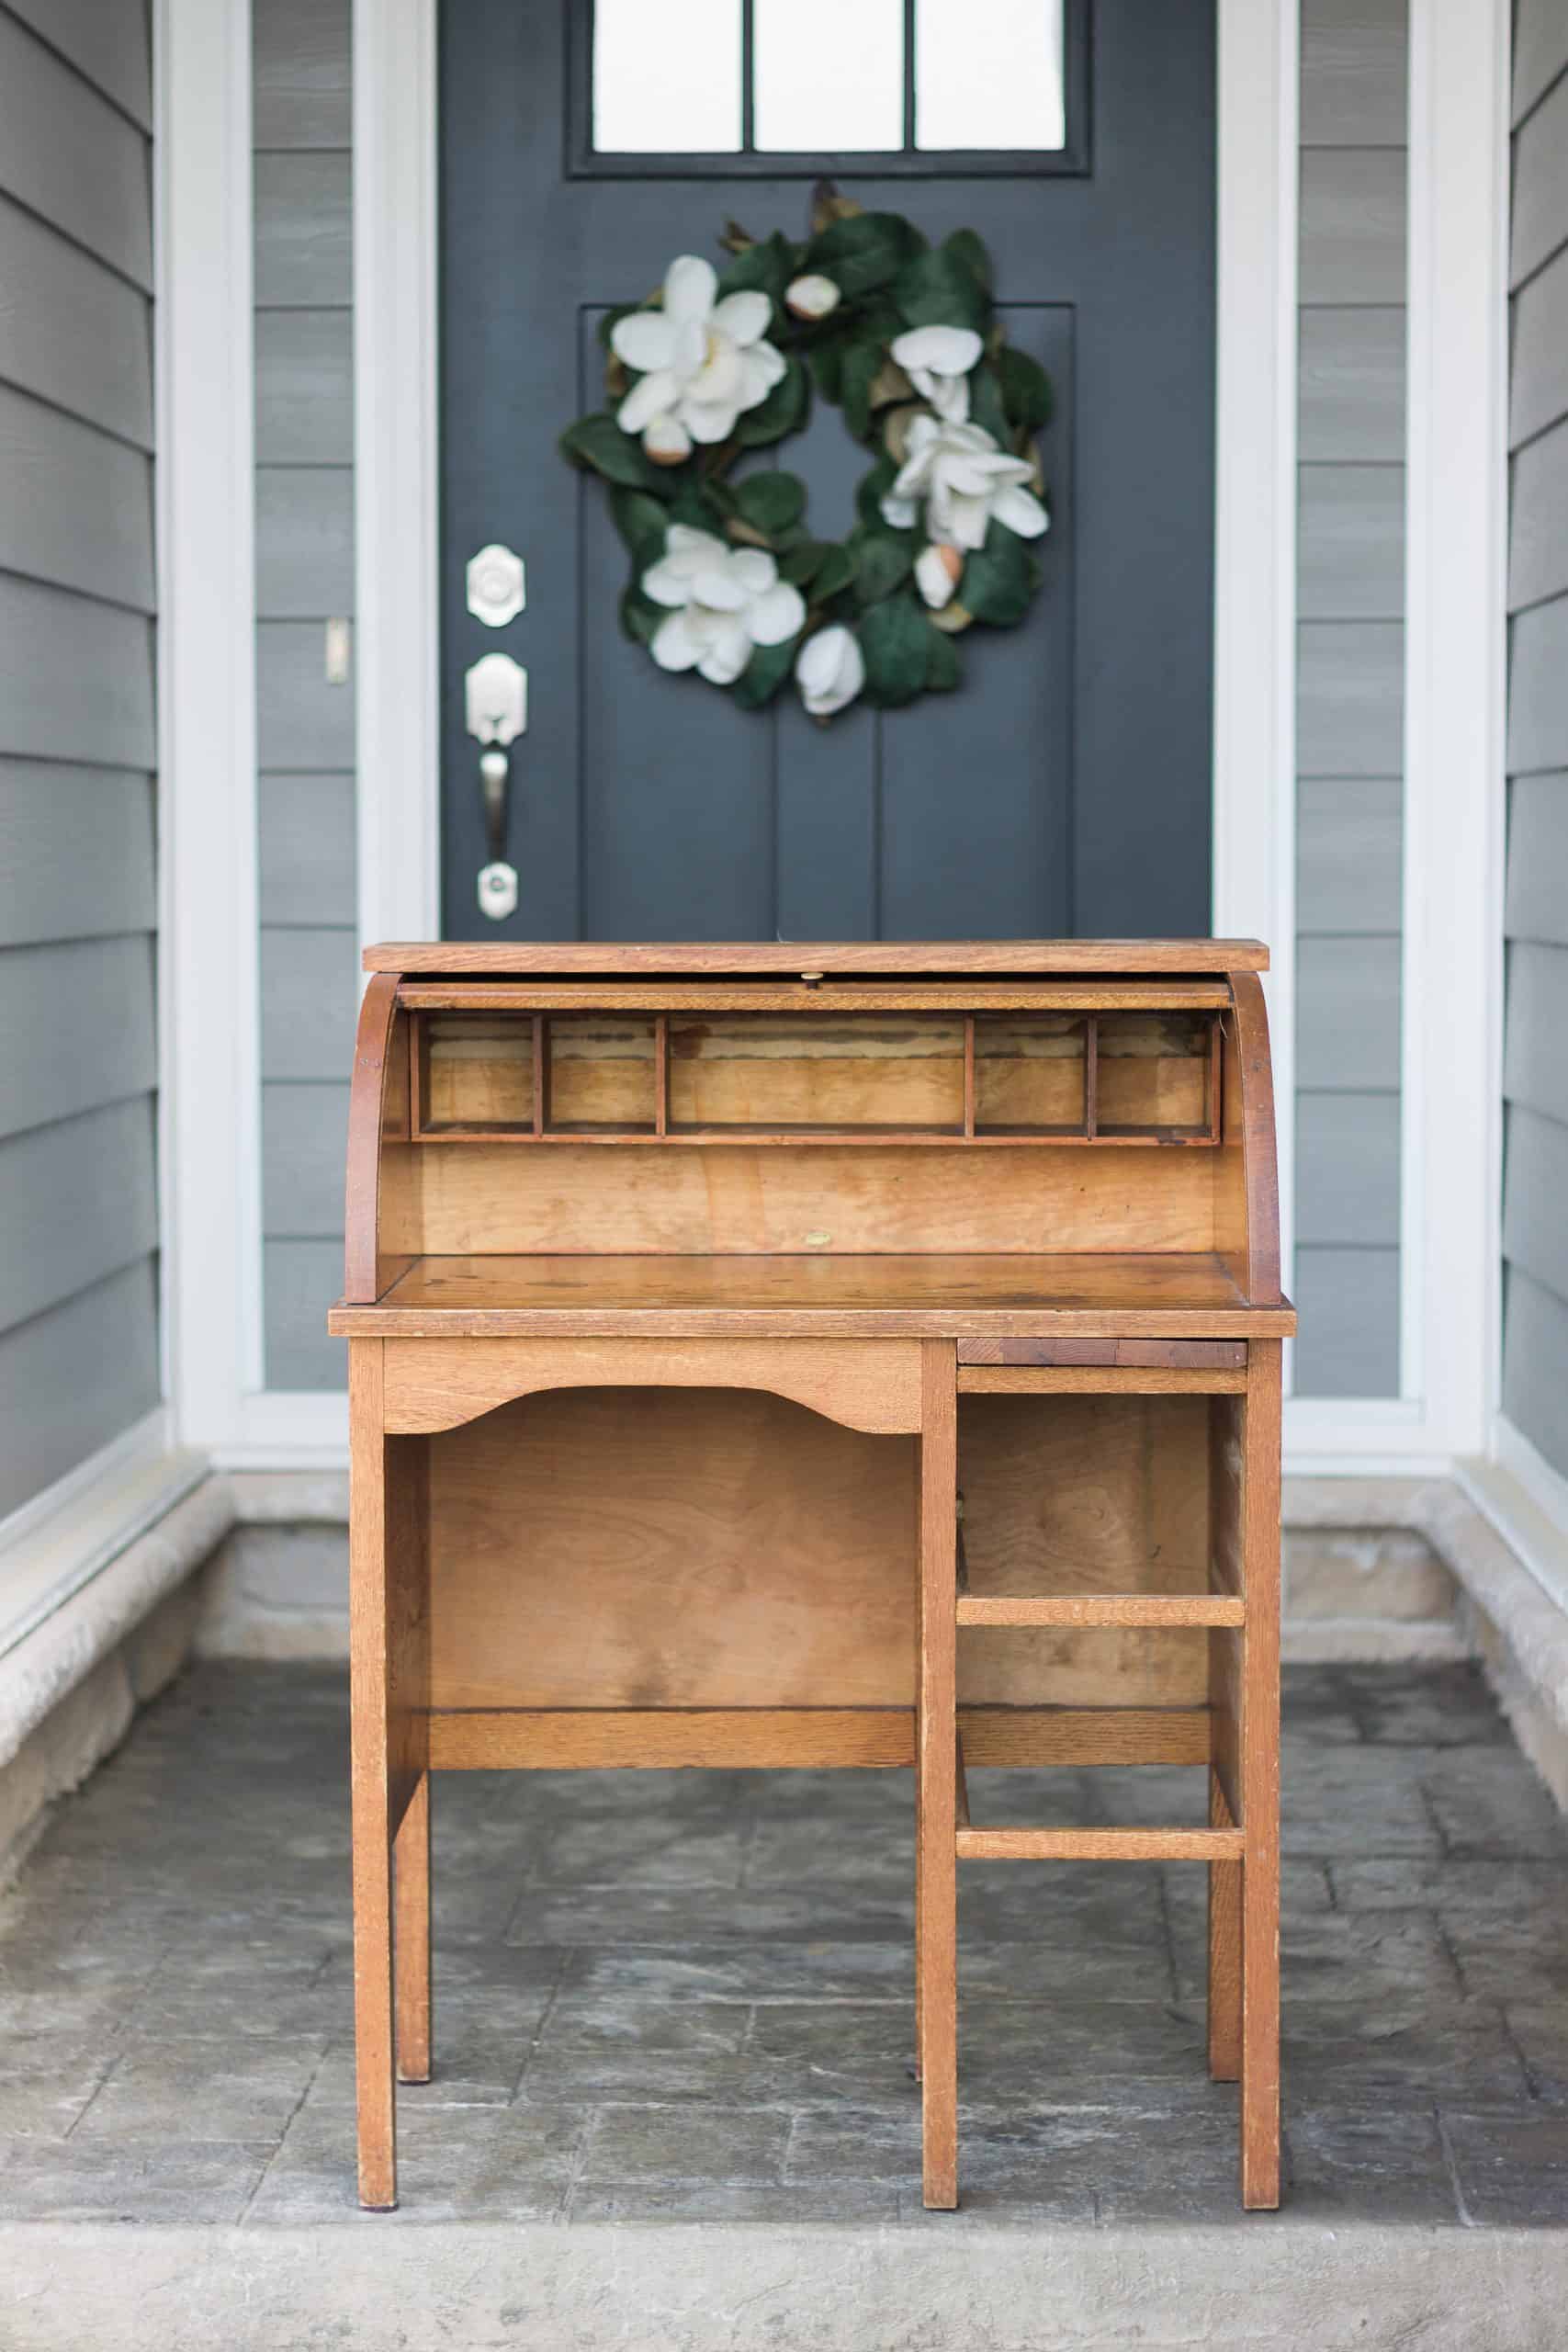

Here’s how we managed to achieve what I feel is a perfect vintage-yet-slightly-modern finish.
STEP 1: Sand Completely
This is definitely the most time intensive step of the project. We disassembled the rolltop, the chair, and removed the interior compartment divider as well as the backing board and then began the tedious process of giving the desk and all its component parts a thorough sanding to remove the old finish.


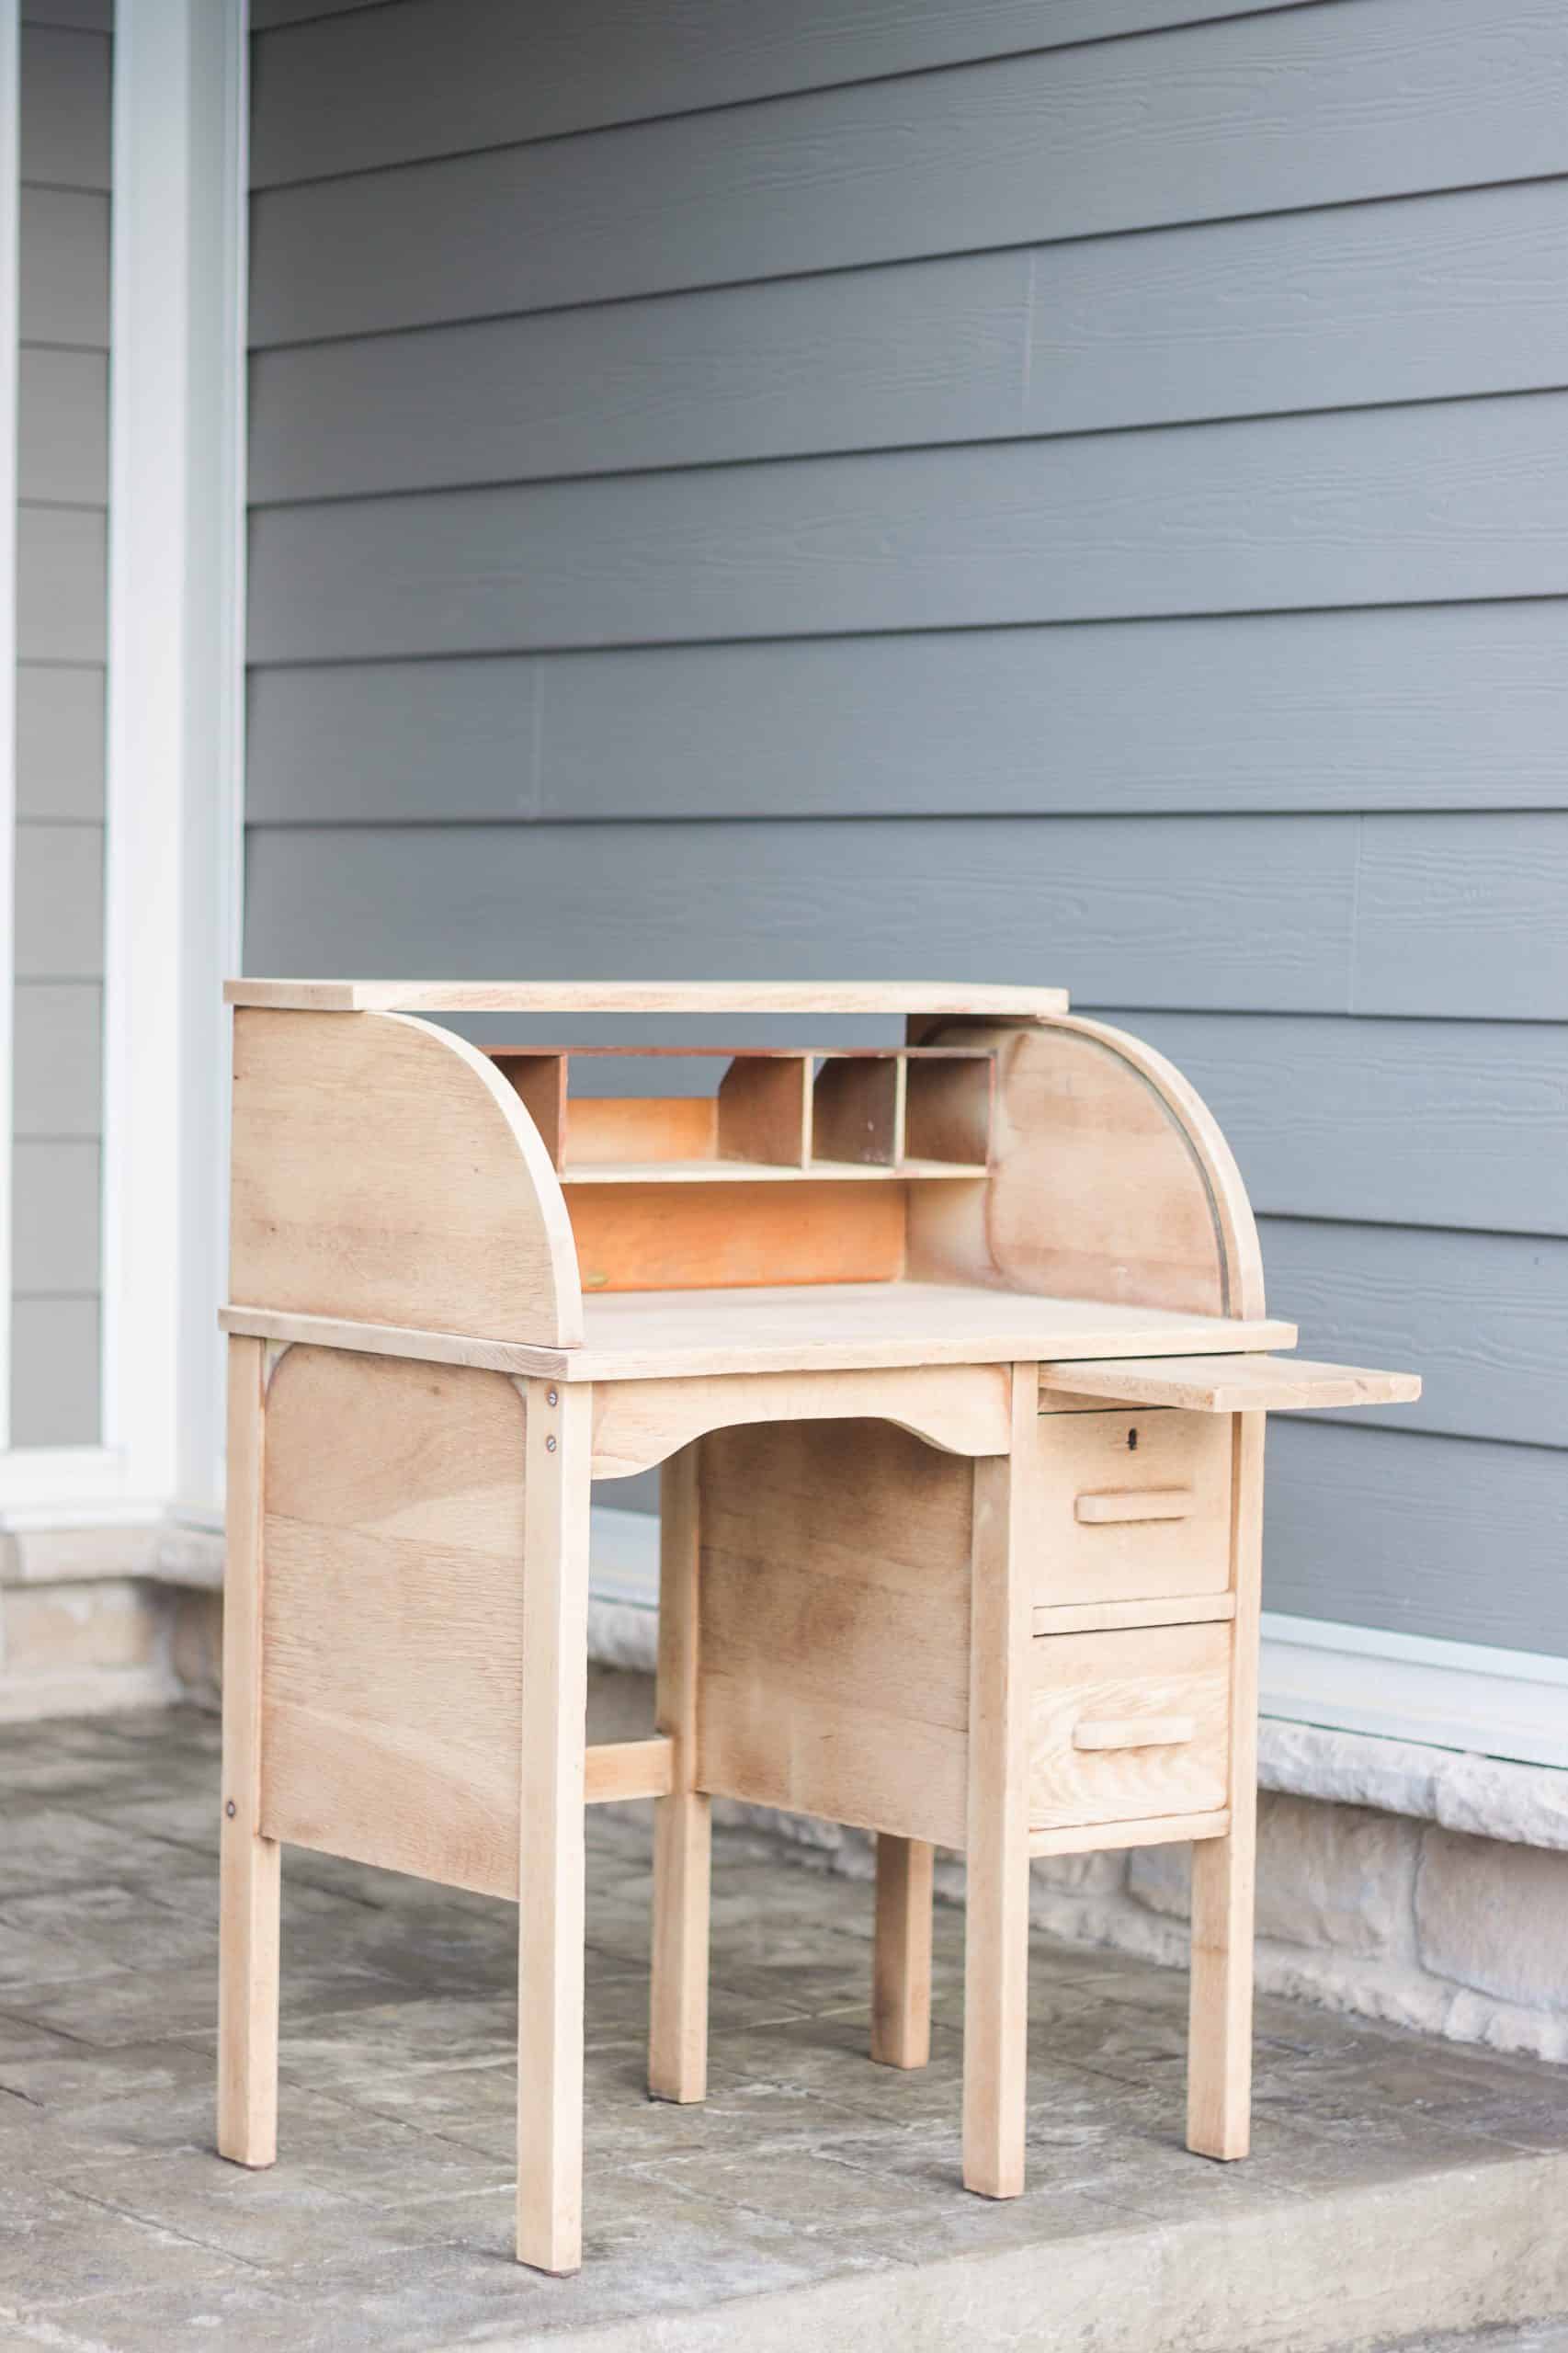


We used our rotary sander for everything except the rolltop, which I ended up carefully sanding by hand using an angle sanding sponge.

Once we finished sanding, we wiped everything down with a clean, damp rag.
STEP 2: Clean
Once the desk and chair were thoroughly sanded, I mixed a very dilute solution of bleach and water to completely clean the desk and remove any residual stains. Then I wiped it down with a 50-50 vinegar and water wash afterwards. We finished by wiping it down once more with a clean, damp rag again. At this point we let the desk dry for several days.
STEP 3: Sand Again
This time we used 120-grit sandpaper to reach a smooth finish on the desk and then wiped everything down with a damp washcloth to remove the dust.
STEP 4: Apply Finish
I went back and forth on leaving the desk in its natural state or applying a stain. I really loved the natural oak, but I knew it would need some type of protective coat since it will be exposed to markers and pens, etc. However, I really didn’t want it to turn yellow when I applied a protective finish. So, I opted to go ahead and apply a stain. We tried a few different options, but ended up settling on Minwax Simply White. I applied it using a cloth and tried my best to buff it into the wood as I was staining. Applied this way, the Simply White stain ended up giving the desk a really cool ceruse look.

STEP 5: Apply Protective Finish
I opted to use Minwax Polycrylic in a Satin finish as the protective coat. It gives the desk a little bit of sheen and will protect the wood from errant marks and ink stains.
STEP 6: Add Decorative Touches
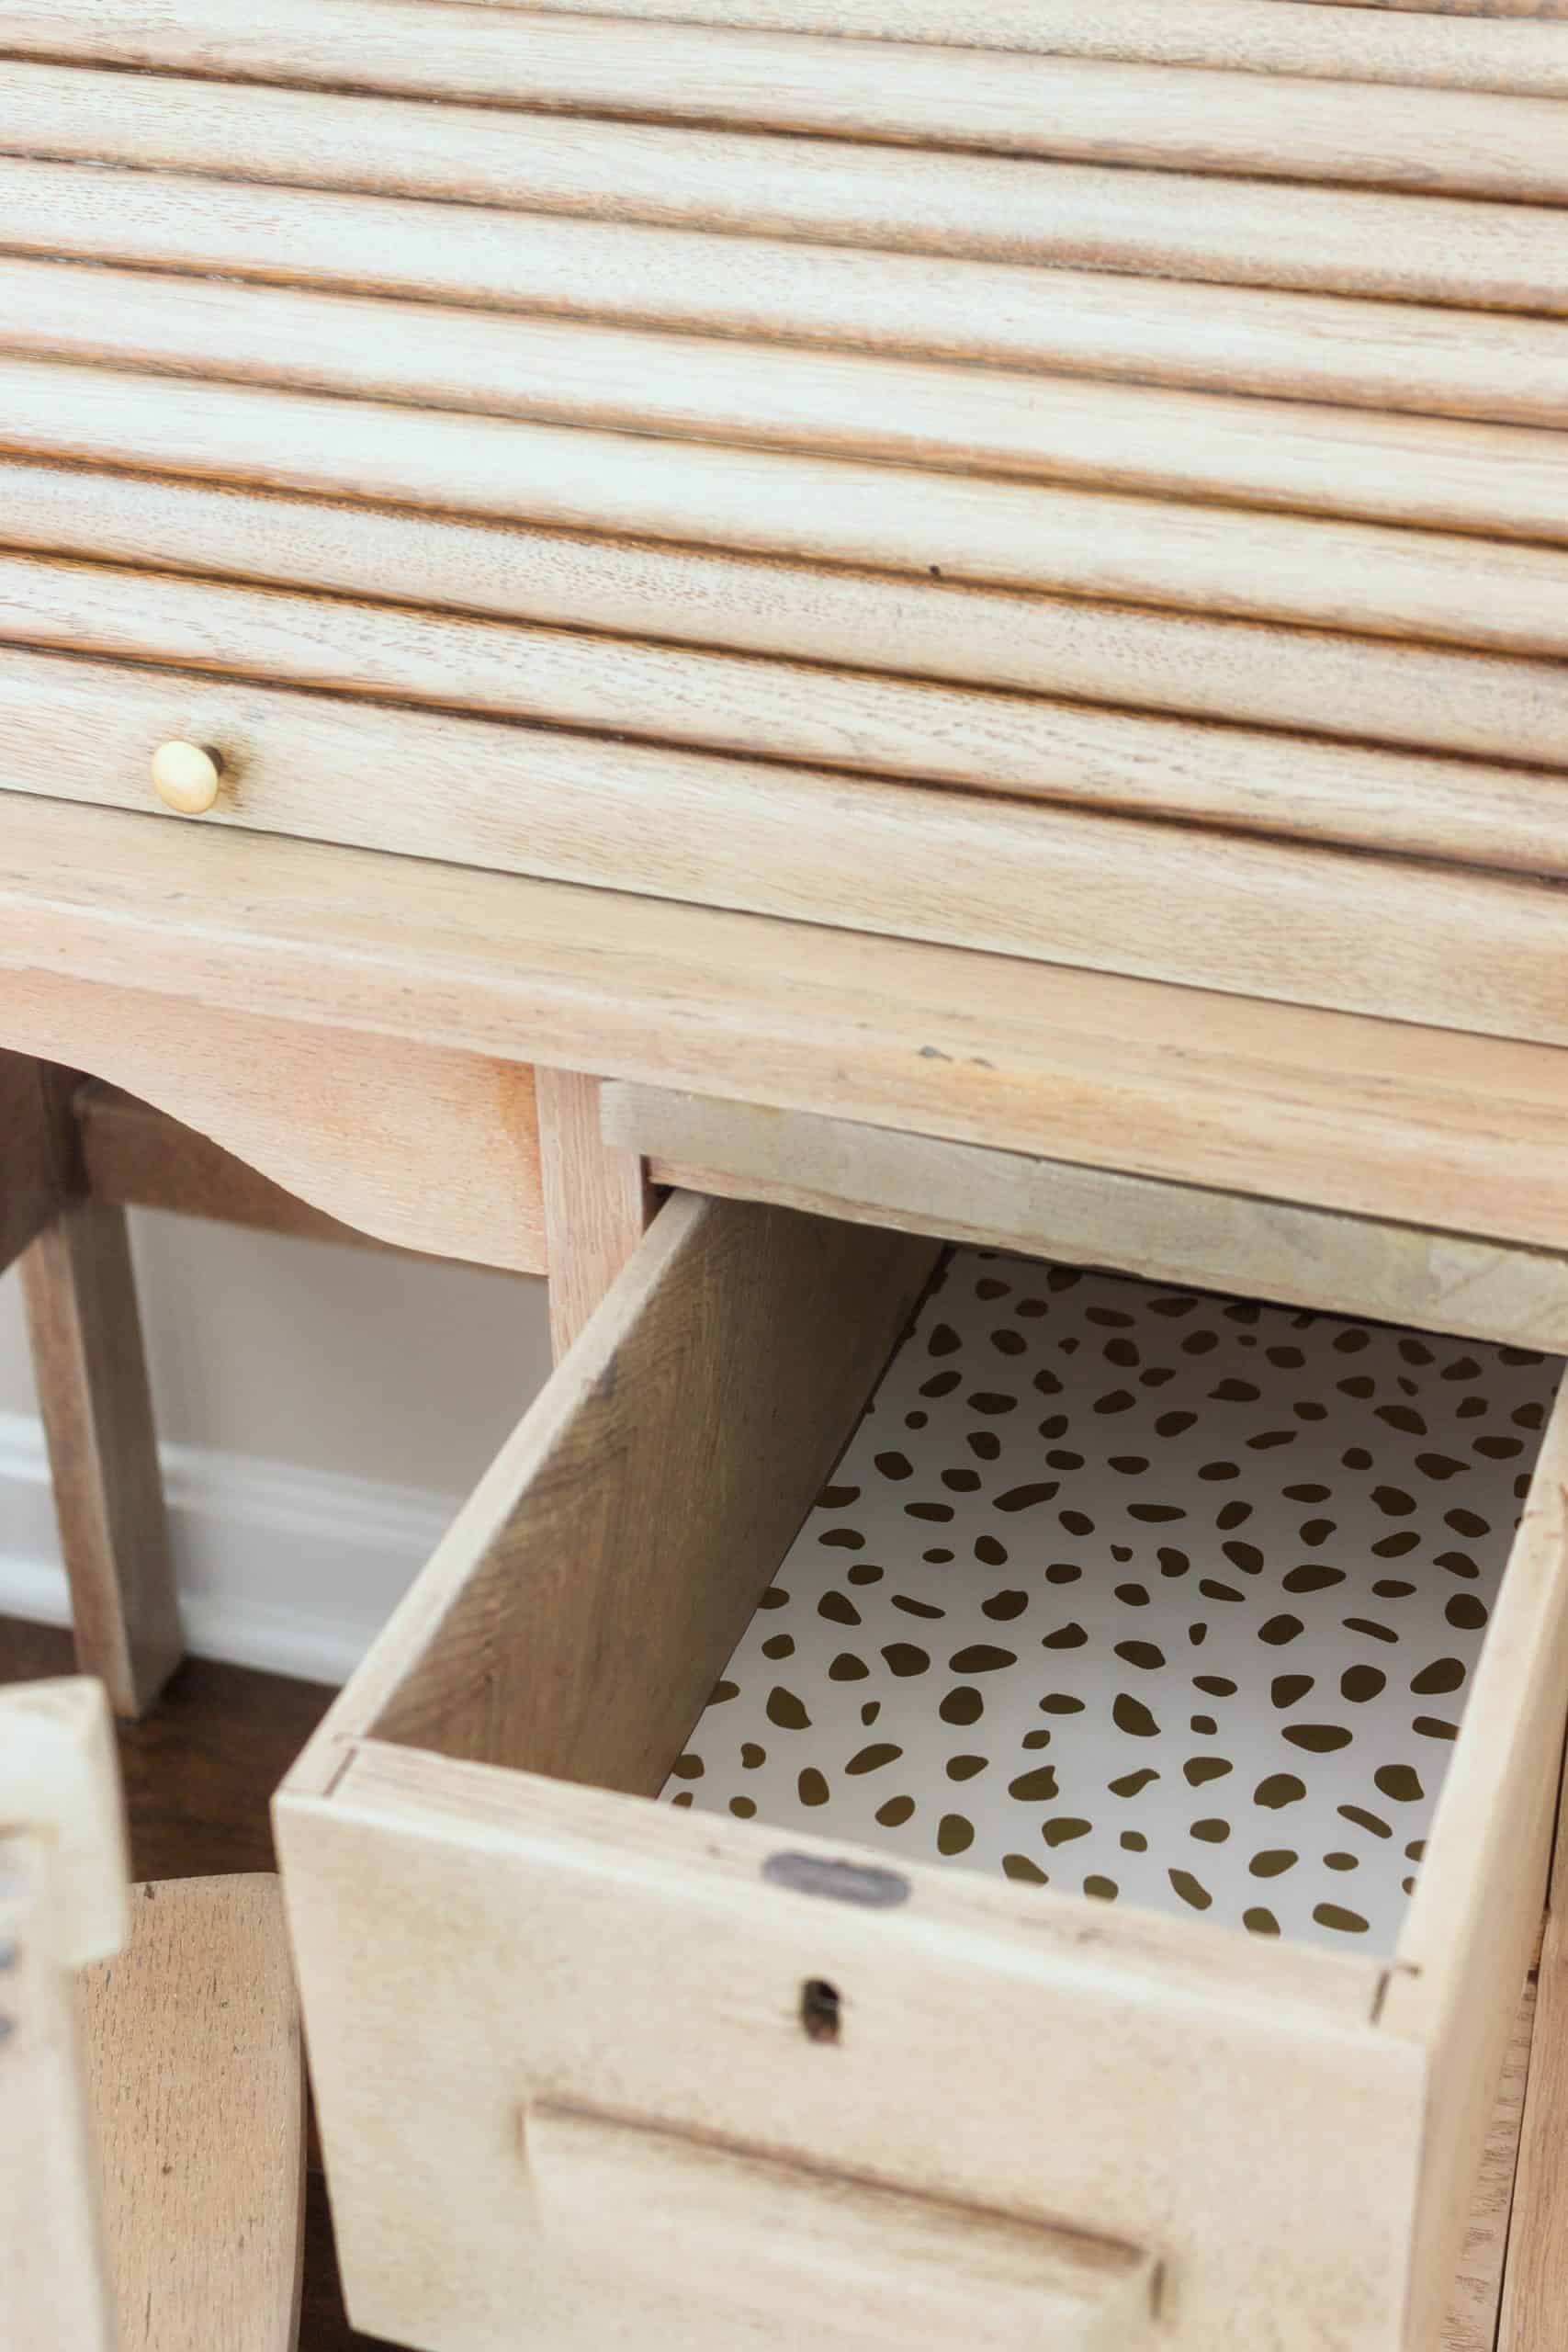
Because we love all things vintage, instead of buying new hardware Eric simply gave the existing hardware a good cleaning.

The original backing board wasn’t in the greatest condition either, but neither of us was willing to part with the original stamp so I found some removable wallpaper in a fun print to affix to the front of the board and then we re-attached it to the desk.

I used the same wallpaper to line the bottom of the drawers for another little touch of whimsy.

Looking at our One Room Challenge project list, we still have a few more things to complete over the coming week, including painting the accent wall feature, installing new lighting, and hanging a few more pictures on the walls.
ORC PROJECT LIST
Build matching twin headboardsBuild a small-space shelving unit for books and knick-knacksDitch the dresser for a nightstandRefinish a vintage desk to provide our children with a space to write and drawInstall custom closet shelvingAdd a rug to soften the floors- Figure out a lighting solution, particularly one that will help ease fears of the dark
- Create a minimal self-care station
- Decorate all those bare walls!
We got this! At least I think we do! Ha!
Next up will be the Final Reveal. I hope to see you back here for it!
If you haven’t yet, be sure to visit this year’s other participants in the One Room Challenge to wish them the best of luck in finishing up their remaining projects.


That desk is literally perfection! I can’t believe how natural that white stain looks, we had sooooo much trouble with staining our dresser that we just ended up painting it. Can’t wait to see the entire space!
Stain can be so finicky sometimes! My husband was definitely in favor of painting the desk when we first tried a few different stains, but luckily the white took to the wood really well. Thanks for following along!
This roll desk turned out so great! What an adorable addition to the room. Hi from another guest participant, it has been fun watching yours come along. 🙂
Hi, Jennie! The desk is definitely getting a lot of use, so I’m glad we added it to the room. Thanks for following along!
This desk is amazing! I have the exact same desk that I want to refinish for my niece! Thank you for the wonderful idea.